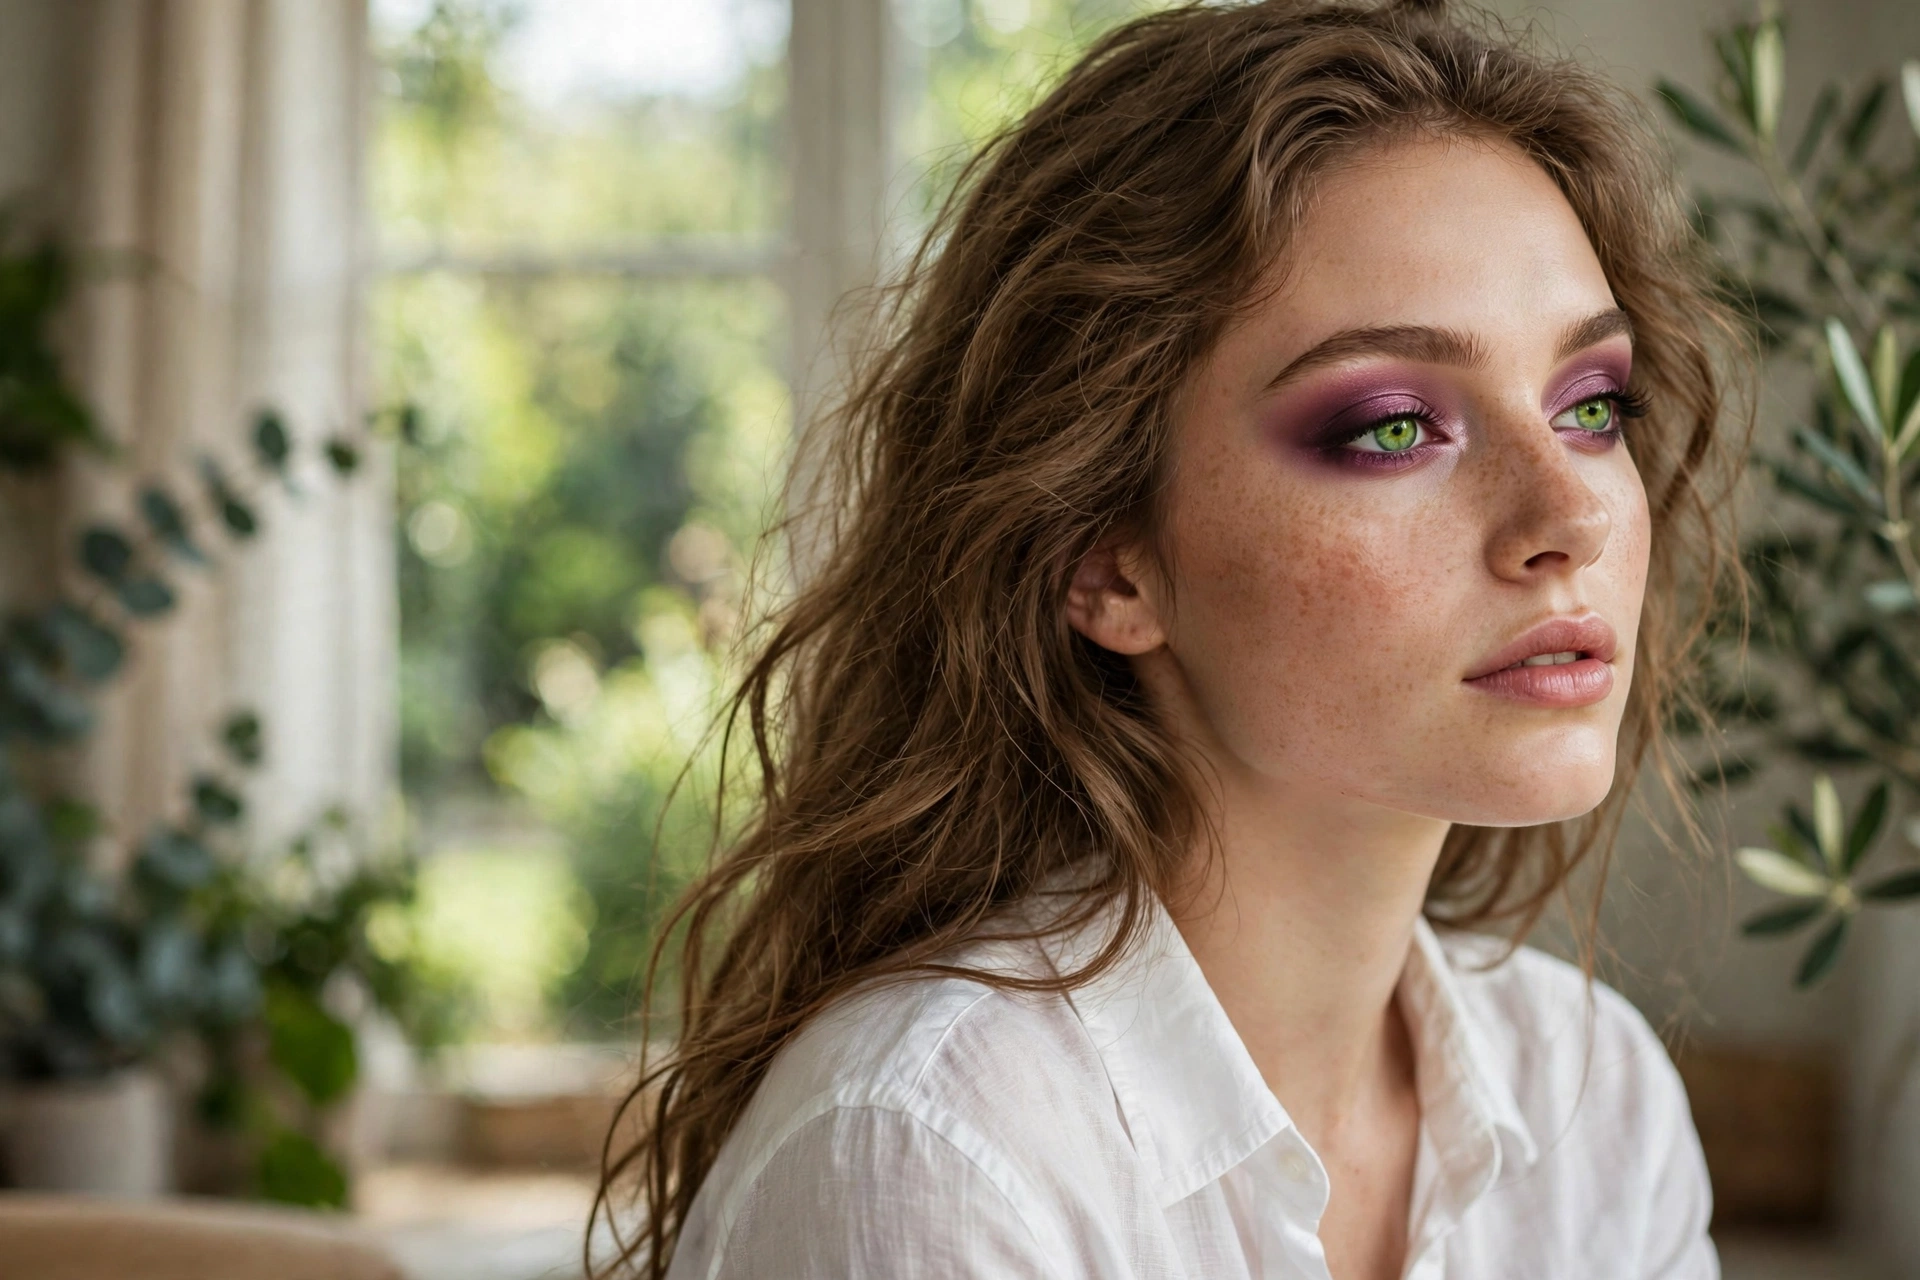
Highlighter isn’t about shimmer. It’s about light.
The lit-from-within look comes from placing glow where light naturally hits the face: high cheekbones, brow bones, nose bridge, cupid’s bow. Mimic nature and it looks natural.
The mistakes: too much product, wrong undertone, glitter instead of sheen. All fixable.
Here are 20 placement ideas. Let’s get into it.
High Cheekbone Classic

The tops of the cheekbones — the classic highlight placement.
Apply where light hits when you turn slightly. That’s your placement map.
Brow Bone Lift

Just under the brow arch — it lifts the whole eye area.
Subtle sheen, not shimmer. The brow bone should glow, not glitter.
Nose Bridge Line

A thin line down the nose bridge — it straightens and refines.
Stop before the tip unless you want to emphasize it. Placement precision matters.
Cupid’s Bow Pop

A dab on the cupid’s bow makes lips look fuller.
The light draws the eye to the lips’ center. Fuller-looking lips, zero product on them.
Inner Corner Bright

Inner eye corners — the brightening essential.
It opens up the whole eye area. Small placement, huge impact.
Collarbone Glow

Collarbones for evening — the glow extends beyond the face.
Body highlight is the evening secret. Collarbones catch light beautifully.
Shoulder Sheen

Shoulders for strapless moments — luminous skin everywhere.
The cohesive glow from face to shoulders looks incredibly polished.
Chin Center Touch

A tiny touch on the chin center balances the face’s glow points.
Chin highlight is often forgotten. It completes the facial glow map.
Forehead Center Glow

Center forehead — but only on balanced to dry skin.
Skip if you get oily here. Forehead highlight plus oil equals shine overload.
Above the Blush

Highlight just above blush on the cheekbone — the layered glow.
Our blush guide sets the base. The highlight sits on top, literally and figuratively.
The C-Shape

Sweep in a C from brow bone around to cheekbone — the connected glow.
The C-shape unifies the eye and cheek glow. It’s the professional’s placement.
Under-Brow Precision

Precise highlight directly under the brow’s highest point.
Precision here maximizes the lifting illusion. Placement is everything.
Liquid Under Powder

Liquid highlight under base for glow from within — literally.
The under-layer glows through sheer base. It’s the most natural highlight technique.
Powder Over Cream

Cream highlight set with powder highlight — intensity plus longevity.
Layering finishes builds a glow that lasts. Cream for depth, powder for pop.
Subtle Nose Tip

The tiniest touch on the nose tip — cute and youthful.
Minimal is key. Too much nose-tip highlight looks like shine, not glow.
Temple Glow

Temples catch light naturally — enhance what’s already there.
Temple glow connects face to hair beautifully. It’s the finishing frame.
Eyelid Center Pop

Center of the lid for a wide-awake eye glow.
It makes eyes look bigger and more open. The lid pop is transformative.
Jawline Sheen

The faintest sheen along the jawline for definition.
Subtle is the operative word. Jawline highlight should be felt, not seen.
The All-Over Lit Look

Combine placements for the full lit-from-within effect — strategic, not all-over.
For the complete radiant base, our glass skin routine builds the foundation. Restraint at each point; richness in total.
Photography Glow Check

Check highlight in photos — cameras amplify glow significantly.
What looks subtle in person can look shiny on camera. Verify before events.
Glow strategically — pin these placements. For the full radiant base, try glass skin routine, or sculpt with contour tips.