
Good contour is invisible. Bad contour is all anyone sees.
The beginner mistake is treating contour like paint — harsh lines, wrong shades, too much product. Real contour is shadow simulation: subtle, blended, believable.
The rules: cool-toned products (real shadows aren’t warm), less product than you think, and blending until there are no lines.
Here are 18 tips for soft sculpting. Let’s get into it.
Cool Tone Selection
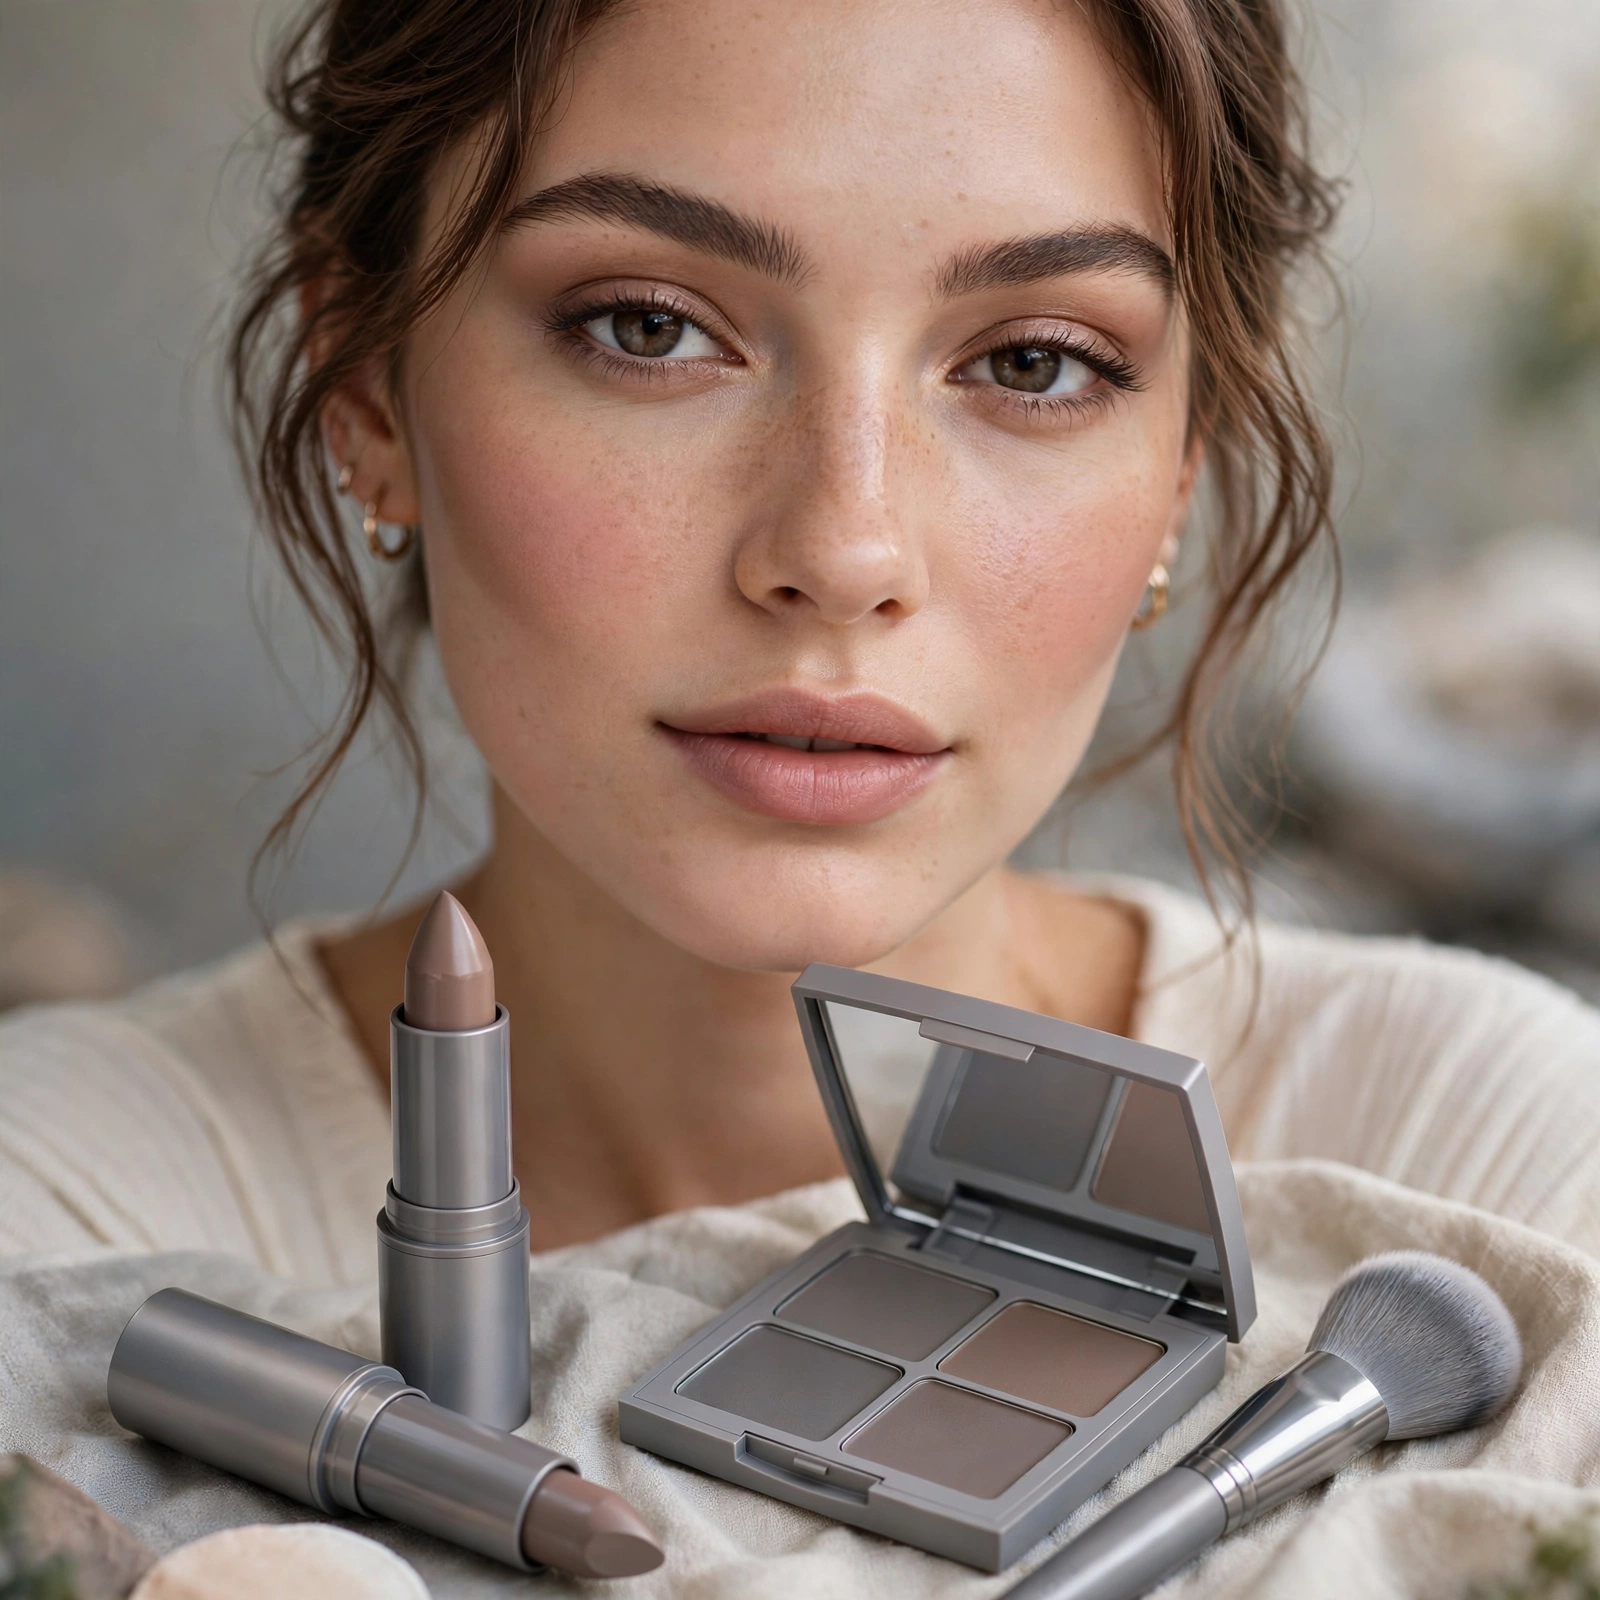
Choose contour 2 shades deeper than skin with cool/gray undertones — shadows are cool.
Warm bronzer is not contour. The undertone distinction is everything.
The Cheekbone Map

Suck in cheeks lightly to find the hollow — contour goes there, not on the bone.
Placement in the hollow creates the shadow. On the bone creates highlight confusion.
Less Product Rule

Start with half the product you think you need — you can always add.
Beginner over-application is the #1 contour mistake. Restraint first.
The Upward Blend

Blend contour upward toward the temple, never downward.
Upward blending lifts; downward blending drags. Direction determines the effect.
Cream Before Powder

Cream contour under powder products blends most naturally.
Creams meld into base seamlessly. Powders can look separate. Start with cream.
Nose Contour Subtlety

Two thin lines down the nose sides, blended thoroughly — subtle slimming.
Nose contour should be barely visible. If you can see lines, blend more.
Jawline Definition

Contour under the jawline for definition — blend downward onto the neck.
The jaw shadow creates separation between face and neck. Blend the transition.
Forehead Framing

Contour the temples and hairline to frame and balance the forehead.
Small foreheads need minimal contour here. Adjust to your proportions.
The 3-Shape Method

Draw a 3 on each side: temple, cheek hollow, jawline — the classic map.
The 3 connects all contour zones naturally. It’s the beginner’s roadmap.
Blending Tool Choice

A damp sponge or dense brush blends contour seamlessly.
The tool matters as much as the product. Dense brushes buff; sponges press.
Natural Light Check

Always check contour in natural light — indoor lighting lies.
What looks blended indoors can look striped in daylight. Verify before leaving.
Contour and Blush Order

Contour first, then blush above it — structure before color.
Our blush placement guide builds on this. Order creates the architecture.
The No-Contour Contour

Bronzer placed like contour gives warmth plus soft definition.
For contour-shy beginners, bronzer is the gateway. Warmth with a hint of structure.
Powder Contour Setting

Set cream contour with a touch of powder contour for longevity.
The powder locks the cream in place. Layering extends wear significantly.
Chin and Lip Contour

A touch under the lower lip enhances fullness; chin contour adds definition.
Small placements, big impact. These details elevate the whole contour.
Avoiding the Stripe

If you see a line, you haven’t blended enough — keep going.
The stripe test: squint at your reflection. Visible lines mean more blending needed.
Contour for Your Face Shape

Round faces: more contour. Long faces: less on the forehead. Square faces: soften the jaw.
Adapt the map to your structure. Generic contour ignores individual needs.
The Confident Blend

Blend until you’re sure it’s gone, then blend once more — the confidence test.
For the full sculpted face, pair with highlight placement. Over-blending beats under-blending every time.
Sculpt softly — pin these tips. For the full face, add highlight placement, or perfect your flush with blush placement.