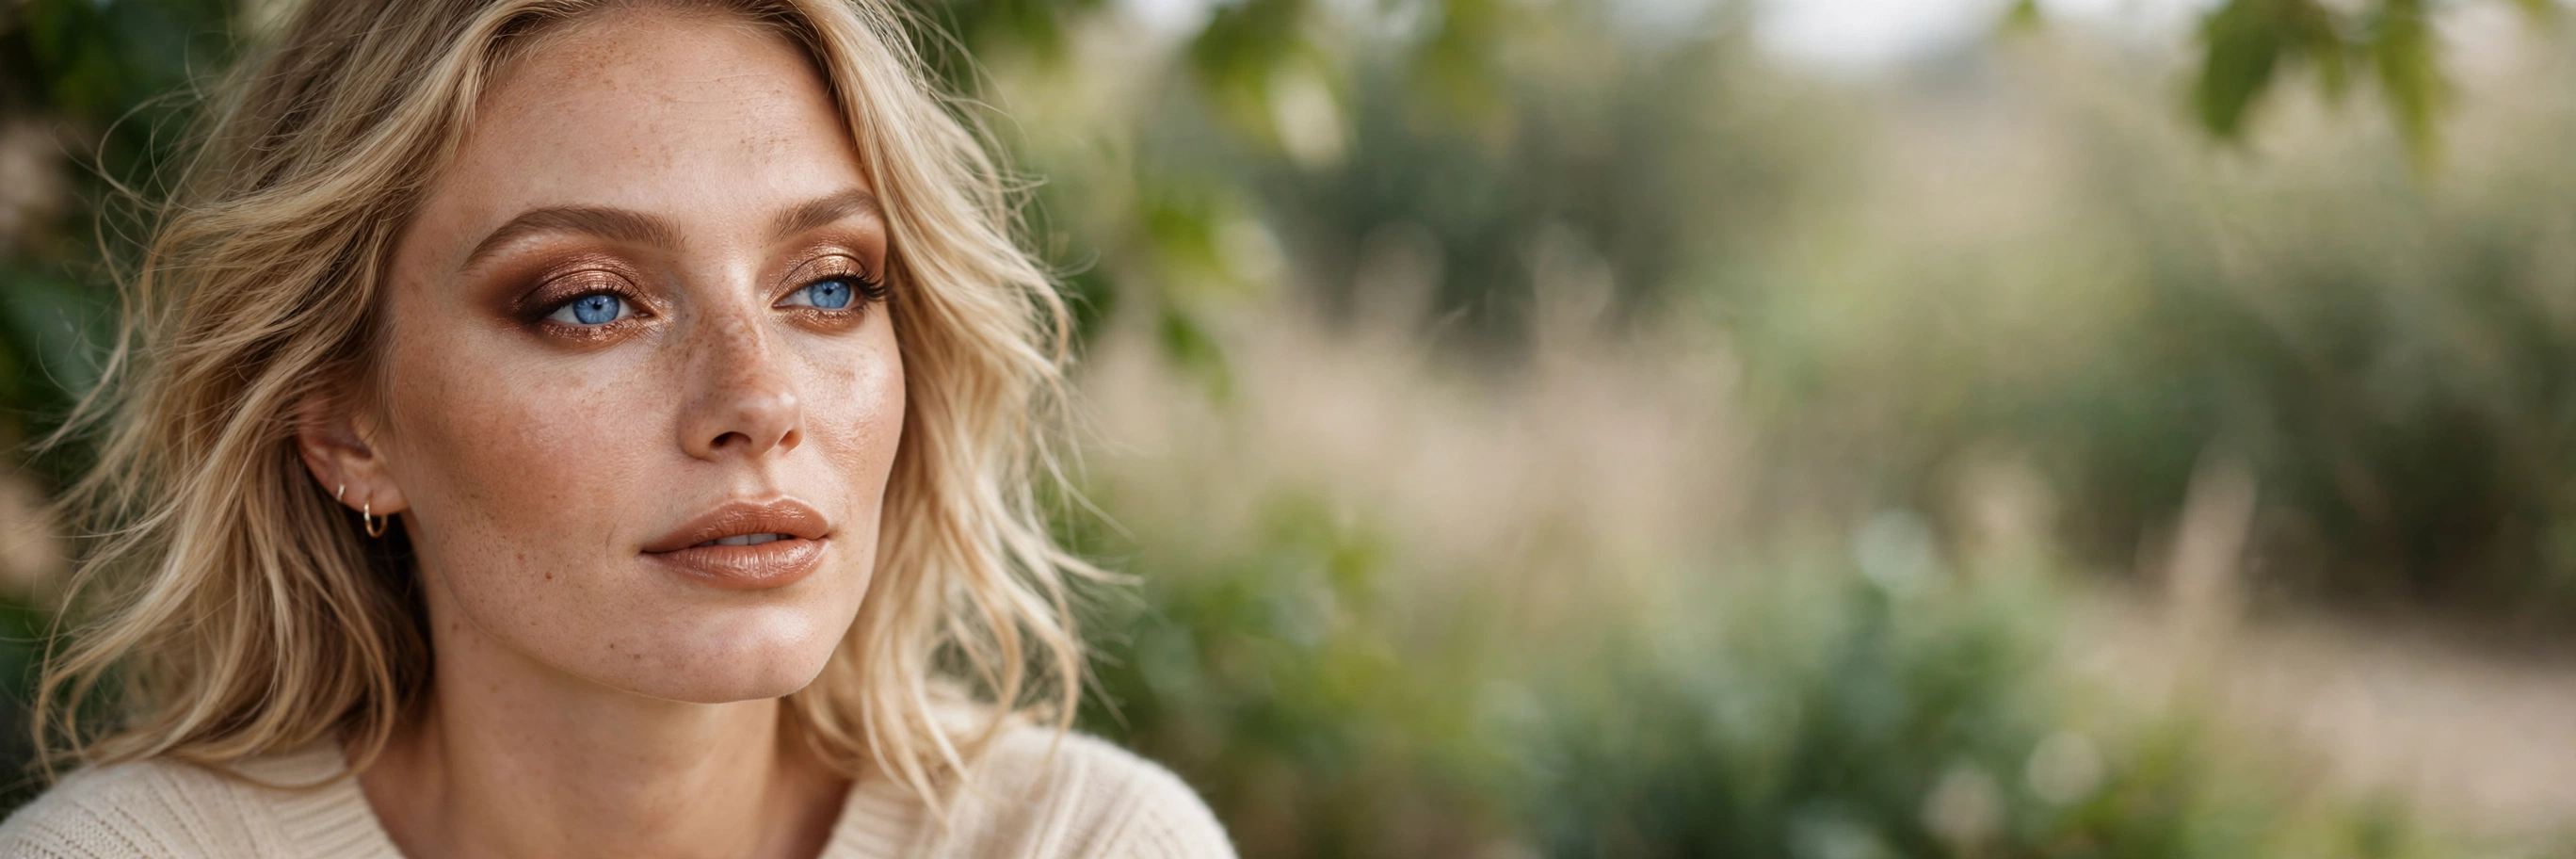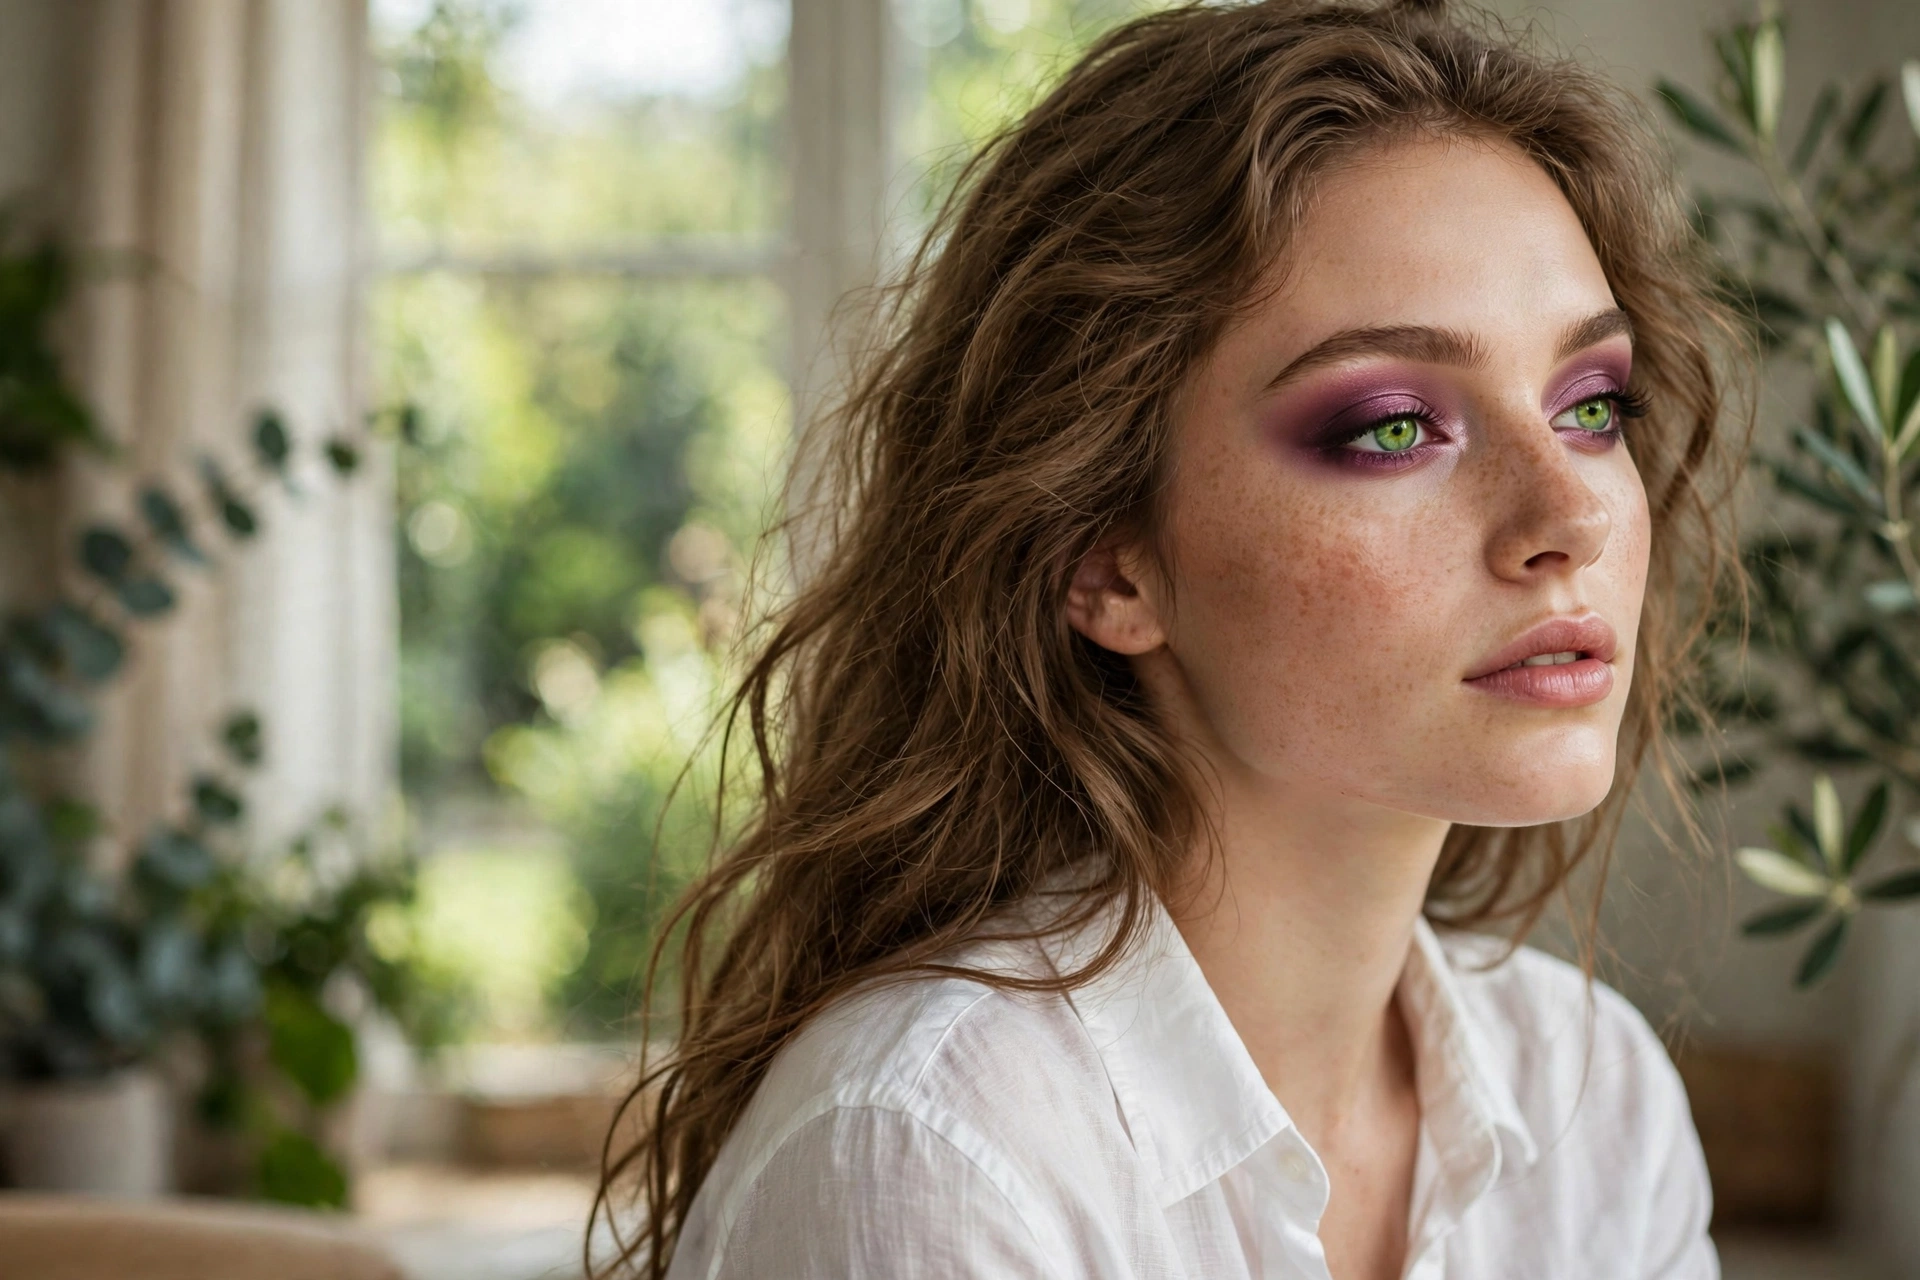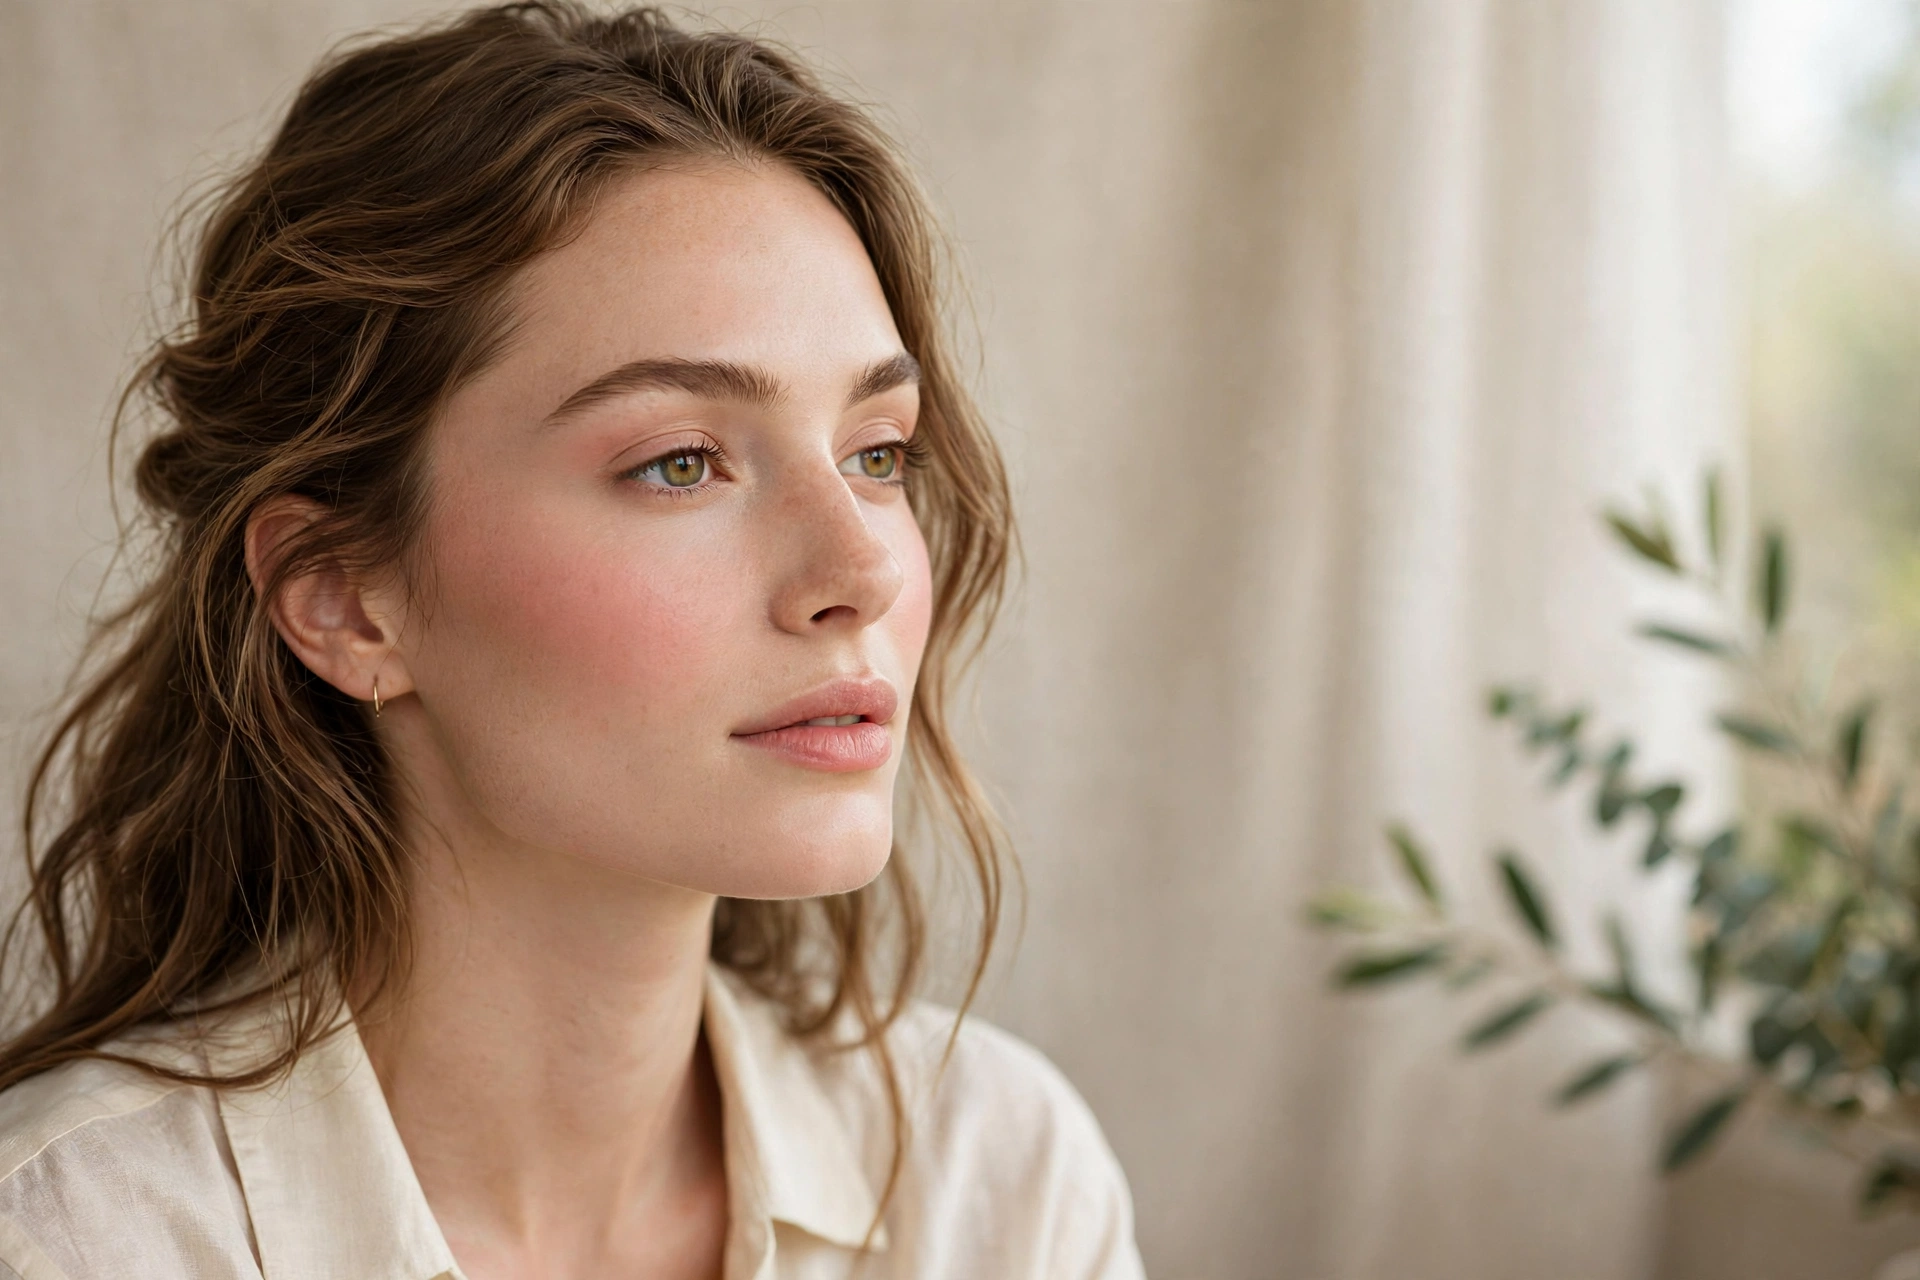
Where you put blush matters more than which blush you buy.
Blush placement can lift, slim, widen, or warm the face — it’s practically contouring with color. The old "smile and apply to apples" advice is outdated and often unflattering.
Modern placement sits higher and more outward, creating lift rather than roundness. Face shape determines the exact map.
Here are 20 placement tips. Let’s get into it.
The Lifted Placement
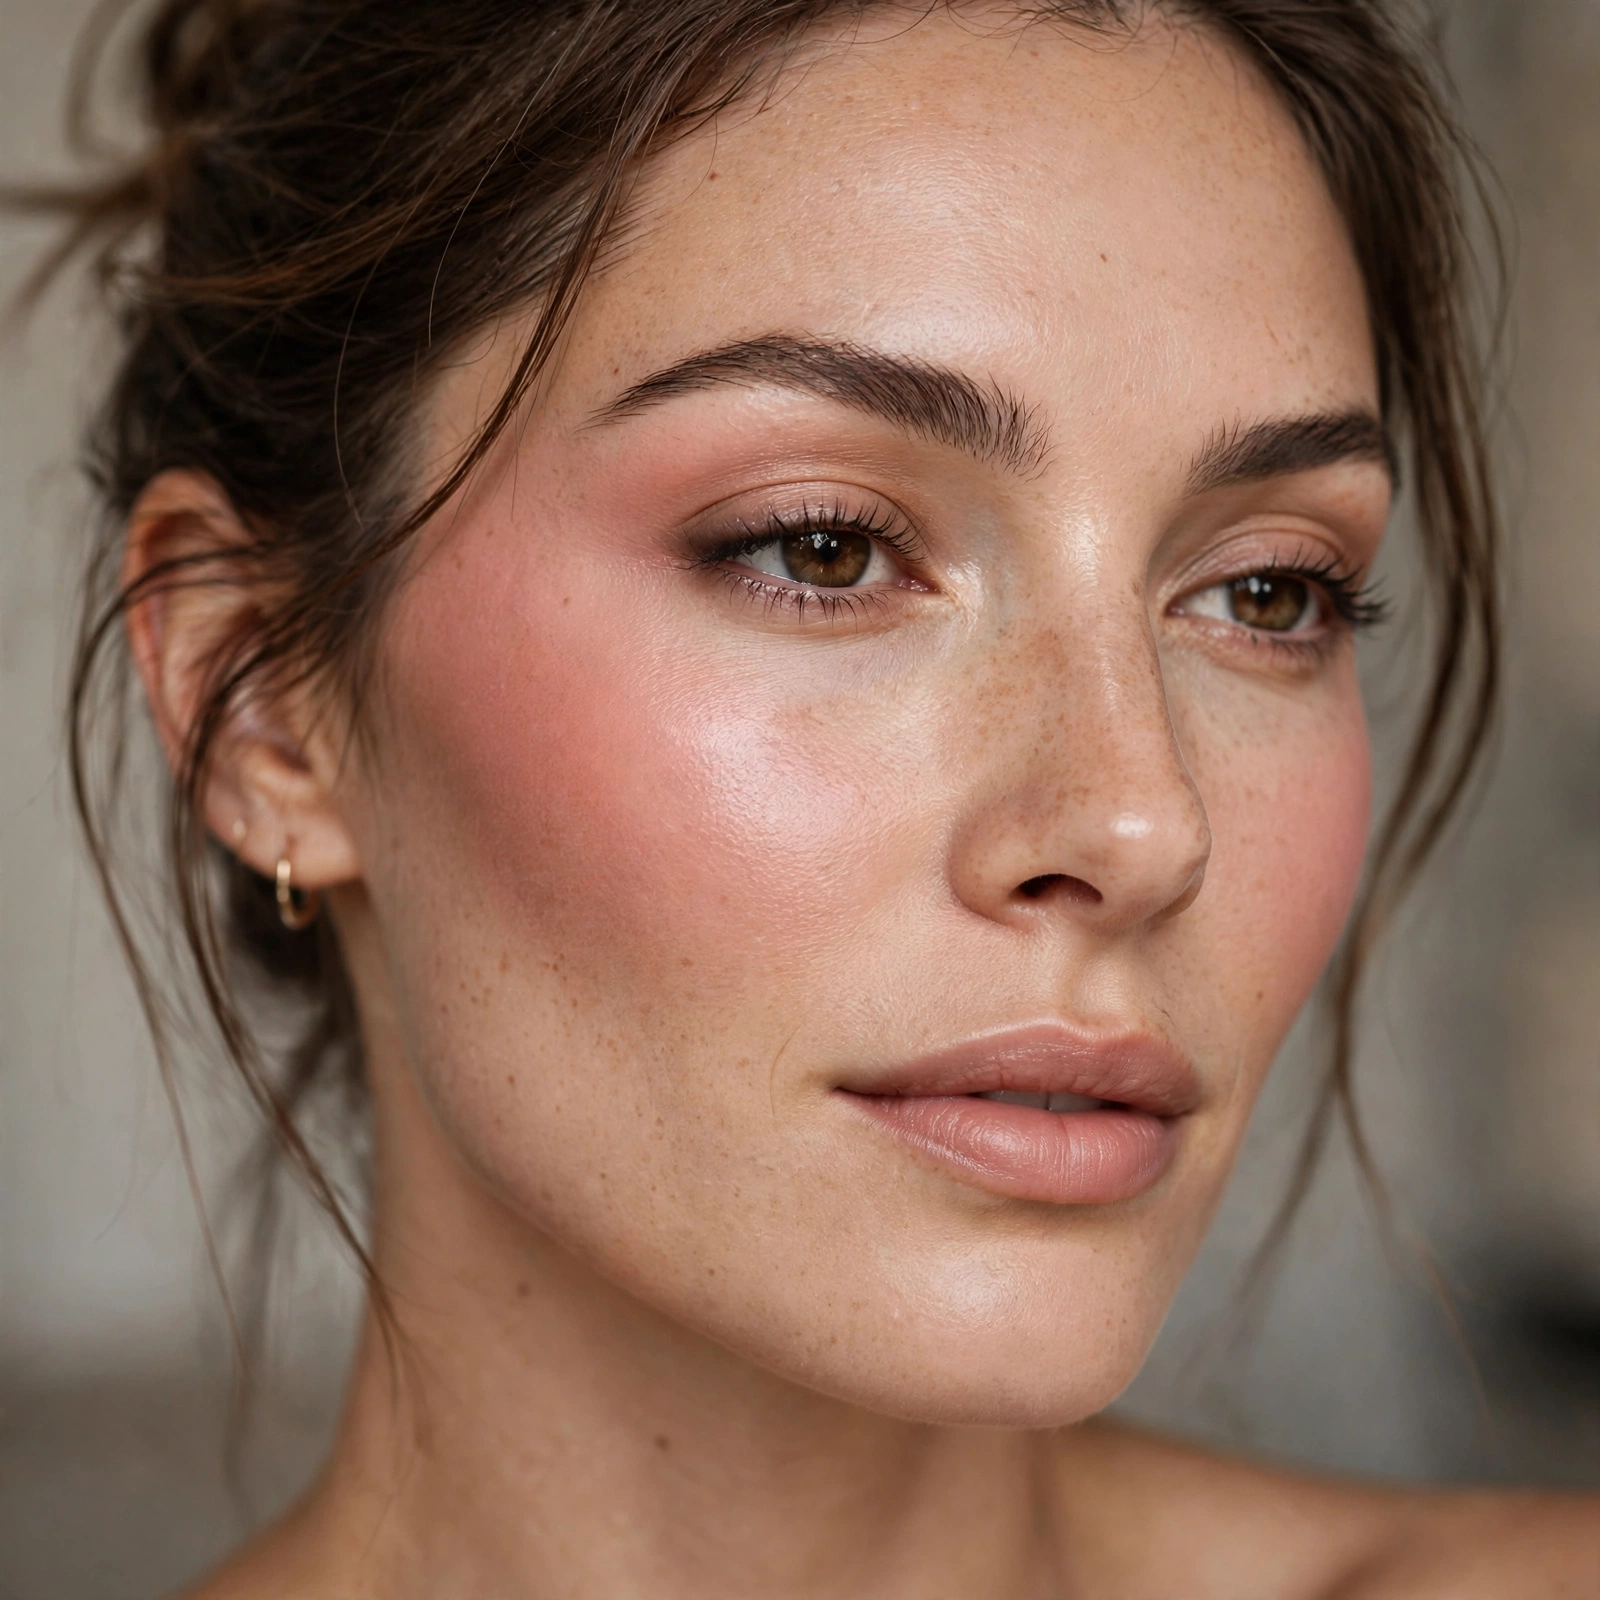
Apply blush on the upper cheekbone, blending toward the temple — the lifting placement.
High and outward creates lift. Low and inward creates roundness. Choose lift.
Face Shape Mapping
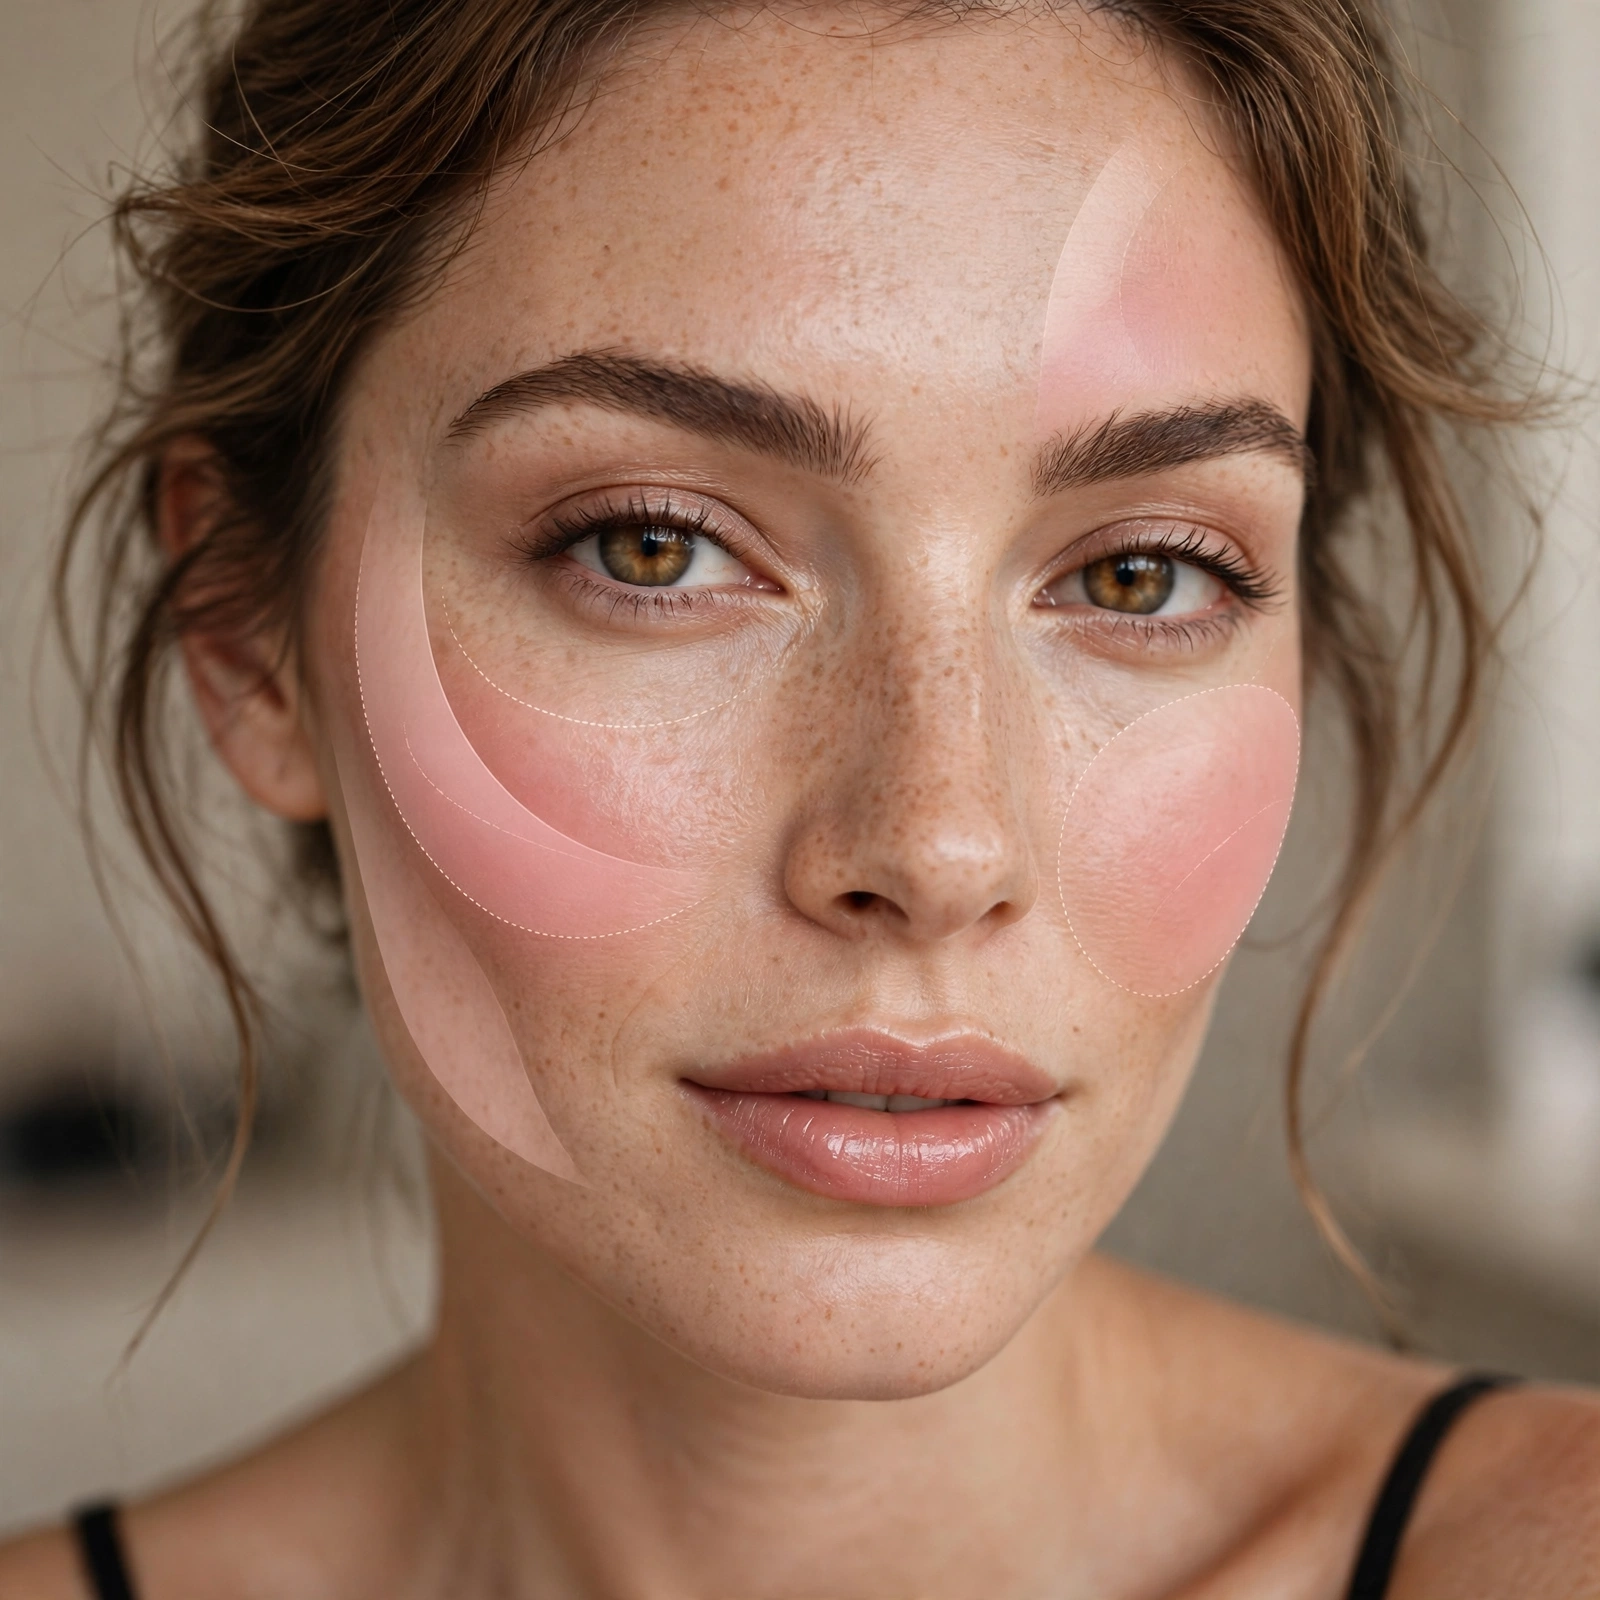
Round faces: higher and more angled. Long faces: more horizontal. Heart faces: soften the cheek width.
One placement doesn’t fit all. Map to your structure.
The Draping Technique
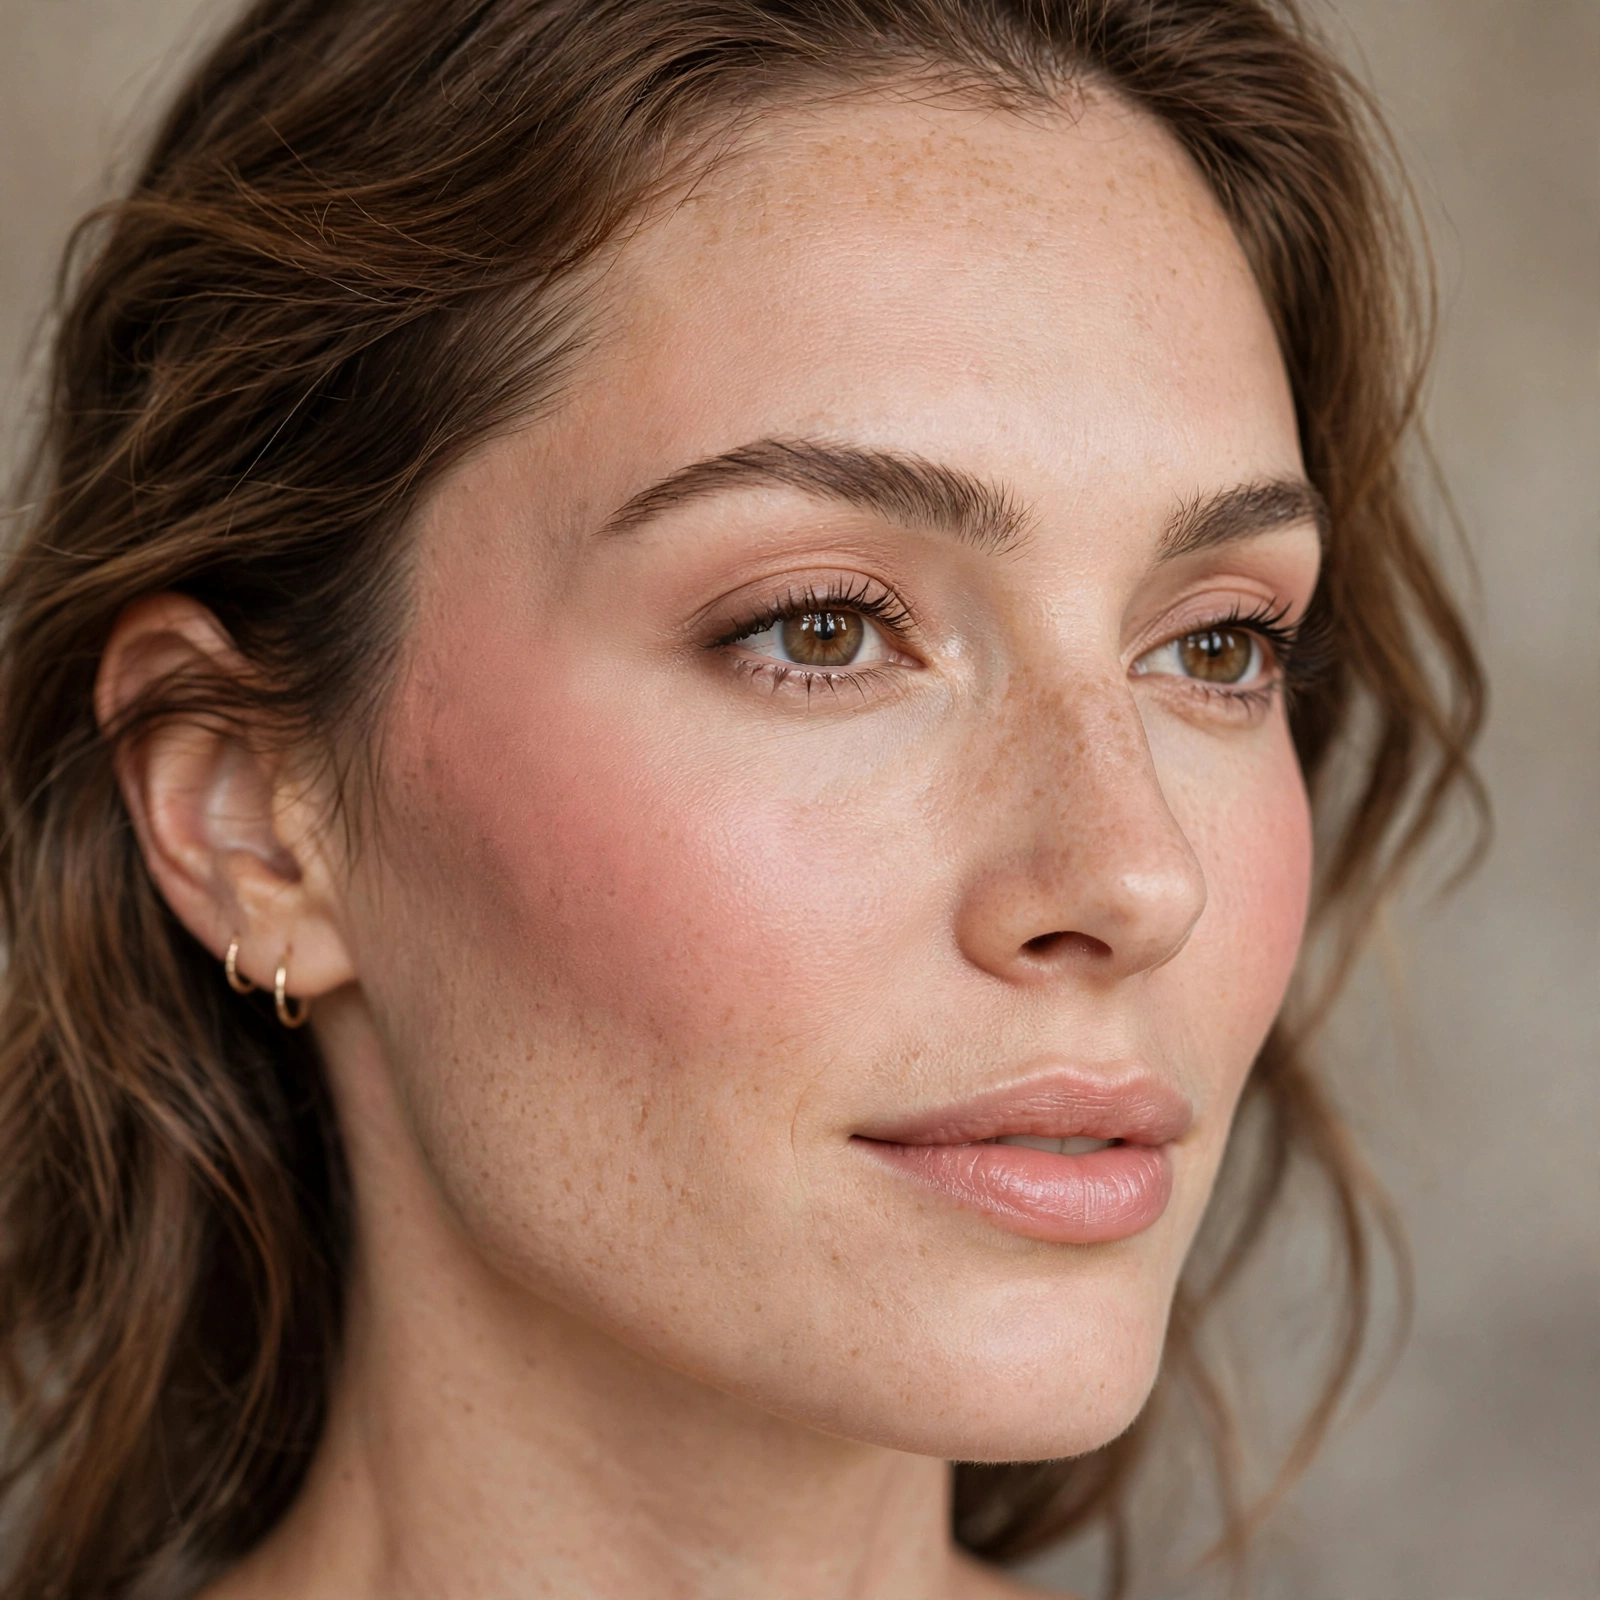
Drape blush from cheek up toward temple in a C shape — the 70s technique, modernized.
Draping sculpts while it colors. It’s blush and contour in one.
Nose Bridge Flush
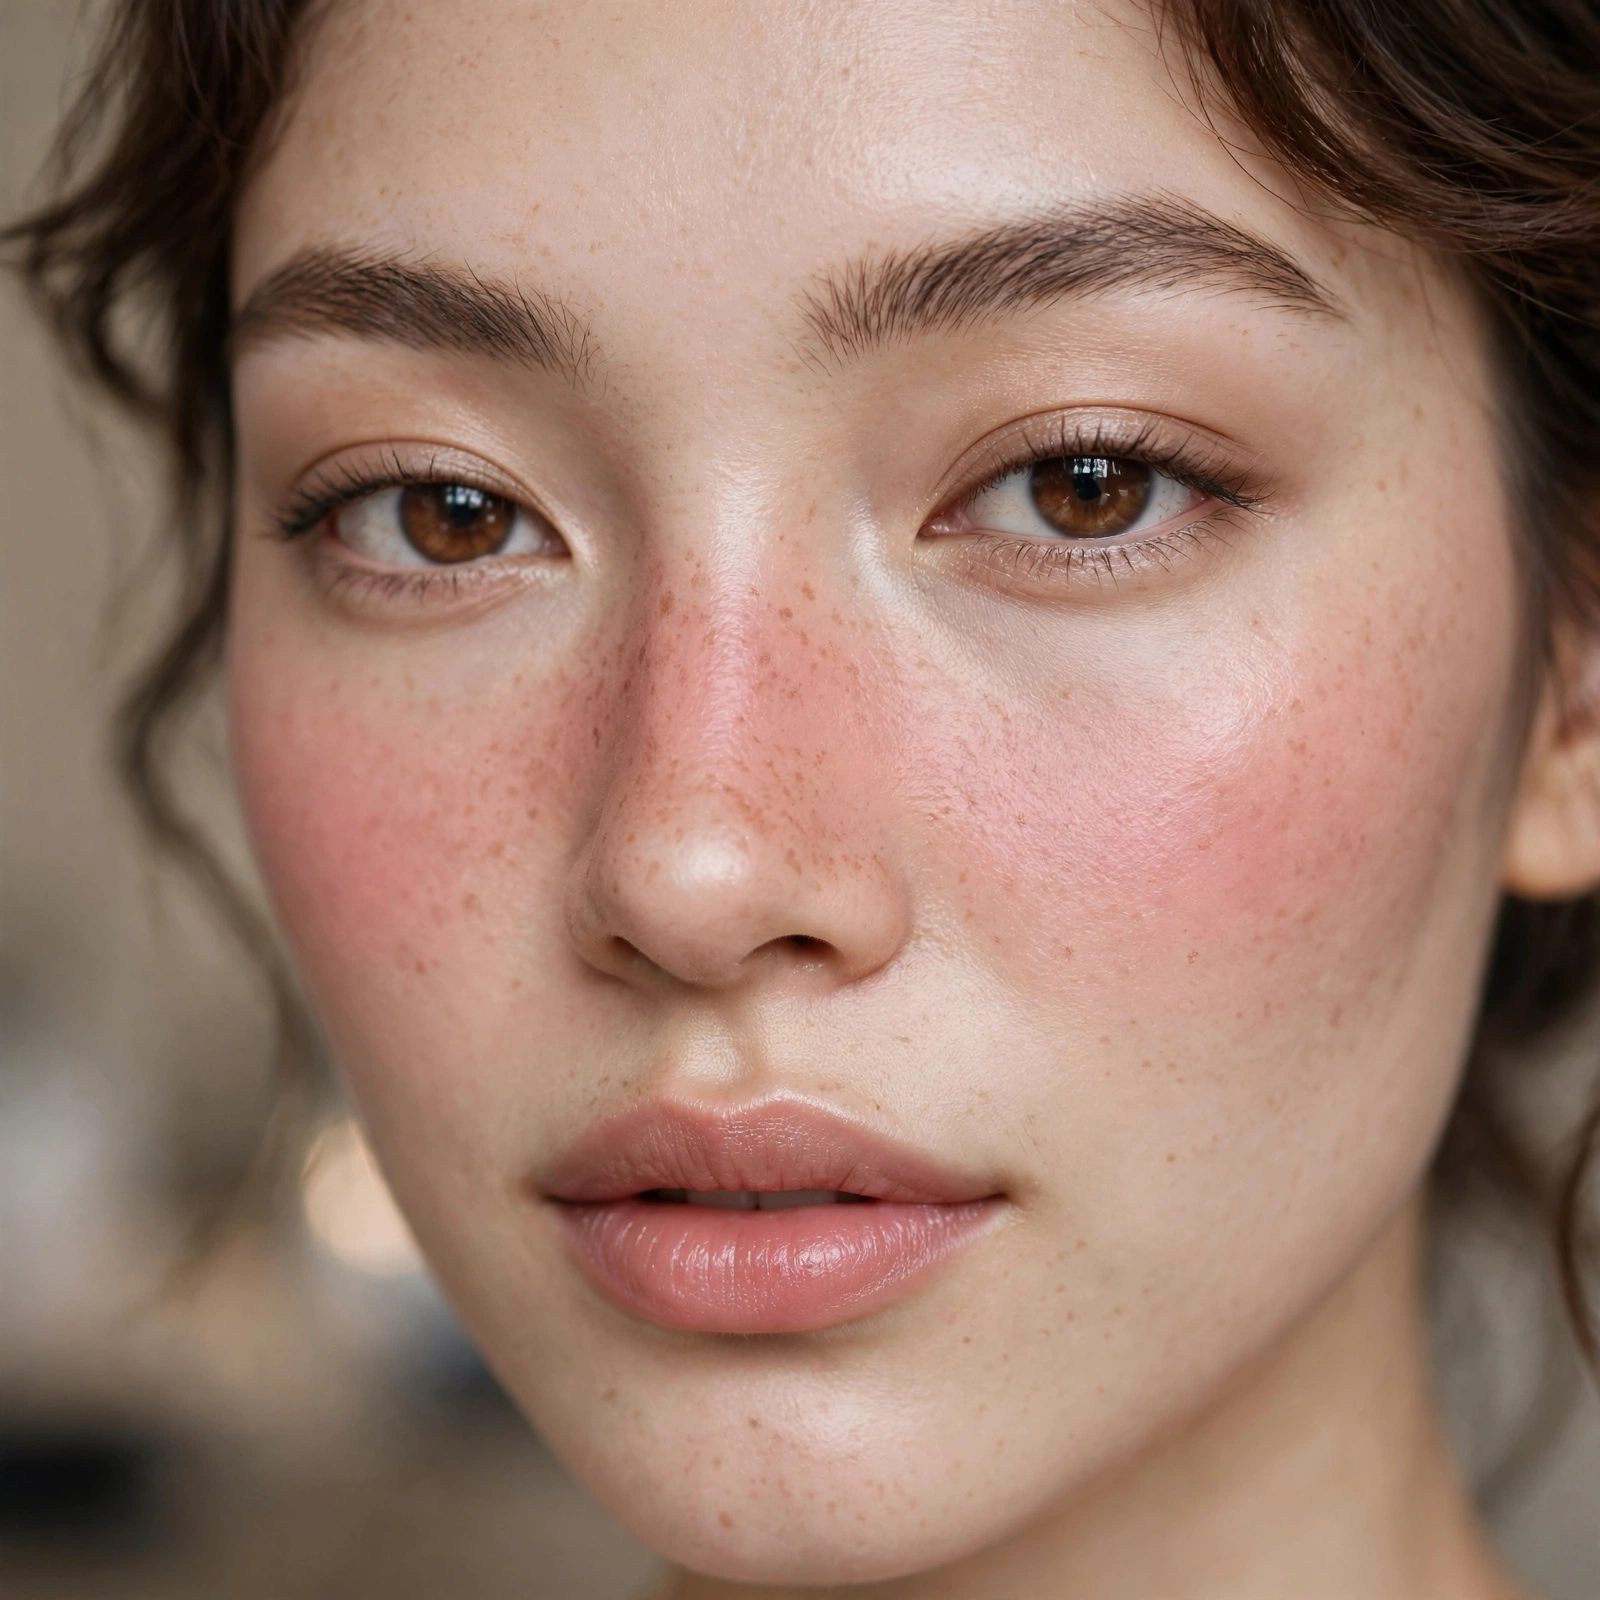
A touch across the nose bridge — the sun-kissed, youthful flush.
The nose flush reads as natural warmth. It’s the "just came inside from cold" look.
Under-Eye Brightening Blush
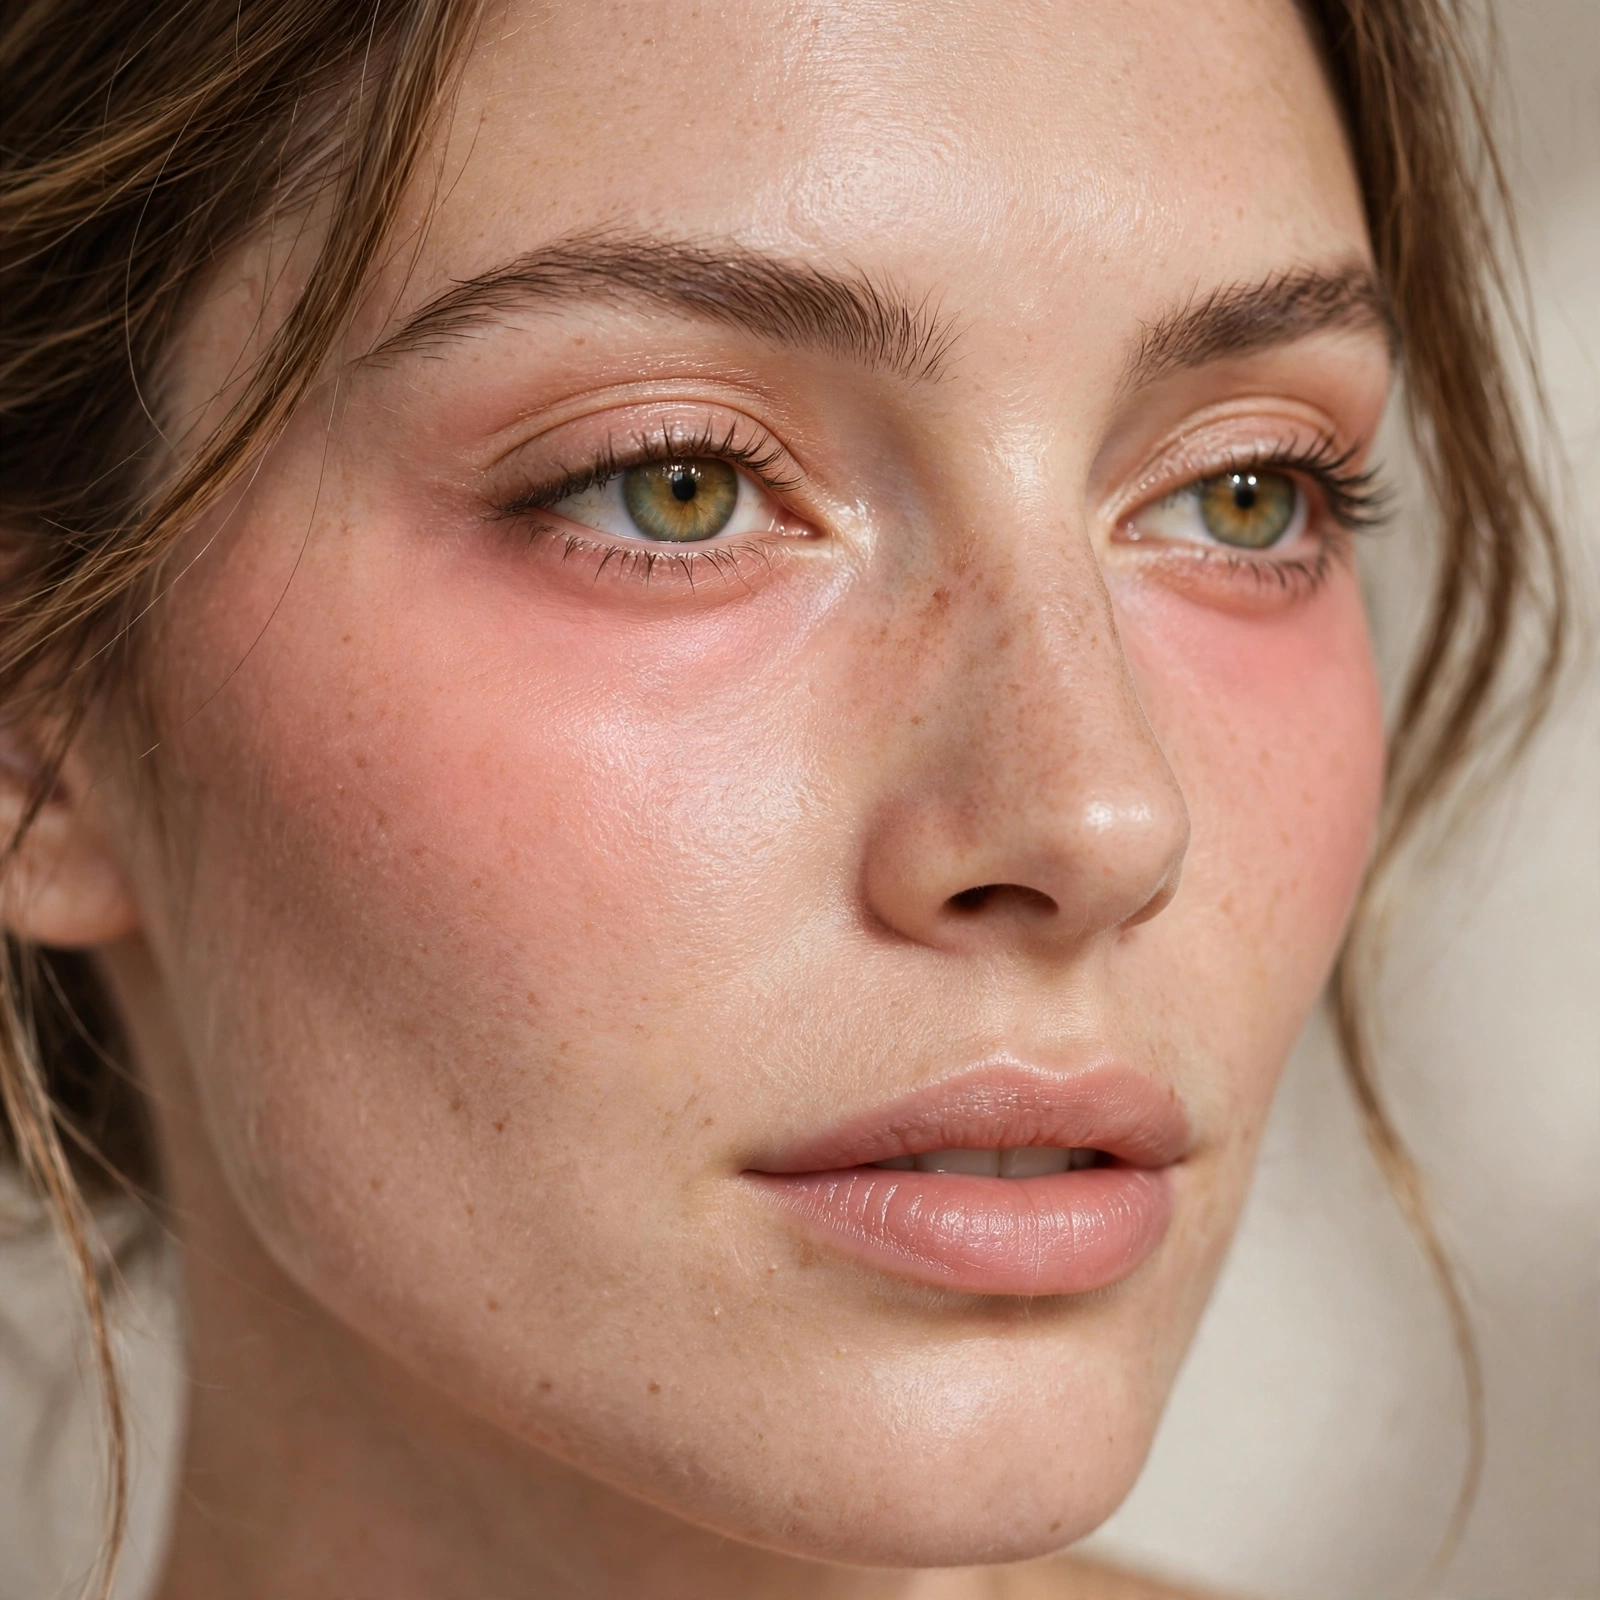
Blush placed high, near the under-eye, brightens the whole area.
High placement lifts and brightens simultaneously. Two benefits, one product.
The W Shape
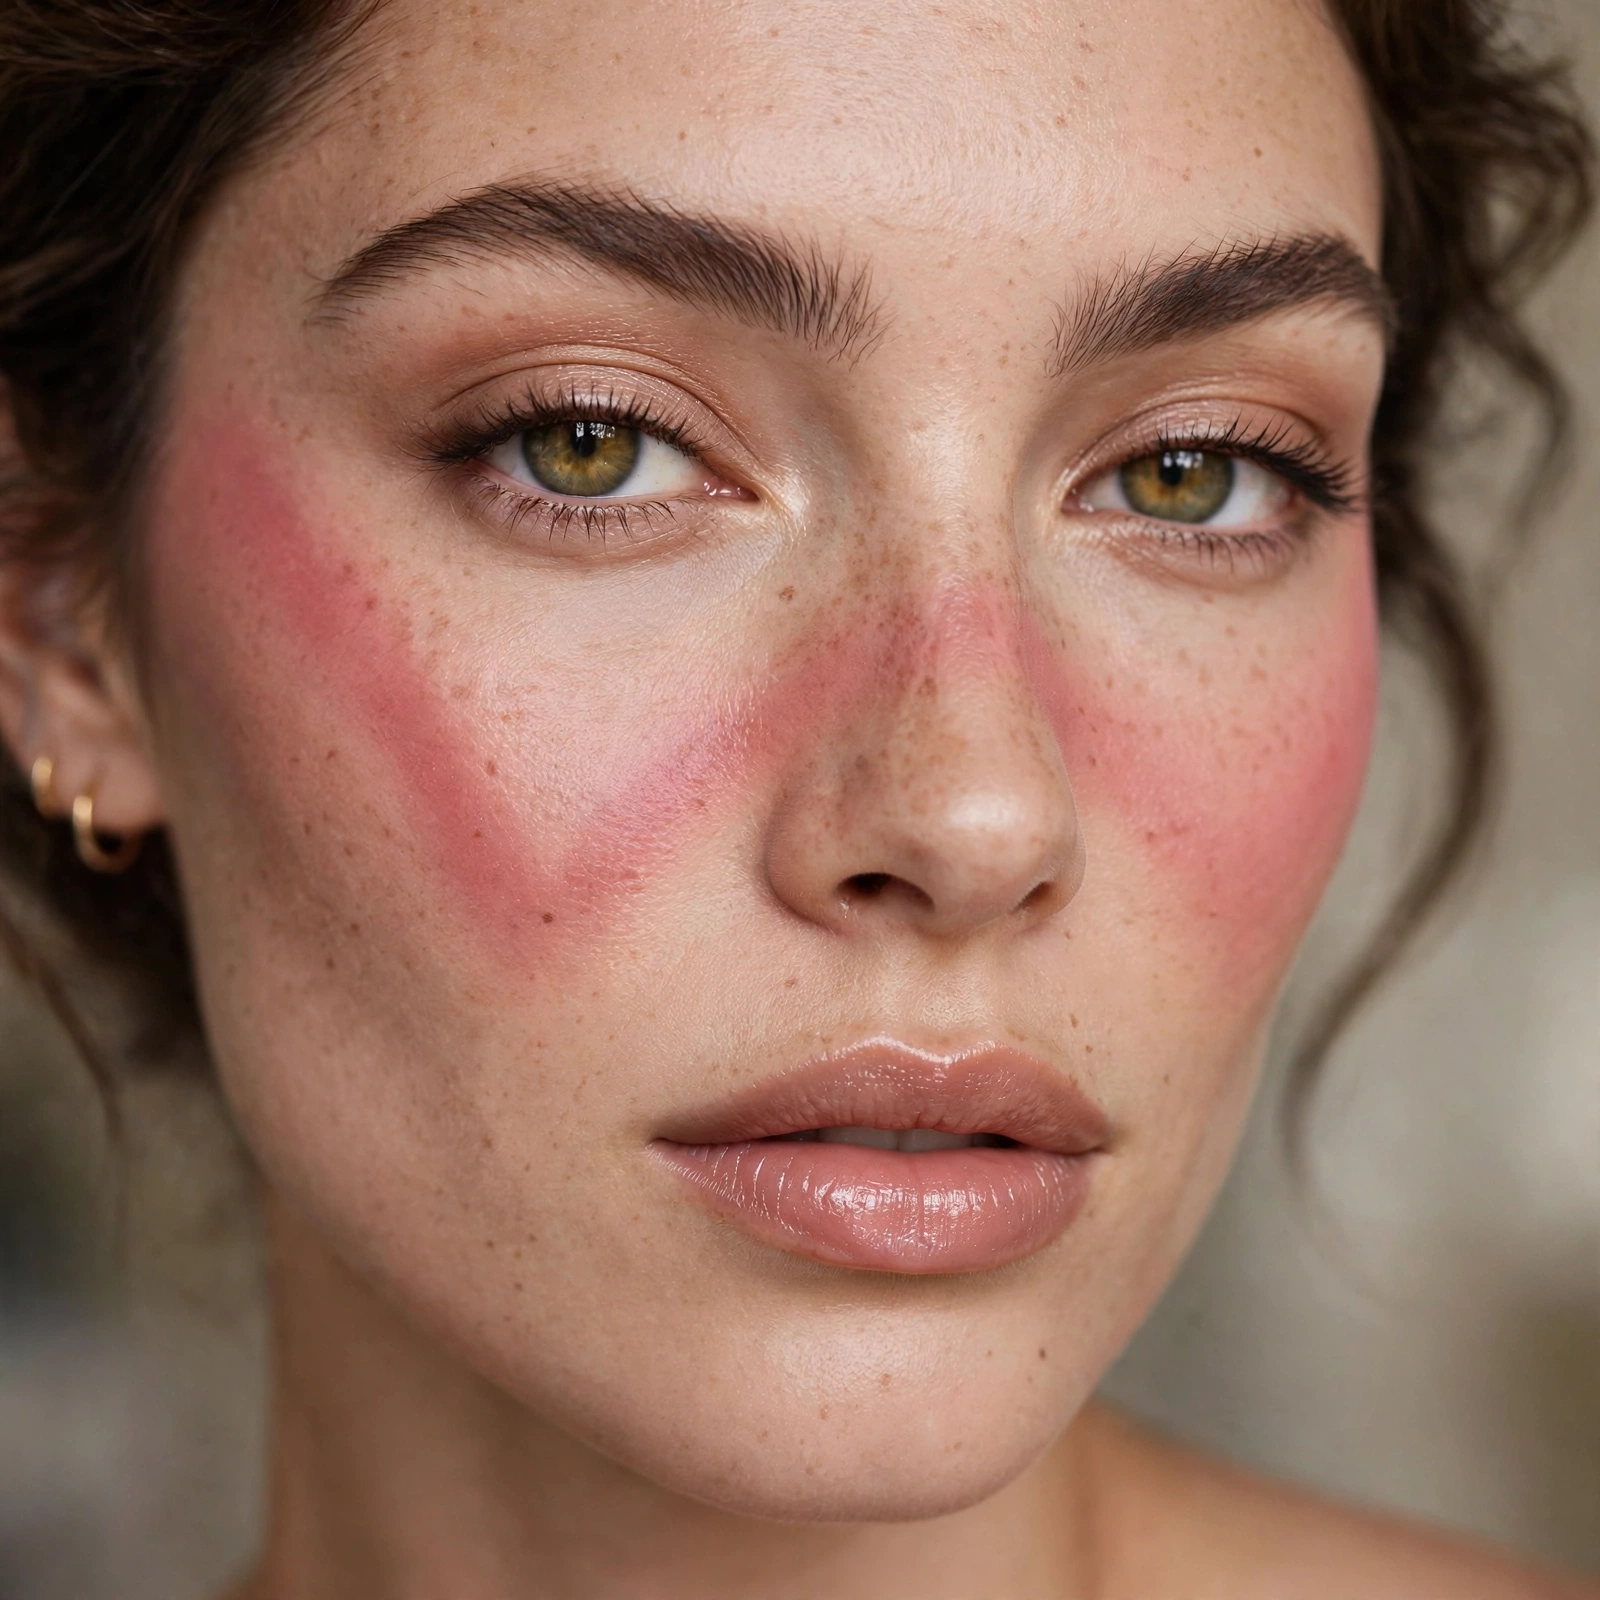
Sweep blush in a W across cheeks and nose — the beach-day flush.
The W mimics natural sun exposure. It’s the most natural-looking placement.
Temple Blush
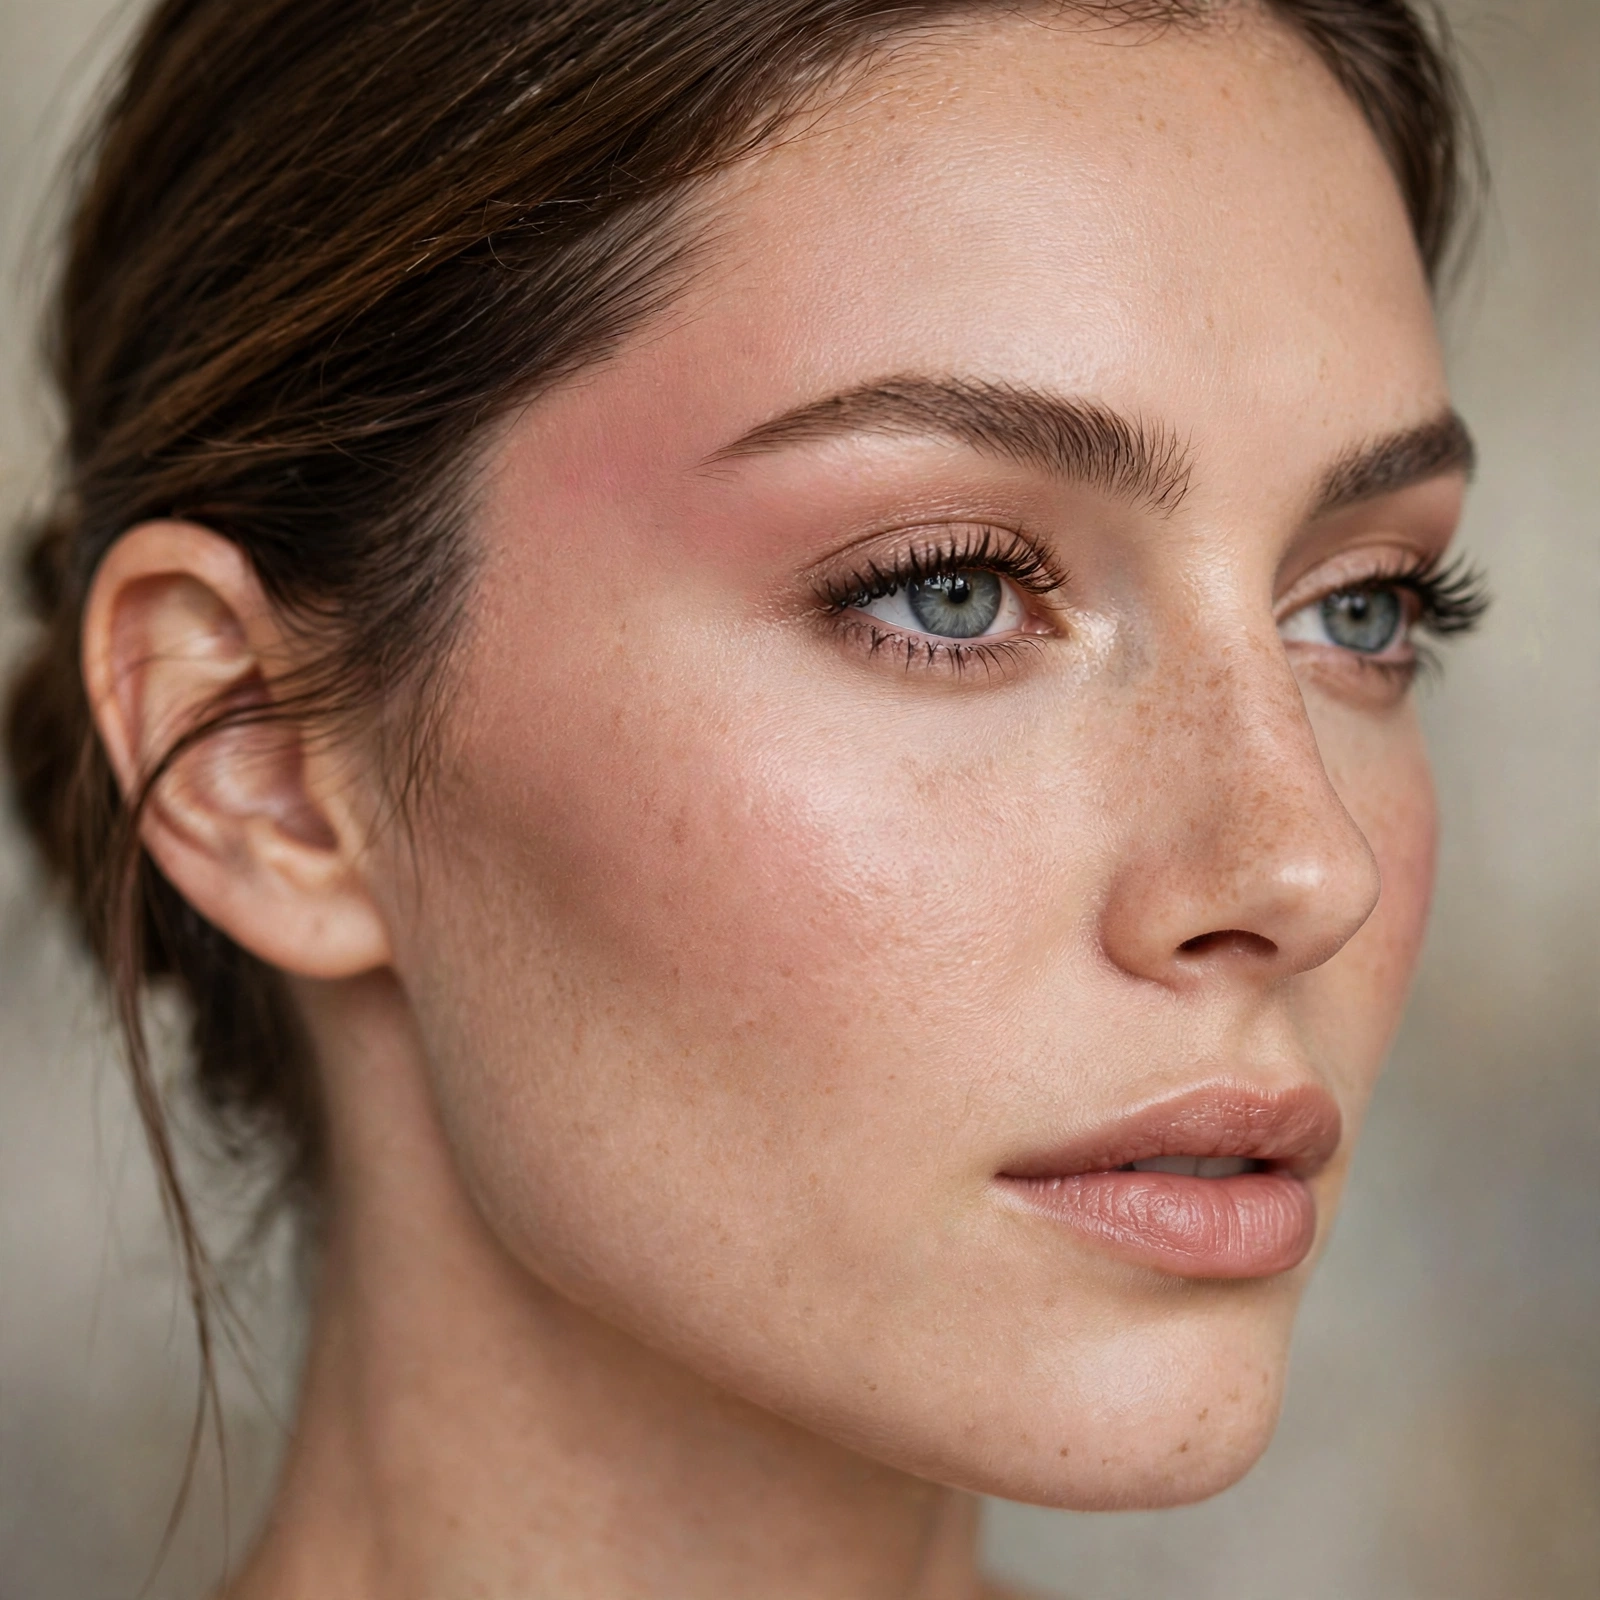
Extend blush to the temples for a lifted, sculpted effect.
Temple blush pulls the eye upward and outward. Maximum lift placement.
Avoid the Apples (Mostly)
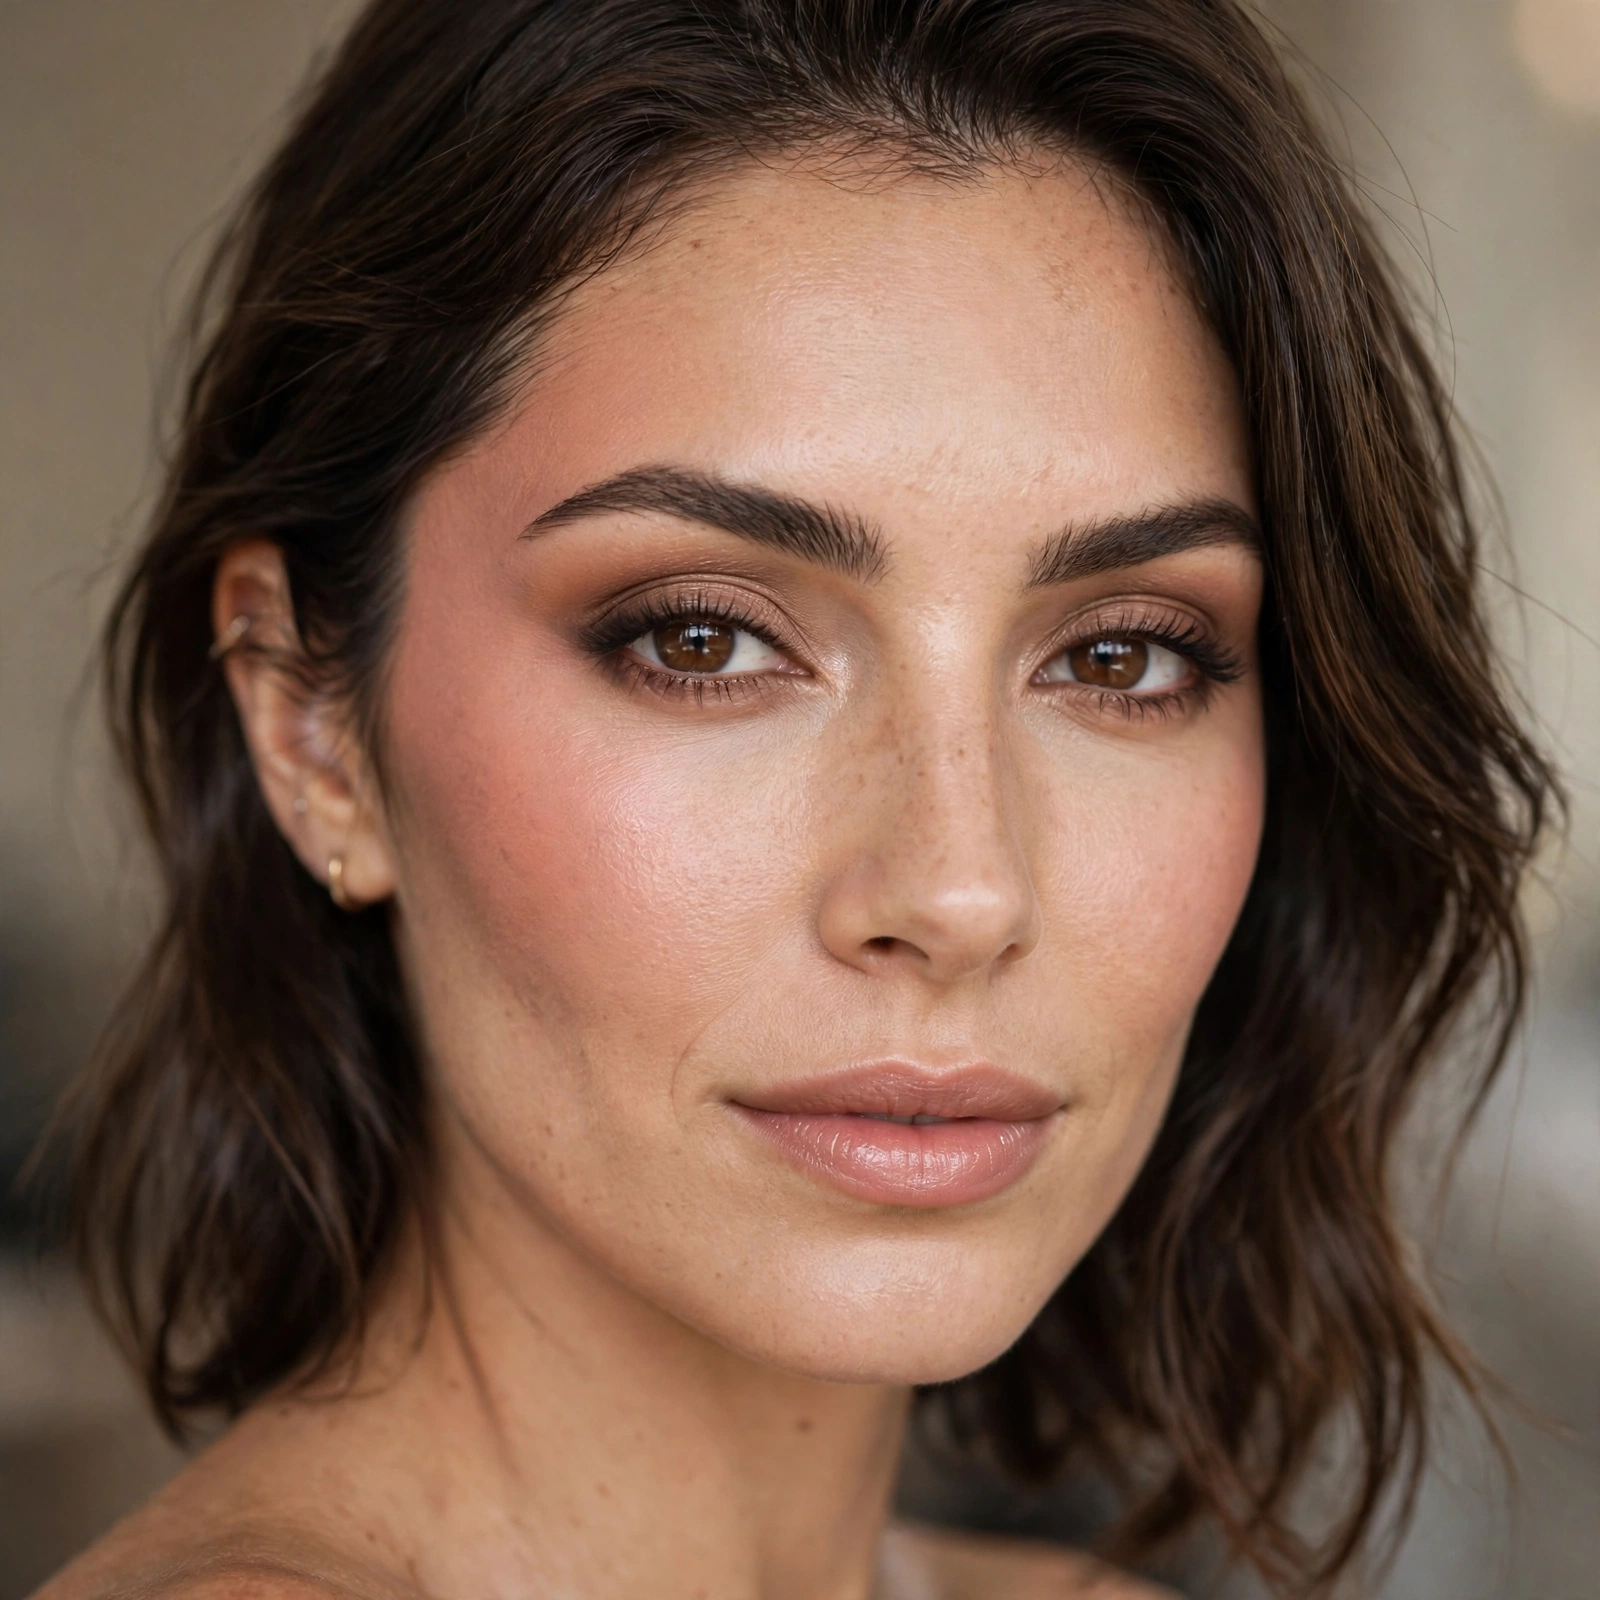
Blush only on the apples can drag the face down and look dated.
The apples are a starting point, not the destination. Blend up and out from there.
Cream Before Powder
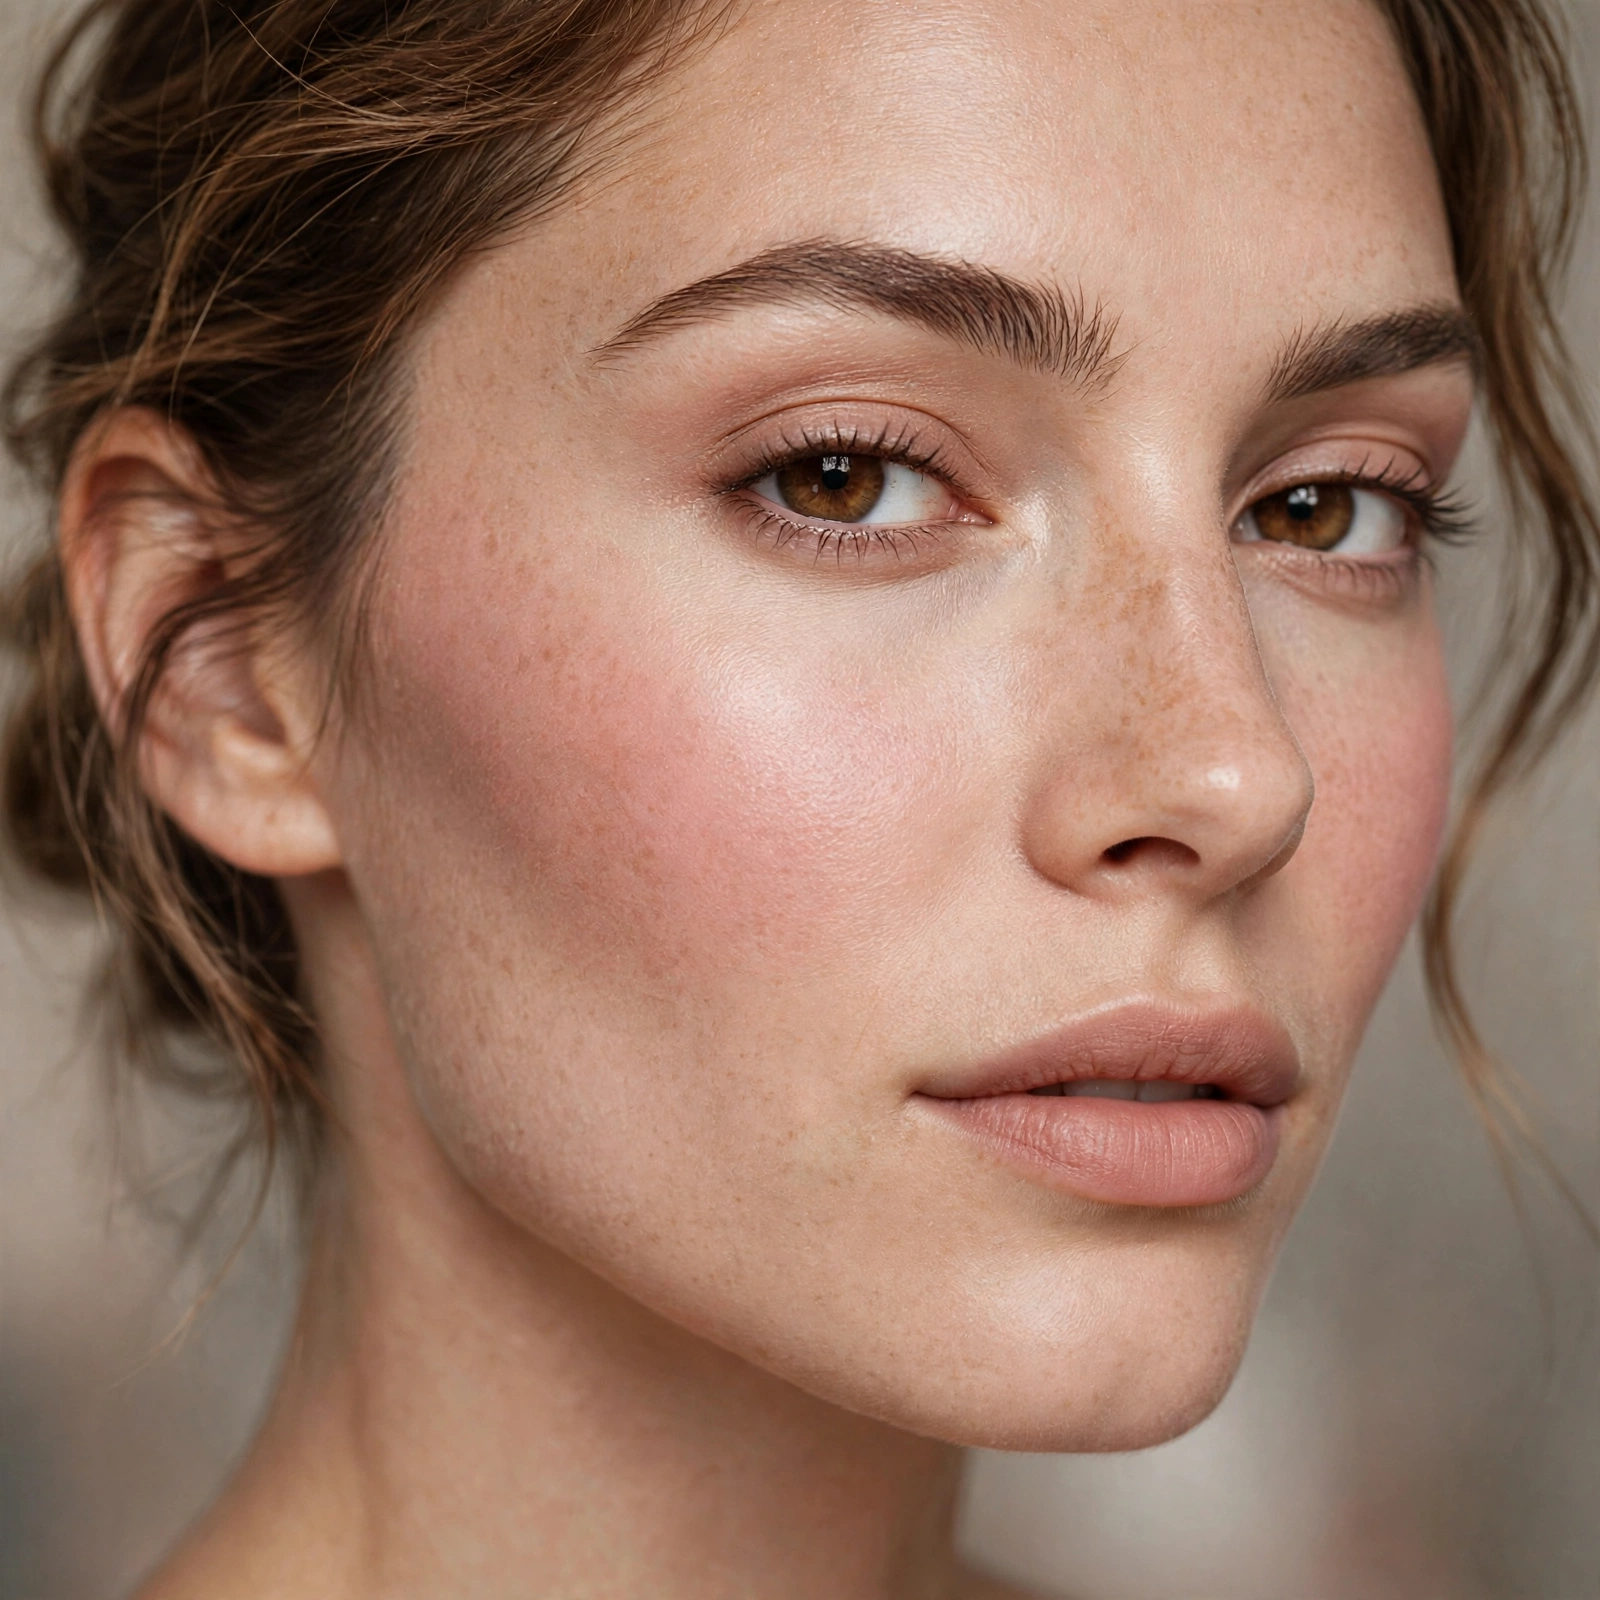
Layer cream blush under powder blush for dimension that lasts.
The cream gives glow; the powder sets it. Layering is the longevity secret.
Blush and Contour Order
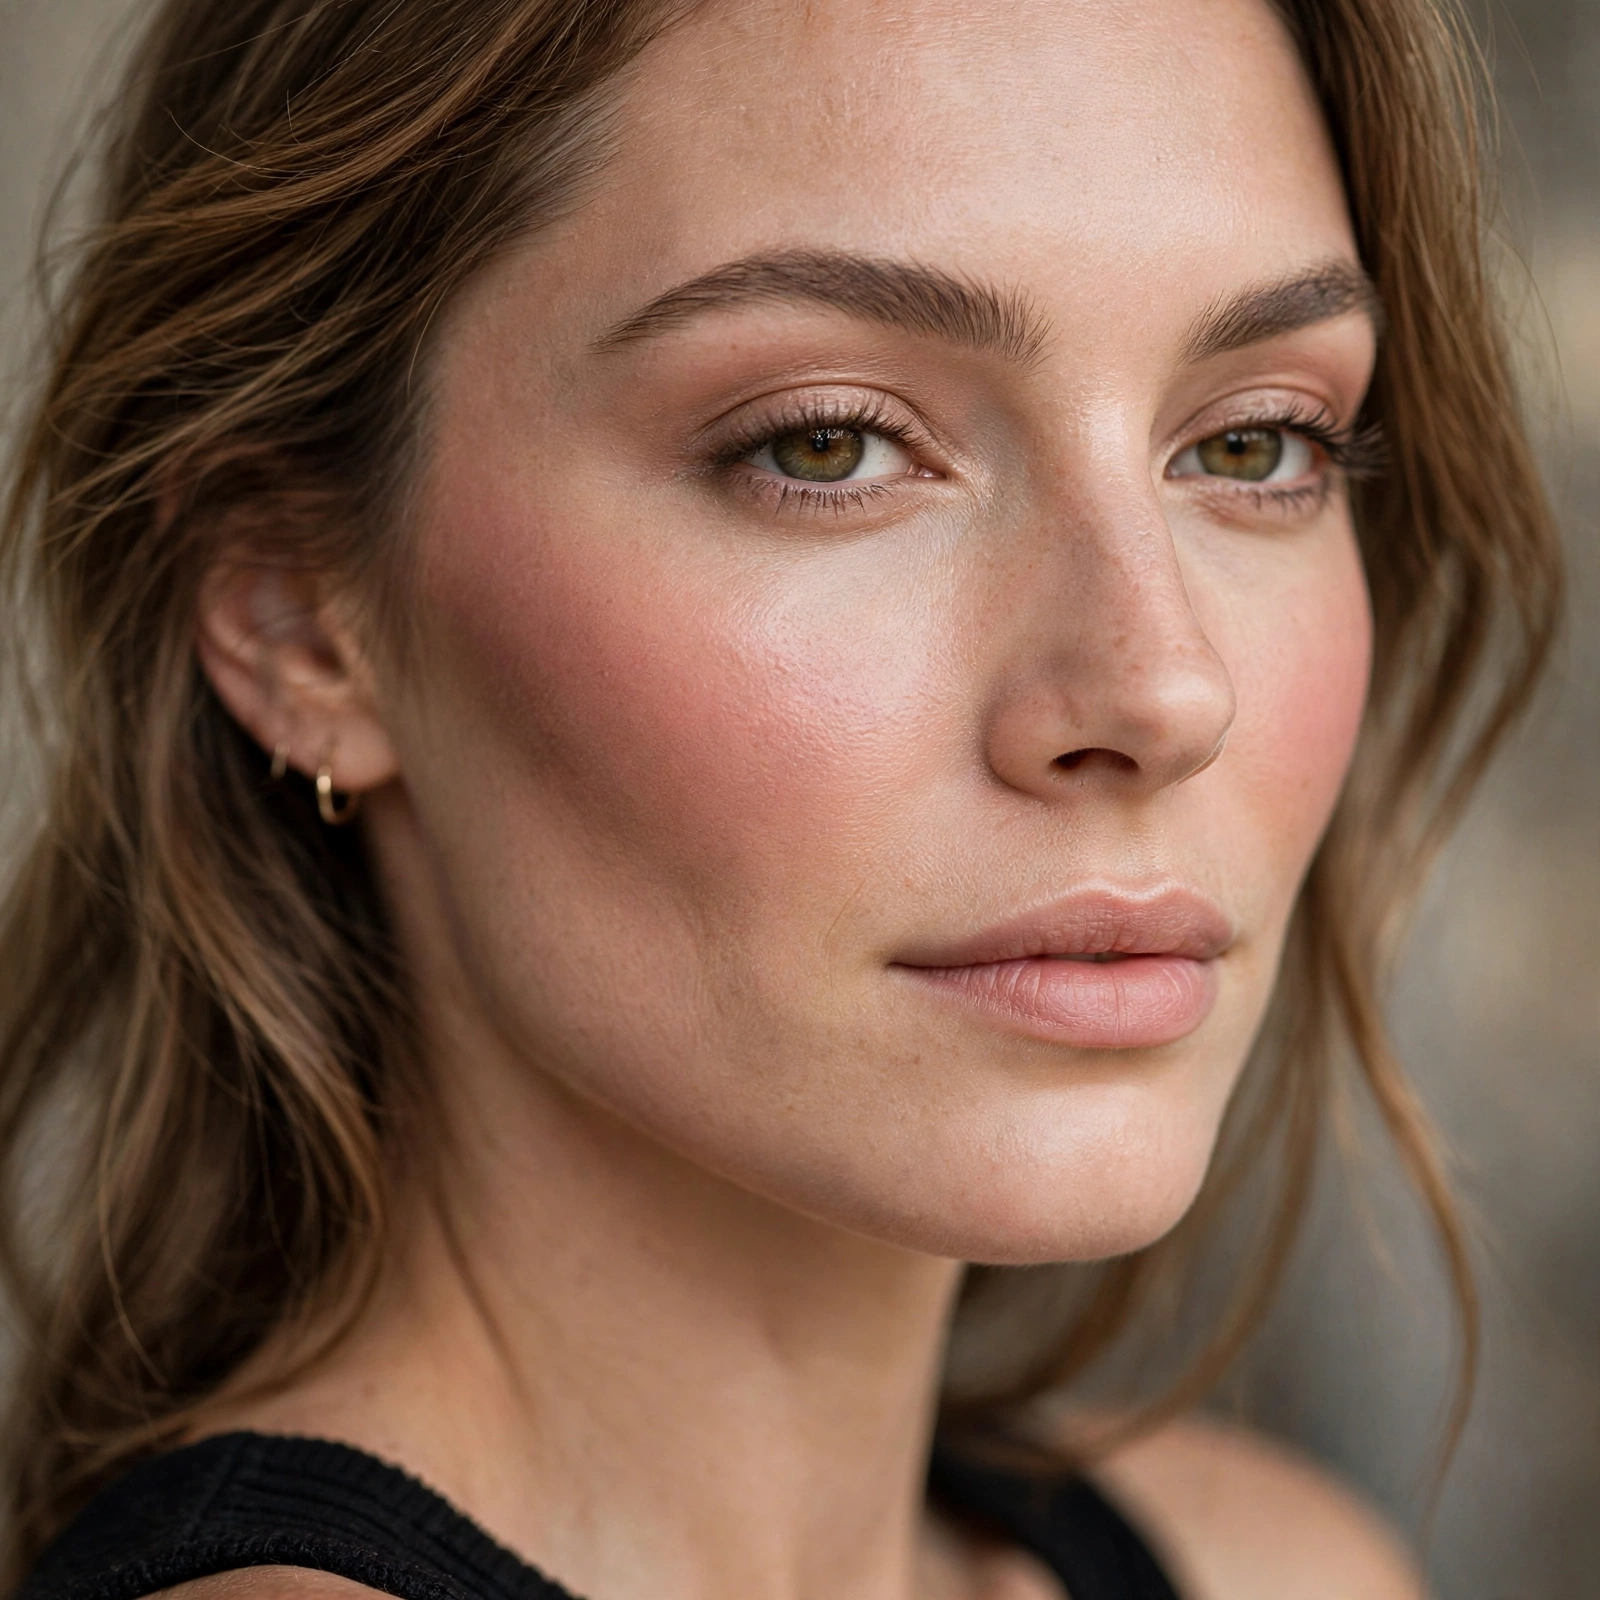
Apply contour first, then blush above it — the sculpted flush.
Our contour guide covers the base. Order creates the structure; blush adds the life.
The Vertical Lift
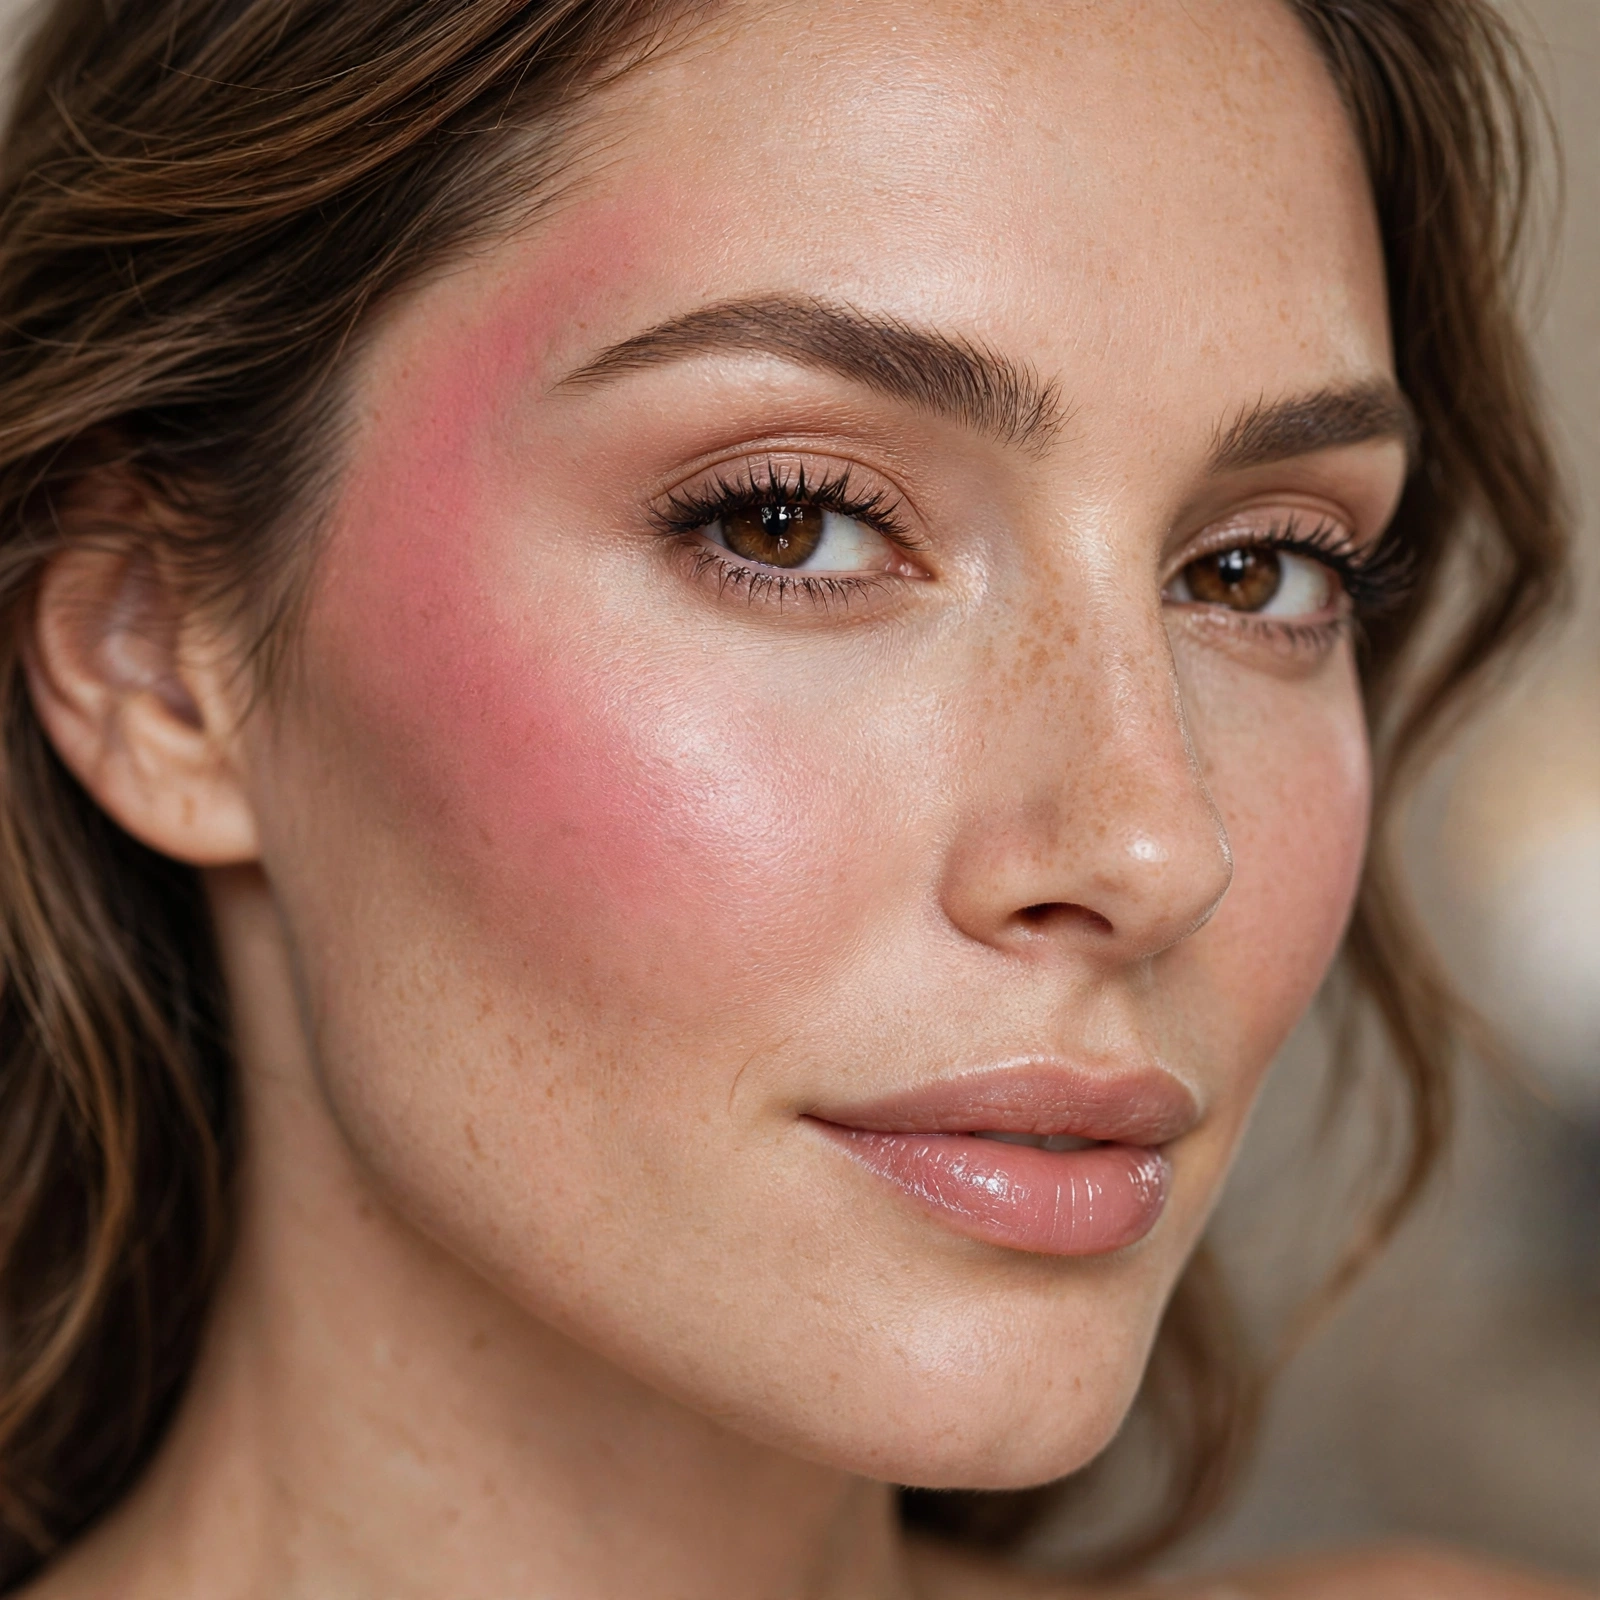
Blend blush in upward strokes only — never downward.
Upward blending physically lifts the product placement. Direction is destiny.
Mature Face Placement
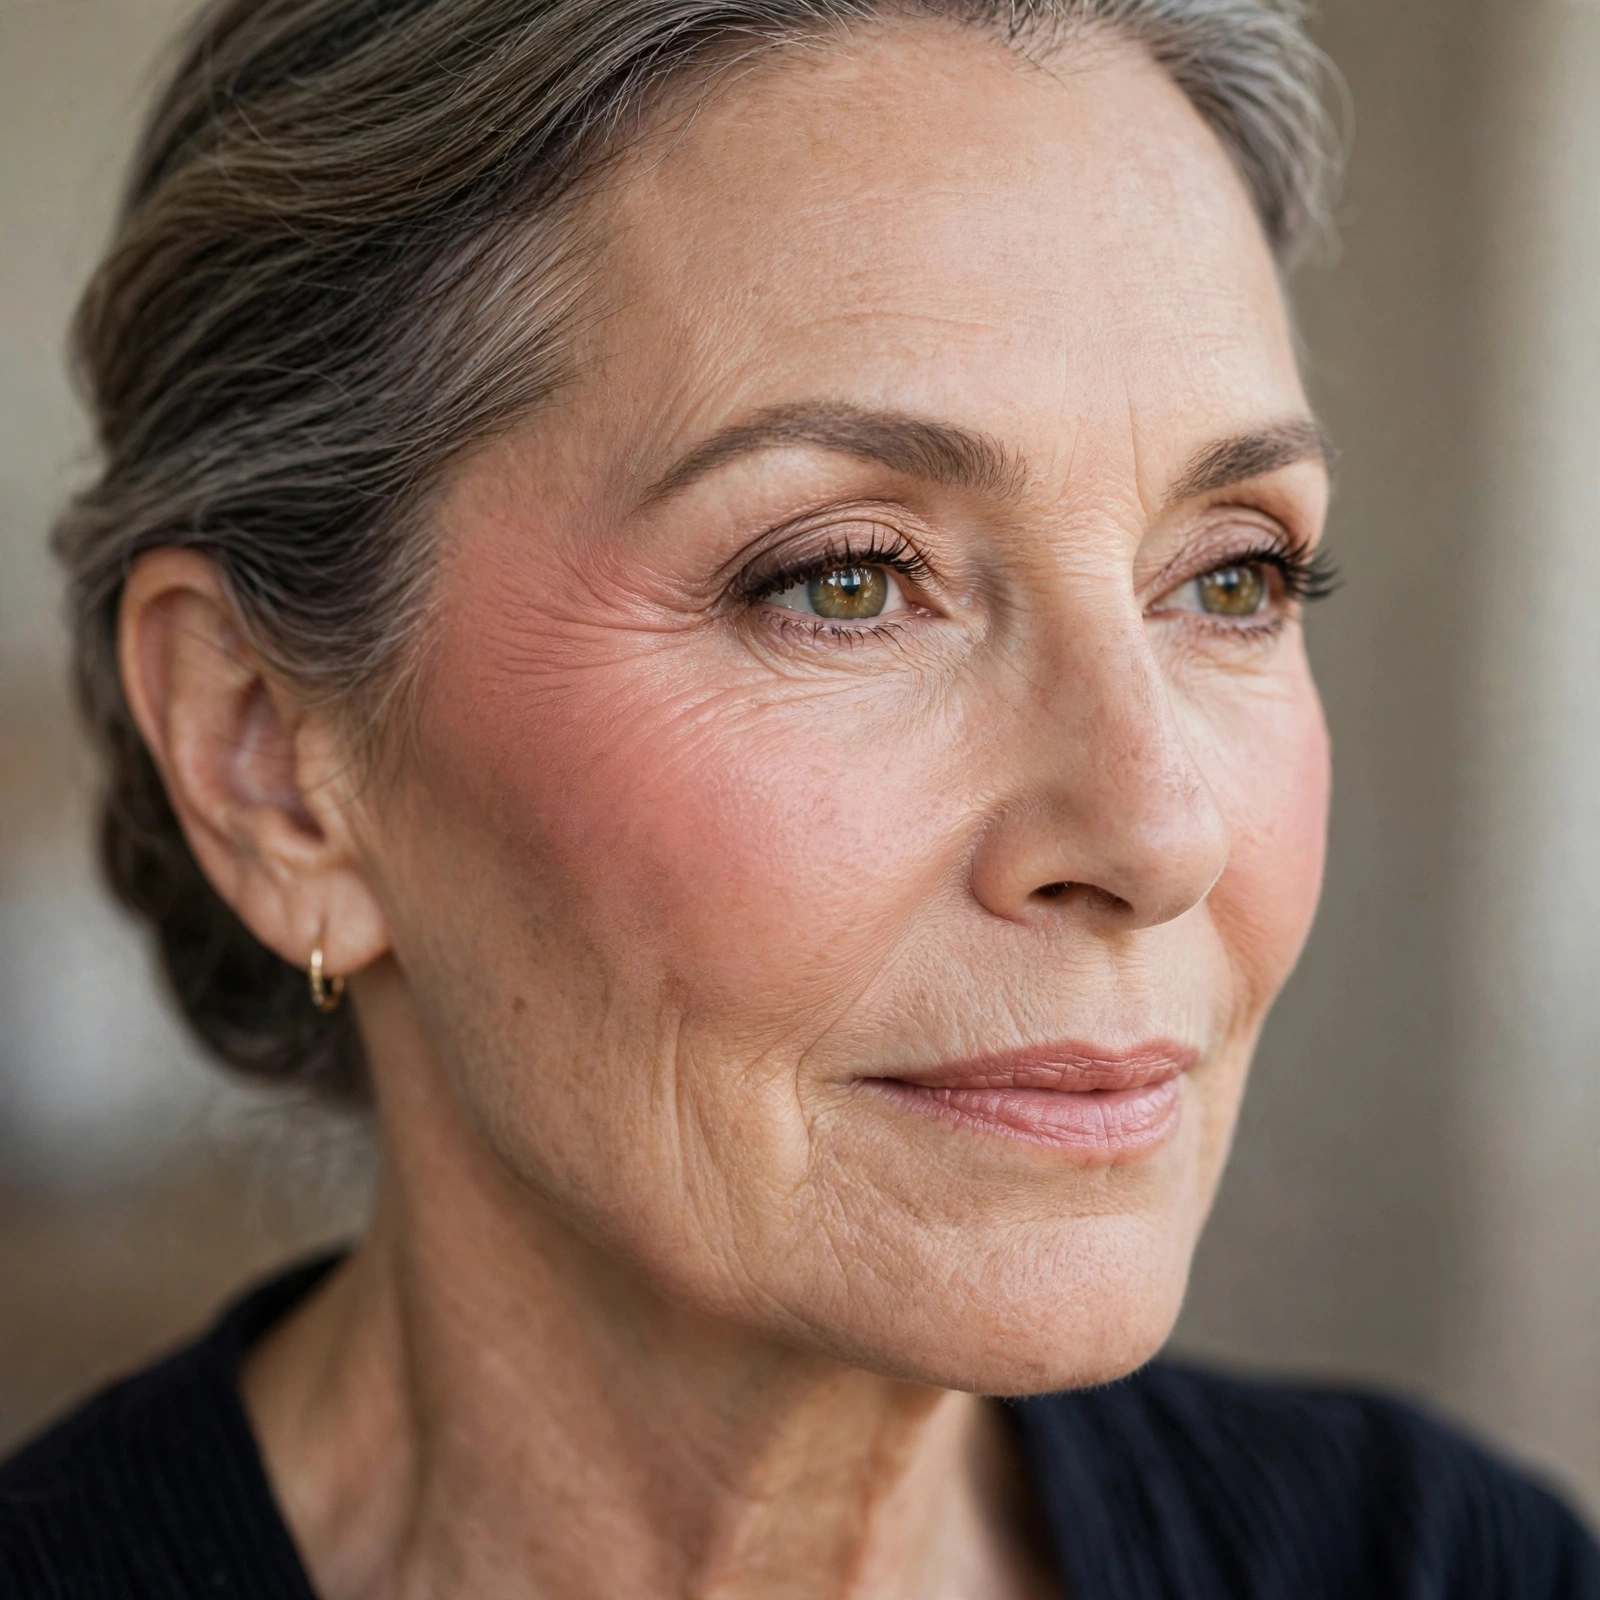
Higher placement counteracts gravity’s effect on the face.
For mature skin, our mature skin tips complement. Higher is younger — always.
The Monochrome Tie-In
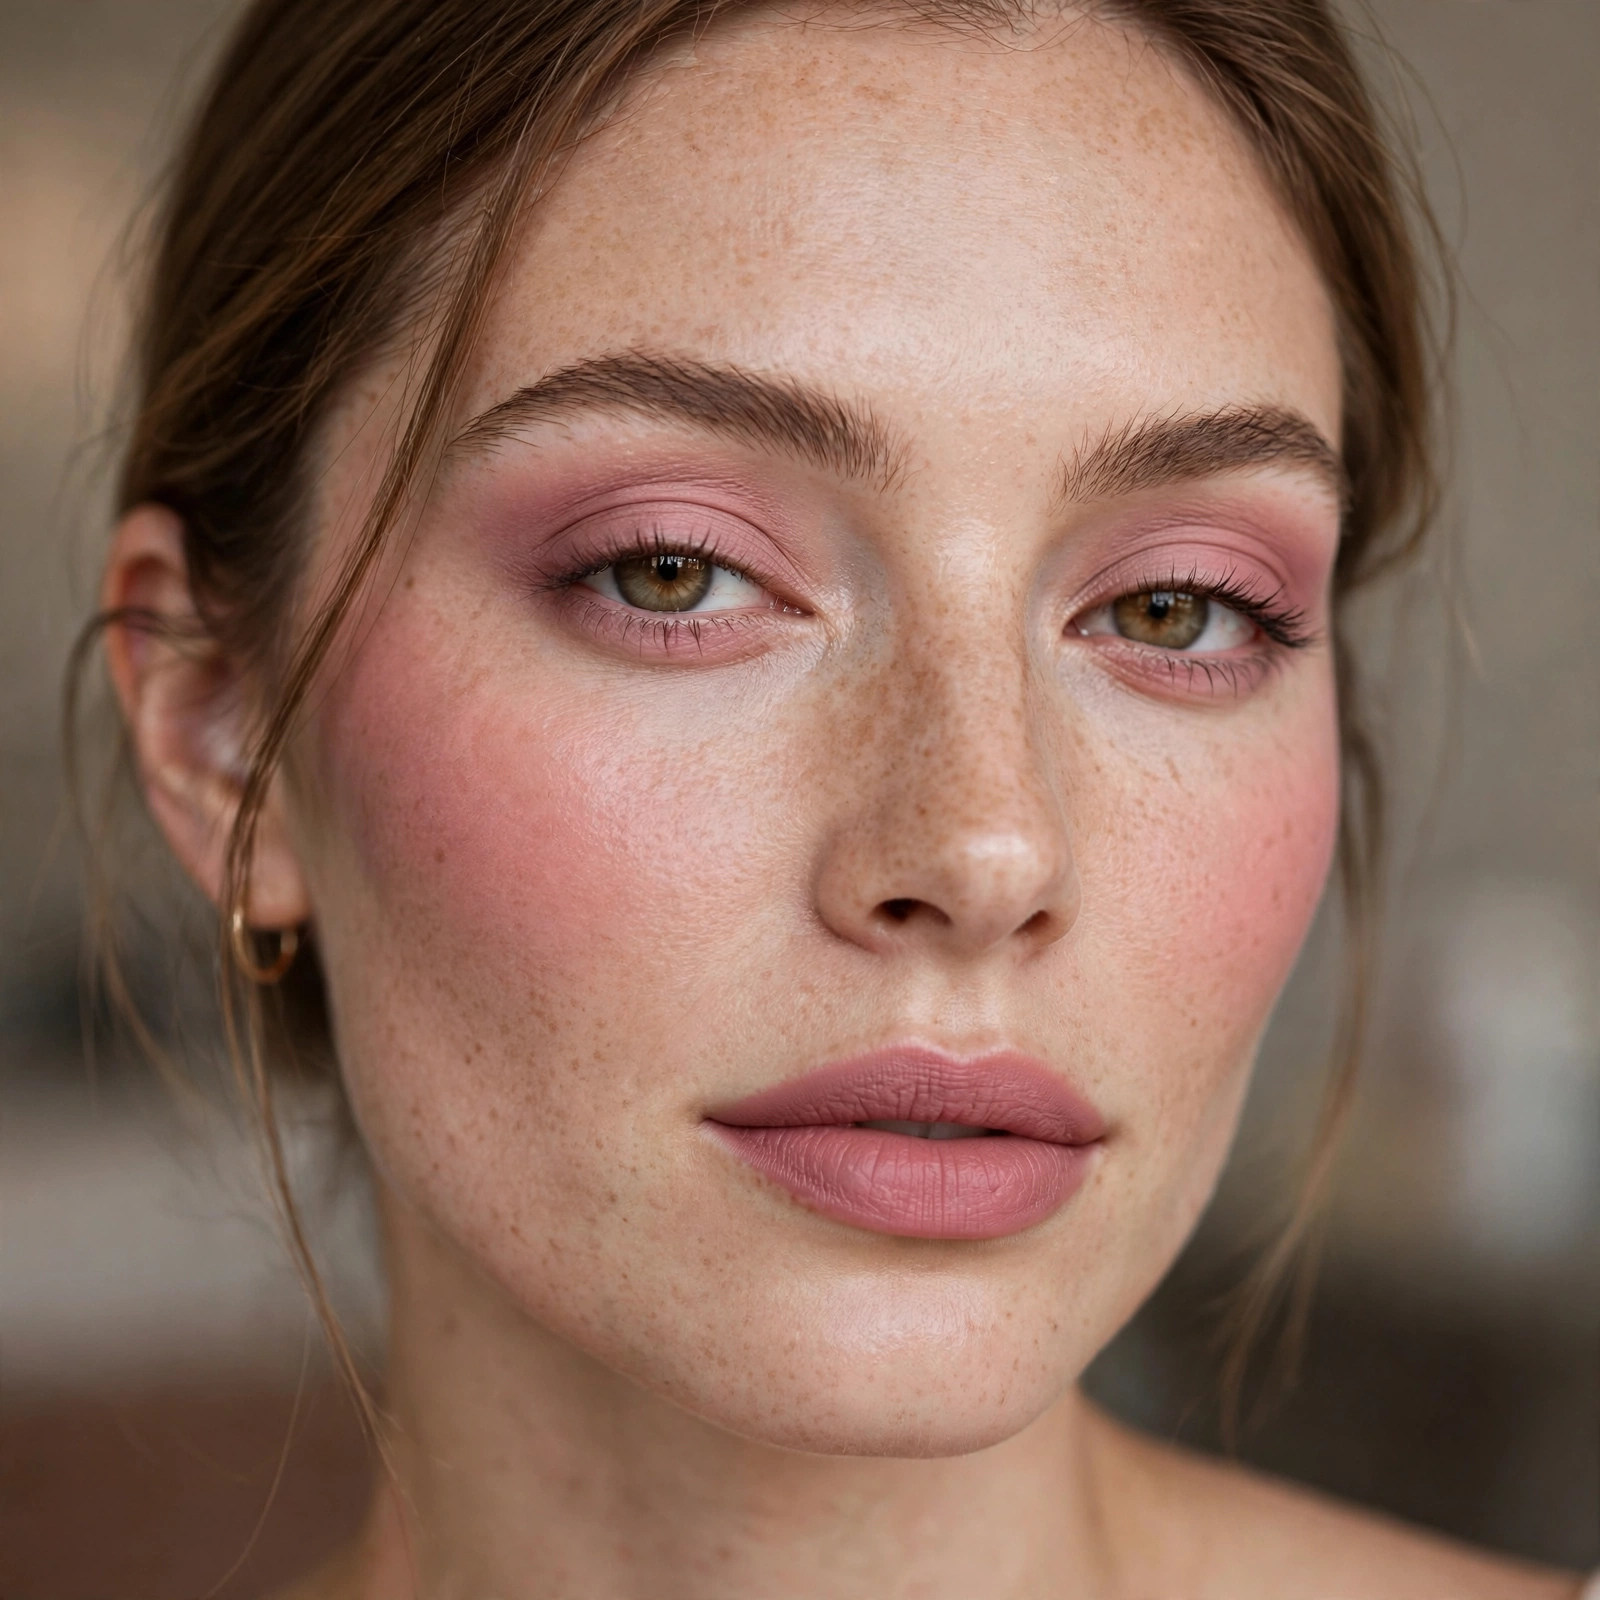
Match blush to lip color for a harmonious monochrome flush.
Coordination looks intentional and polished. Monochrome is effortlessly chic.
Subtle vs Bold Placement
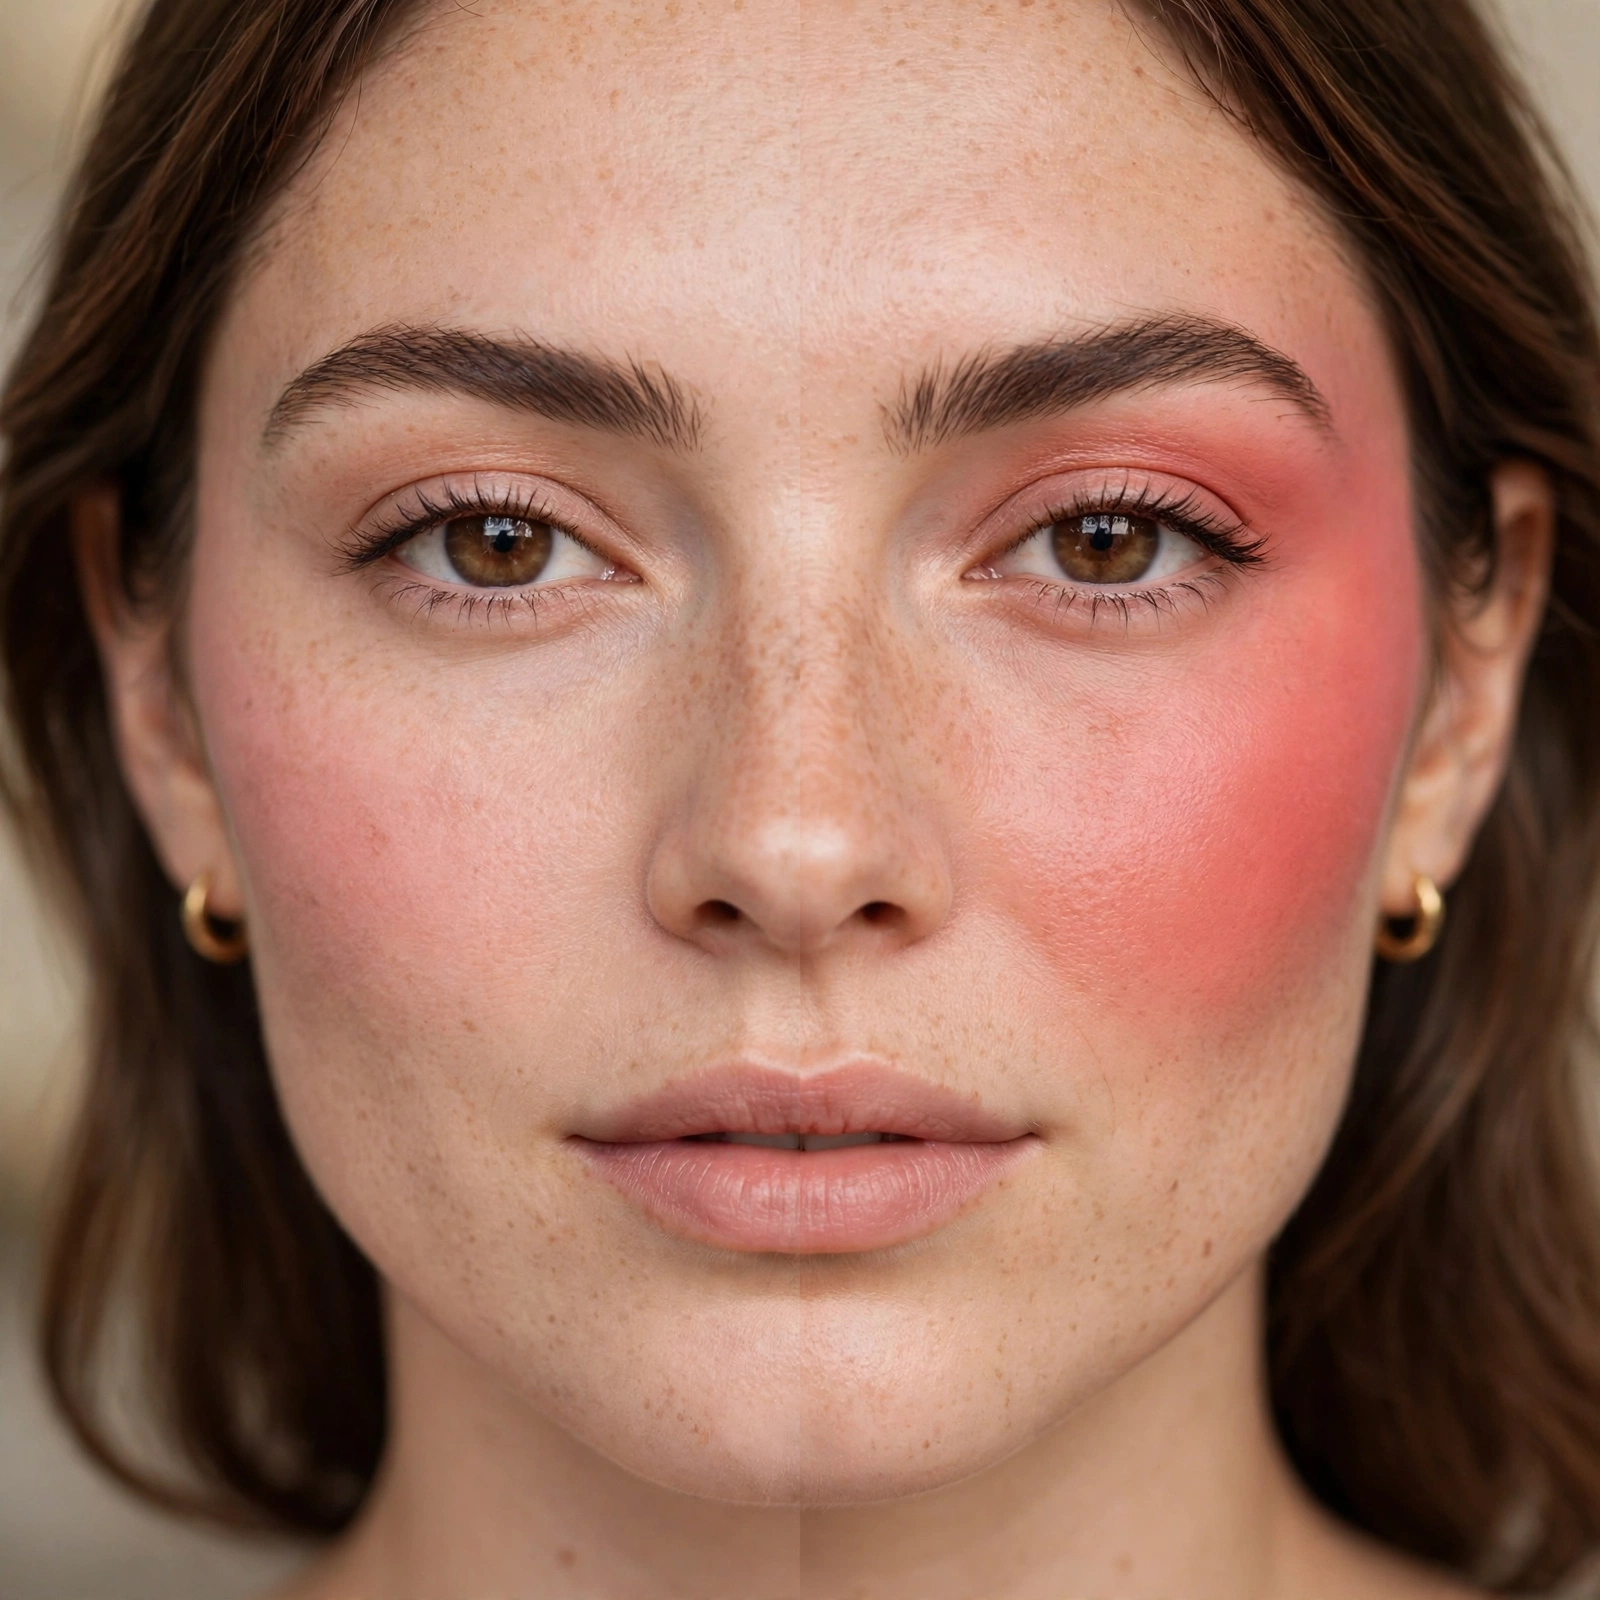
Bold blush needs precise placement; subtle blush forgives.
The bolder the color, the more precise the placement must be. Scale precision with pigment.
Blush on Bare Skin
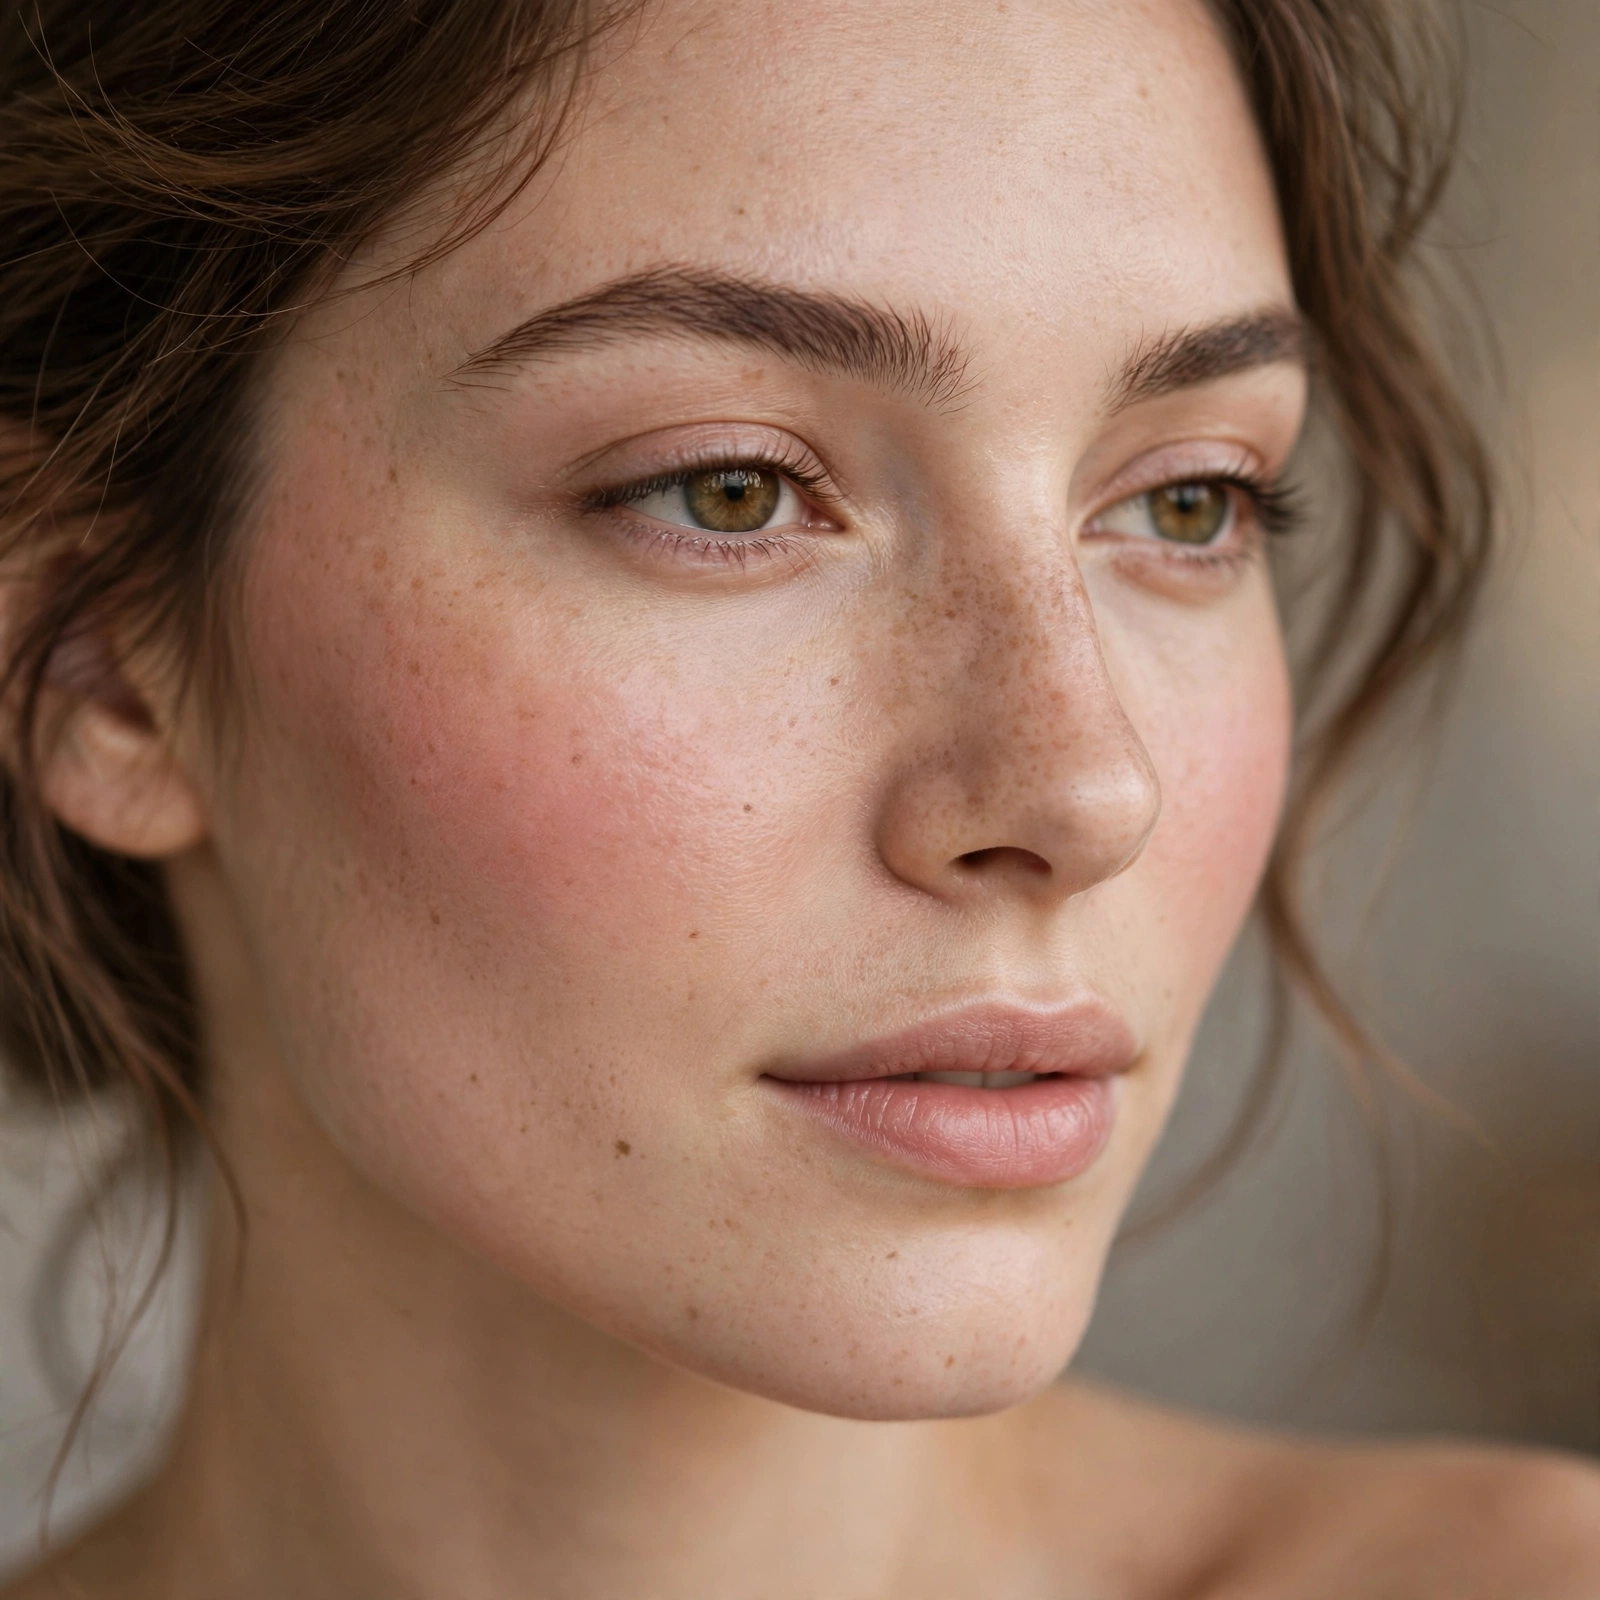
Cream blush on bare moisturized skin — the most natural flush possible.
No base needed. Blush alone on good skin looks incredibly fresh.
The Ear-to-Cheek Blend
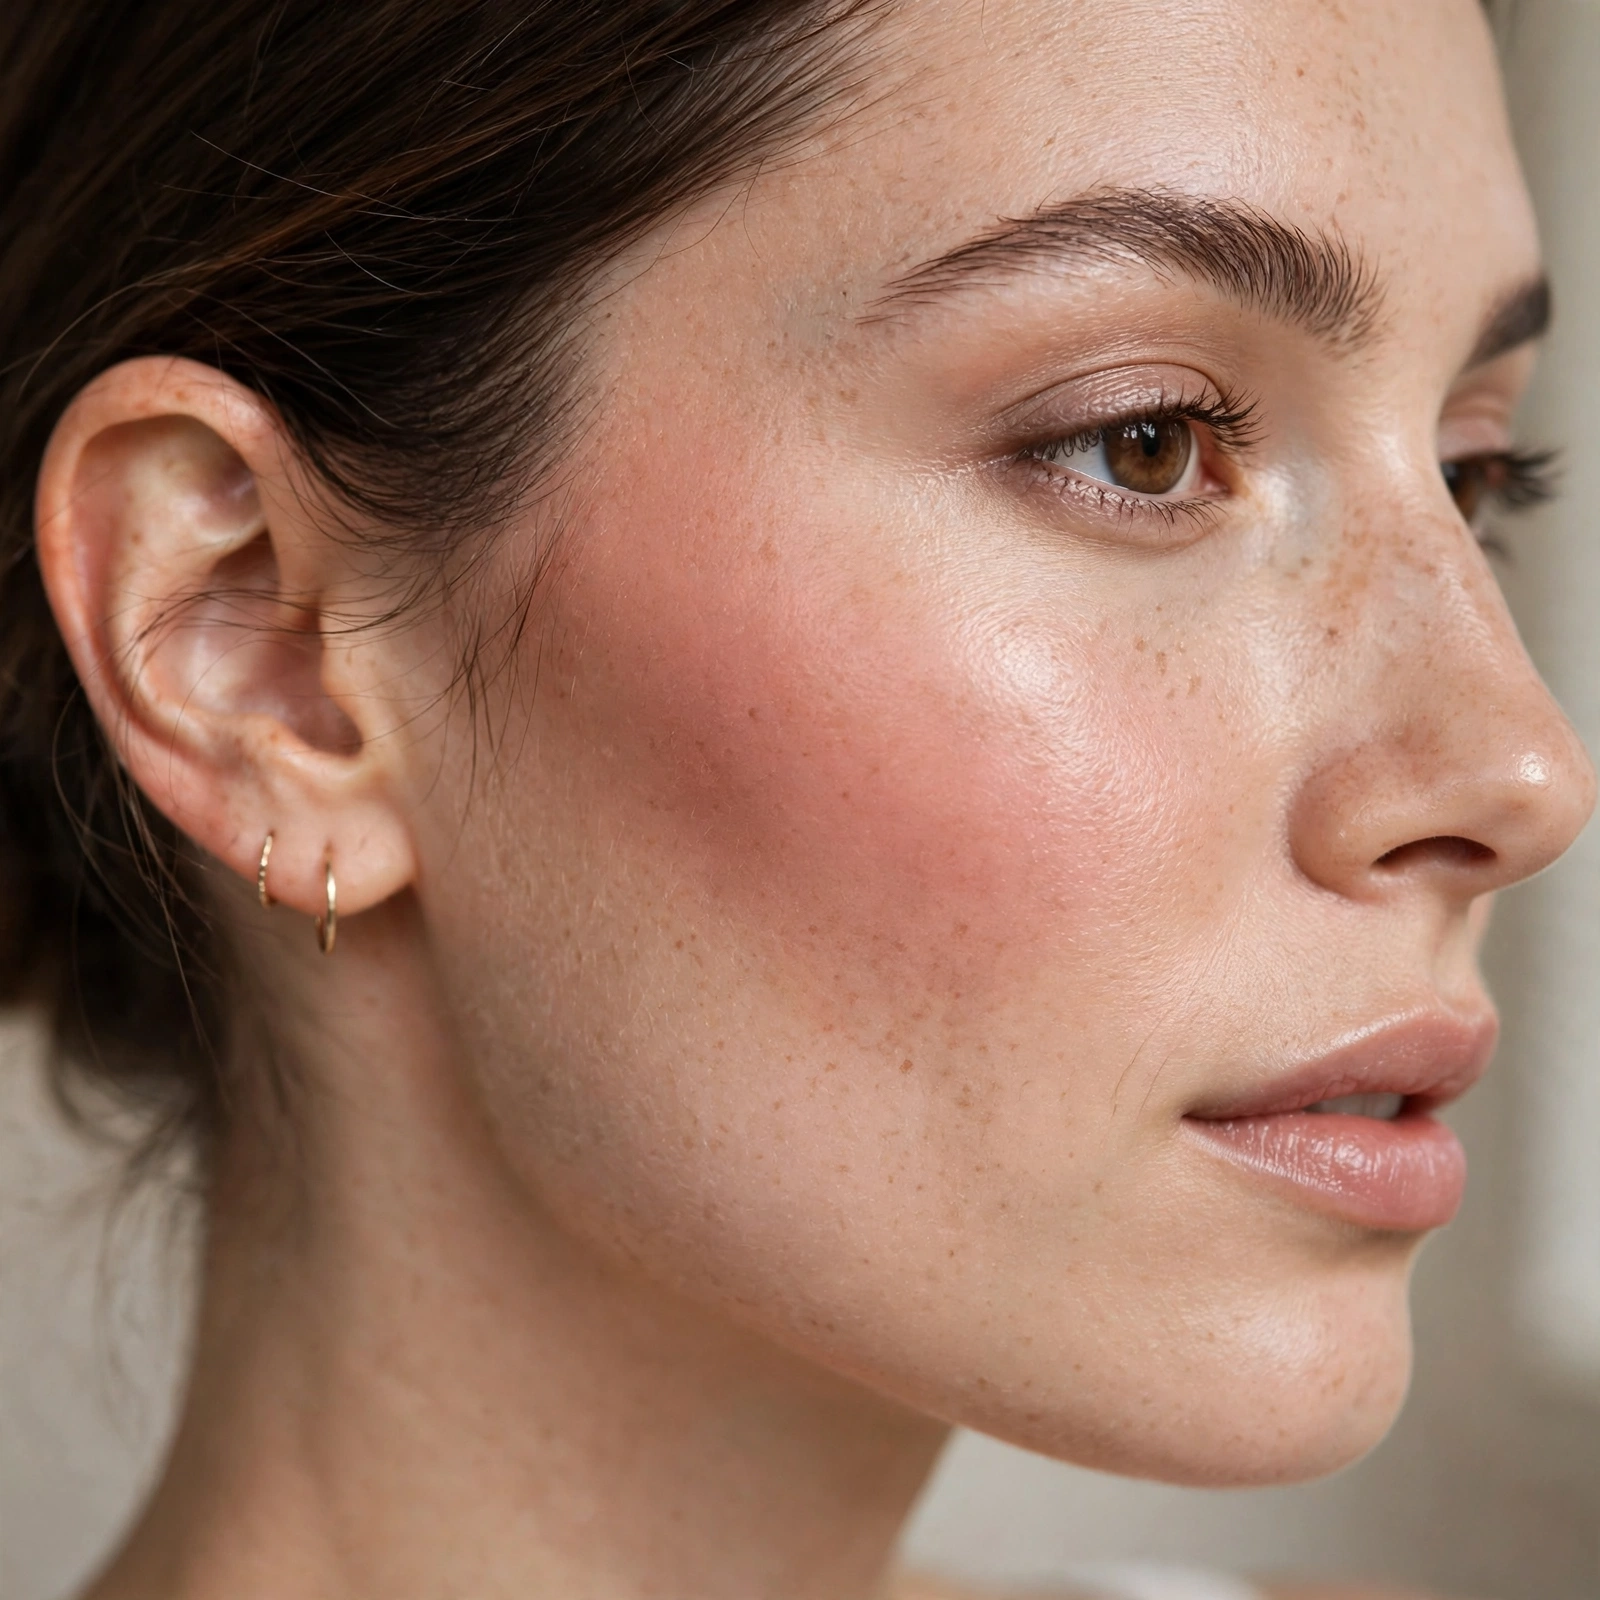
Start near the ear and blend forward — the reverse application.
Starting at the ear deposits the most product where lift is wanted. Counterintuitive and effective.
Layering Different Finishes
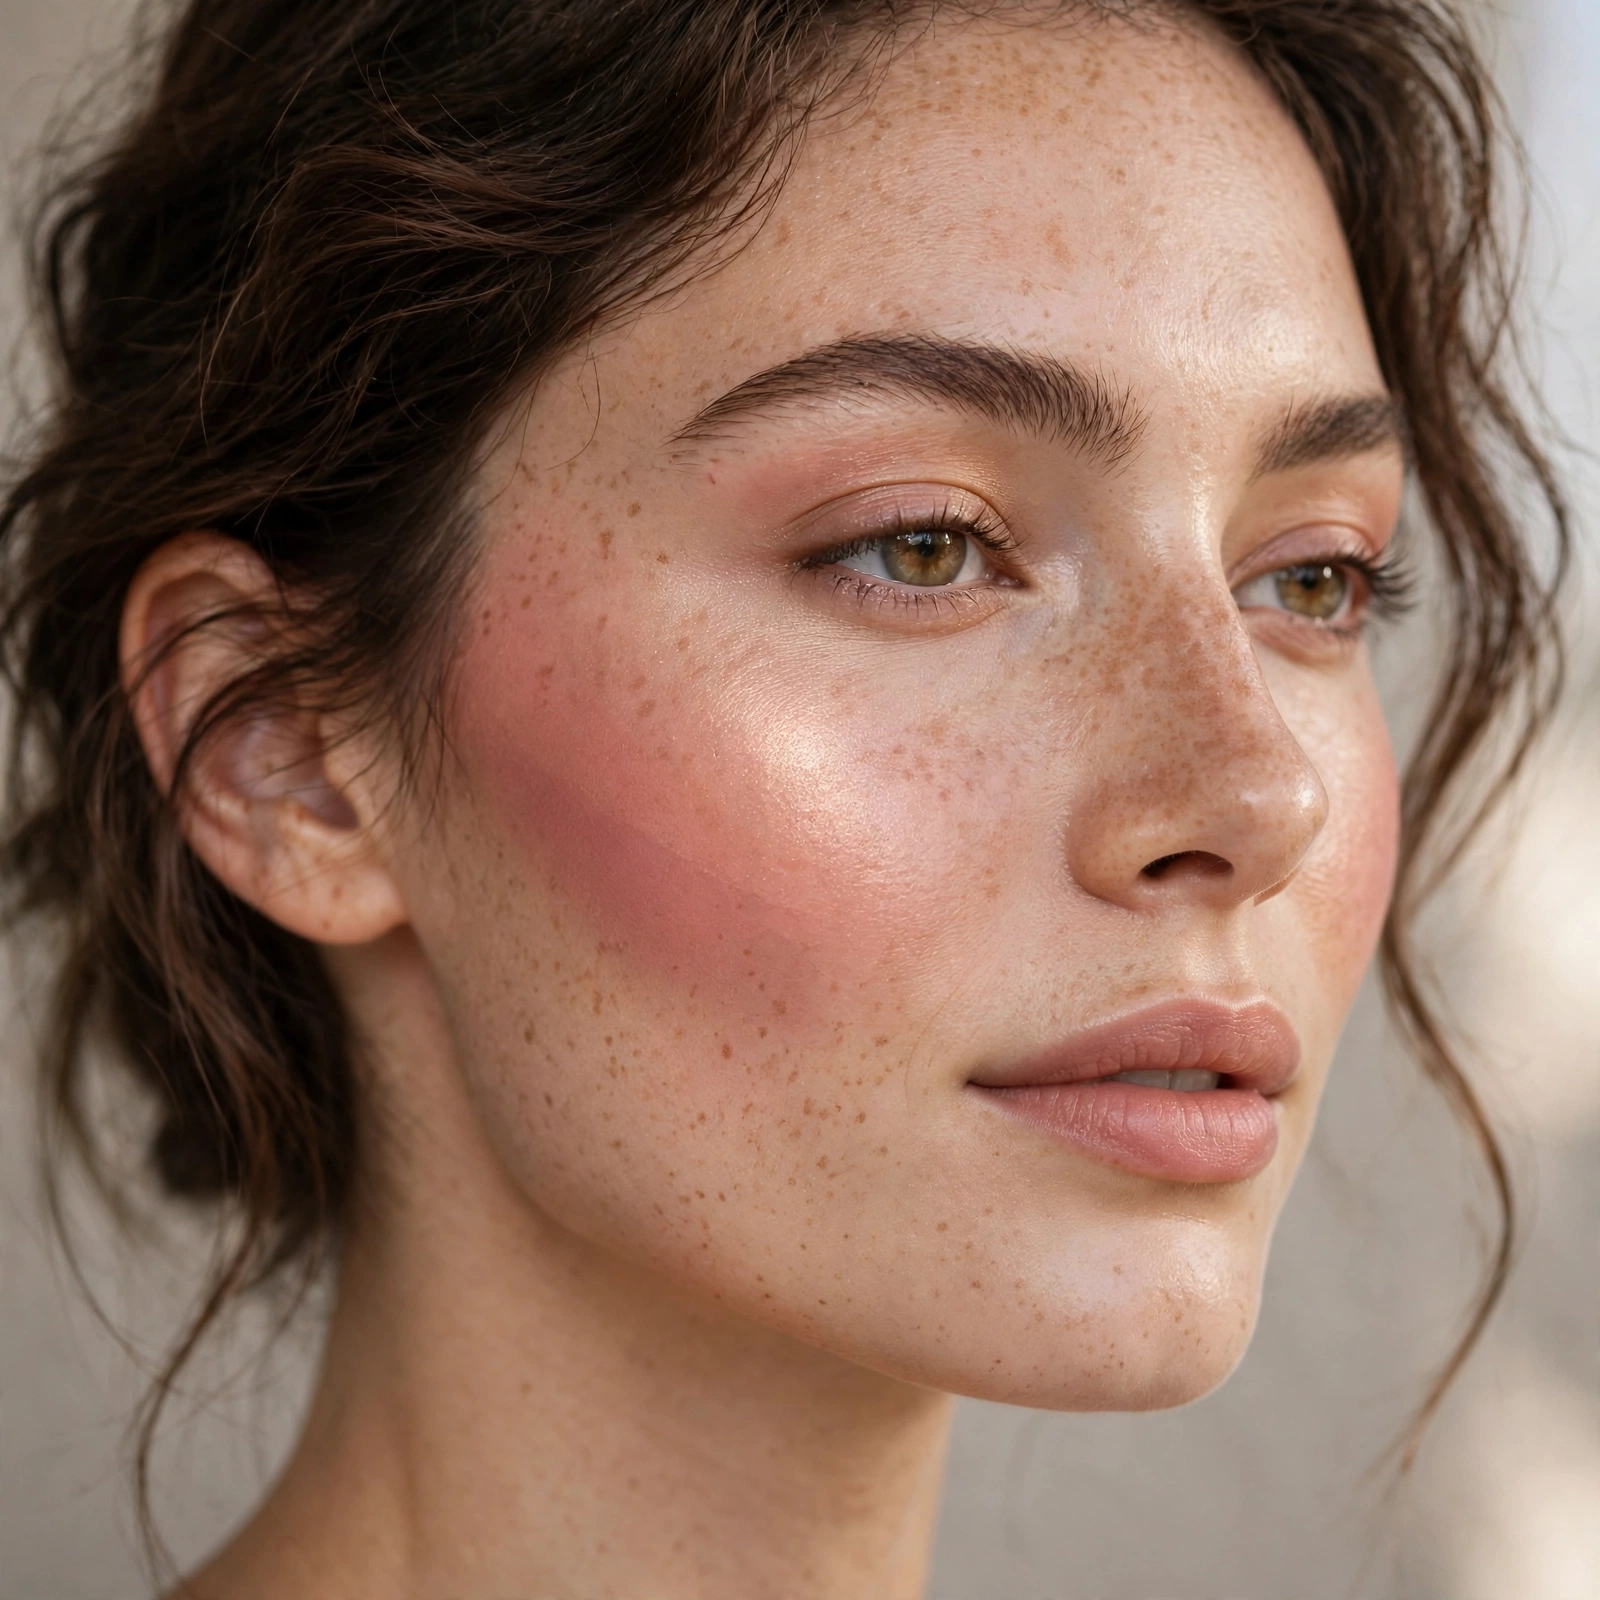
Matte blush for shape, shimmer blush on top for glow — the dimensional flush.
Different finishes do different jobs. Layer them for complexity.
Blush for Photography
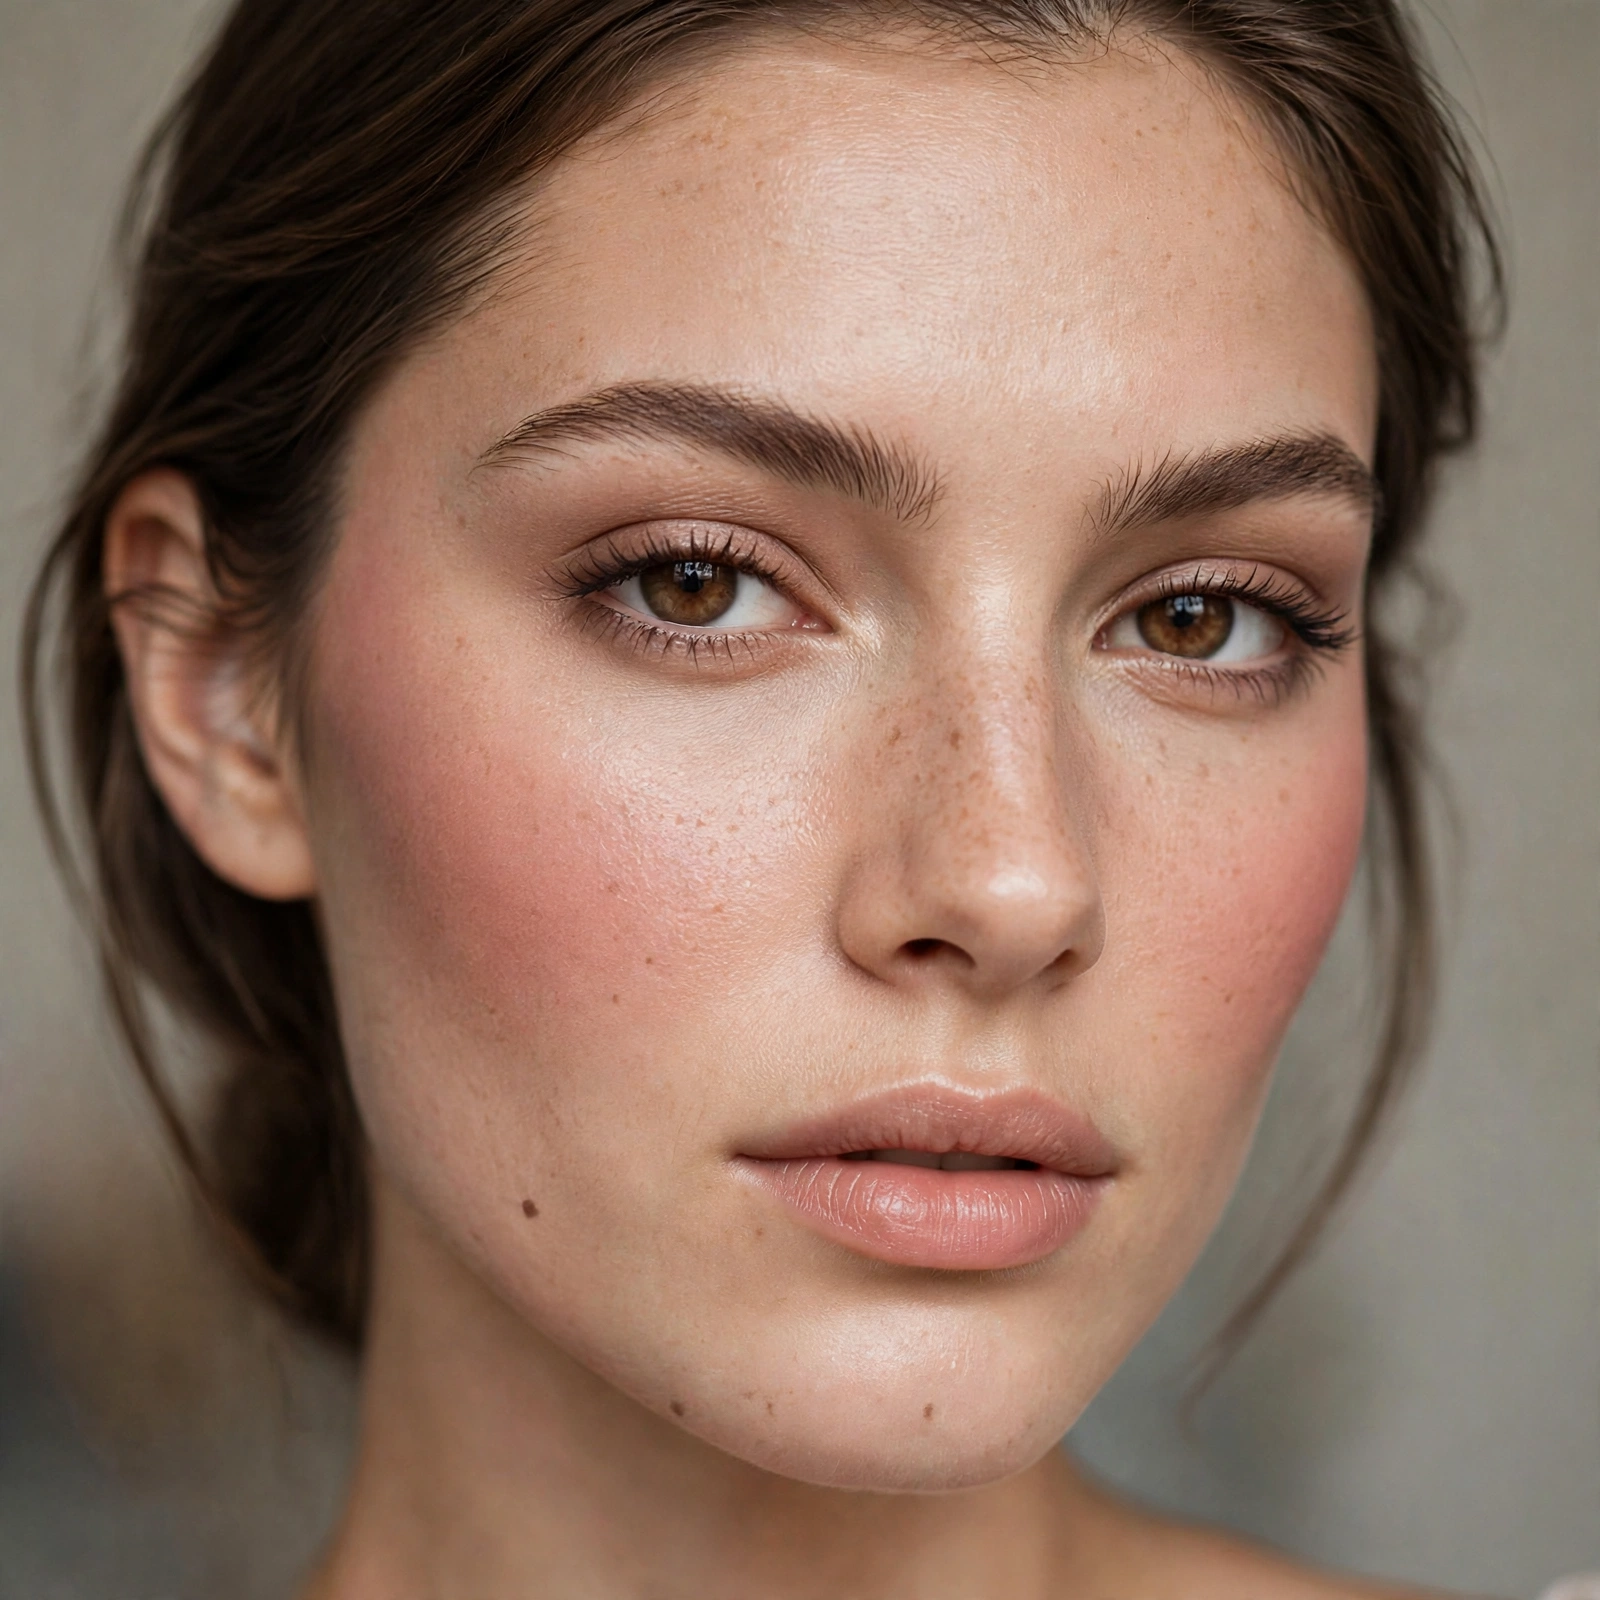
Apply slightly more blush than usual for photos — cameras wash out color.
What looks like "too much" in person looks perfect on camera. Compensate accordingly.
The Finger-Press Method
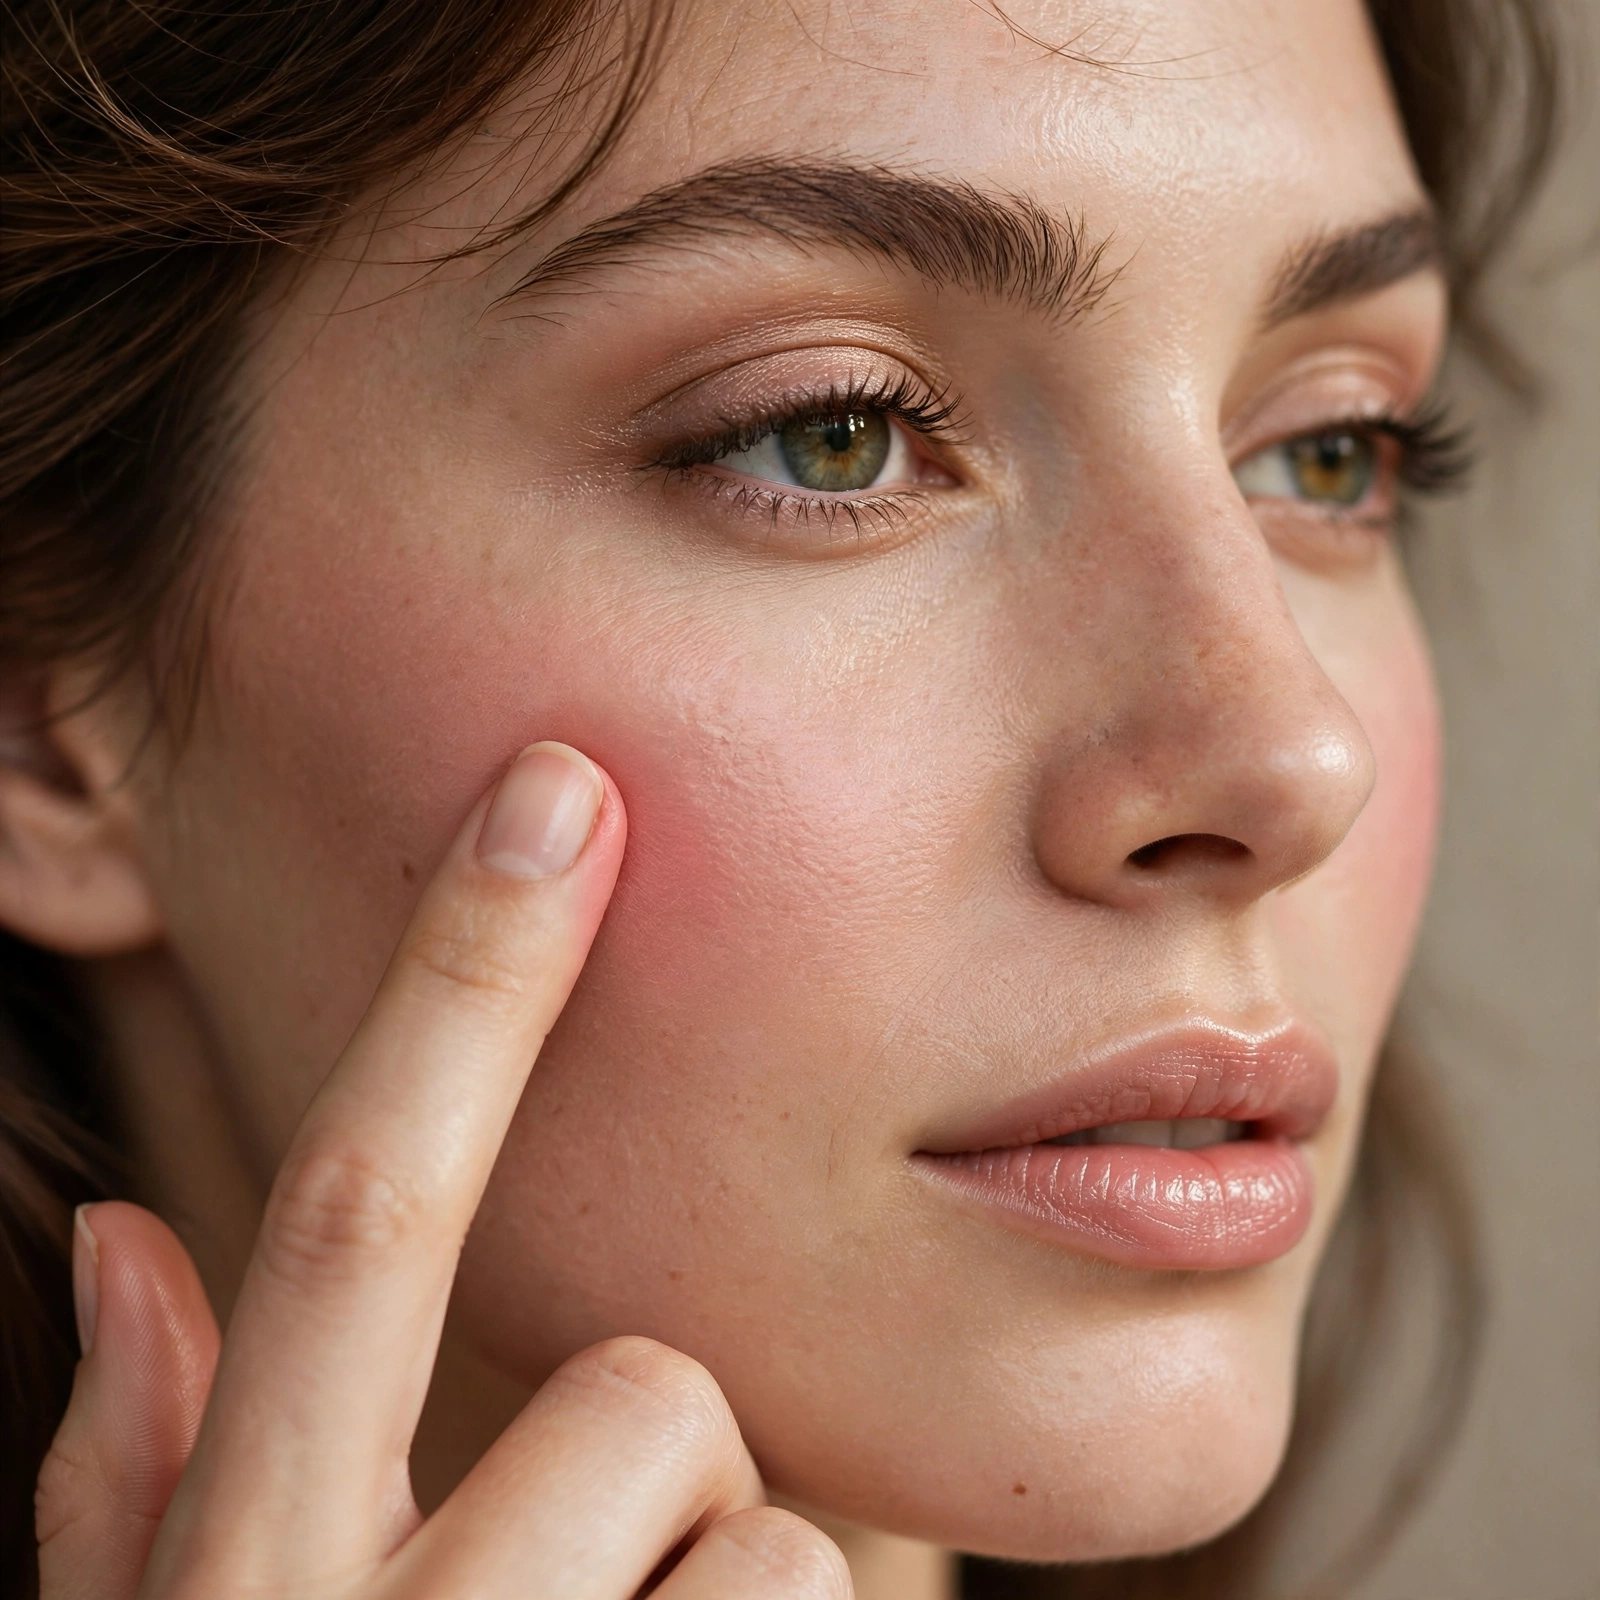
Press cream blush with fingers for the most natural meld into skin.
Fingers warm the product and press it in. The finish is uniquely seamless.
Placement Practice
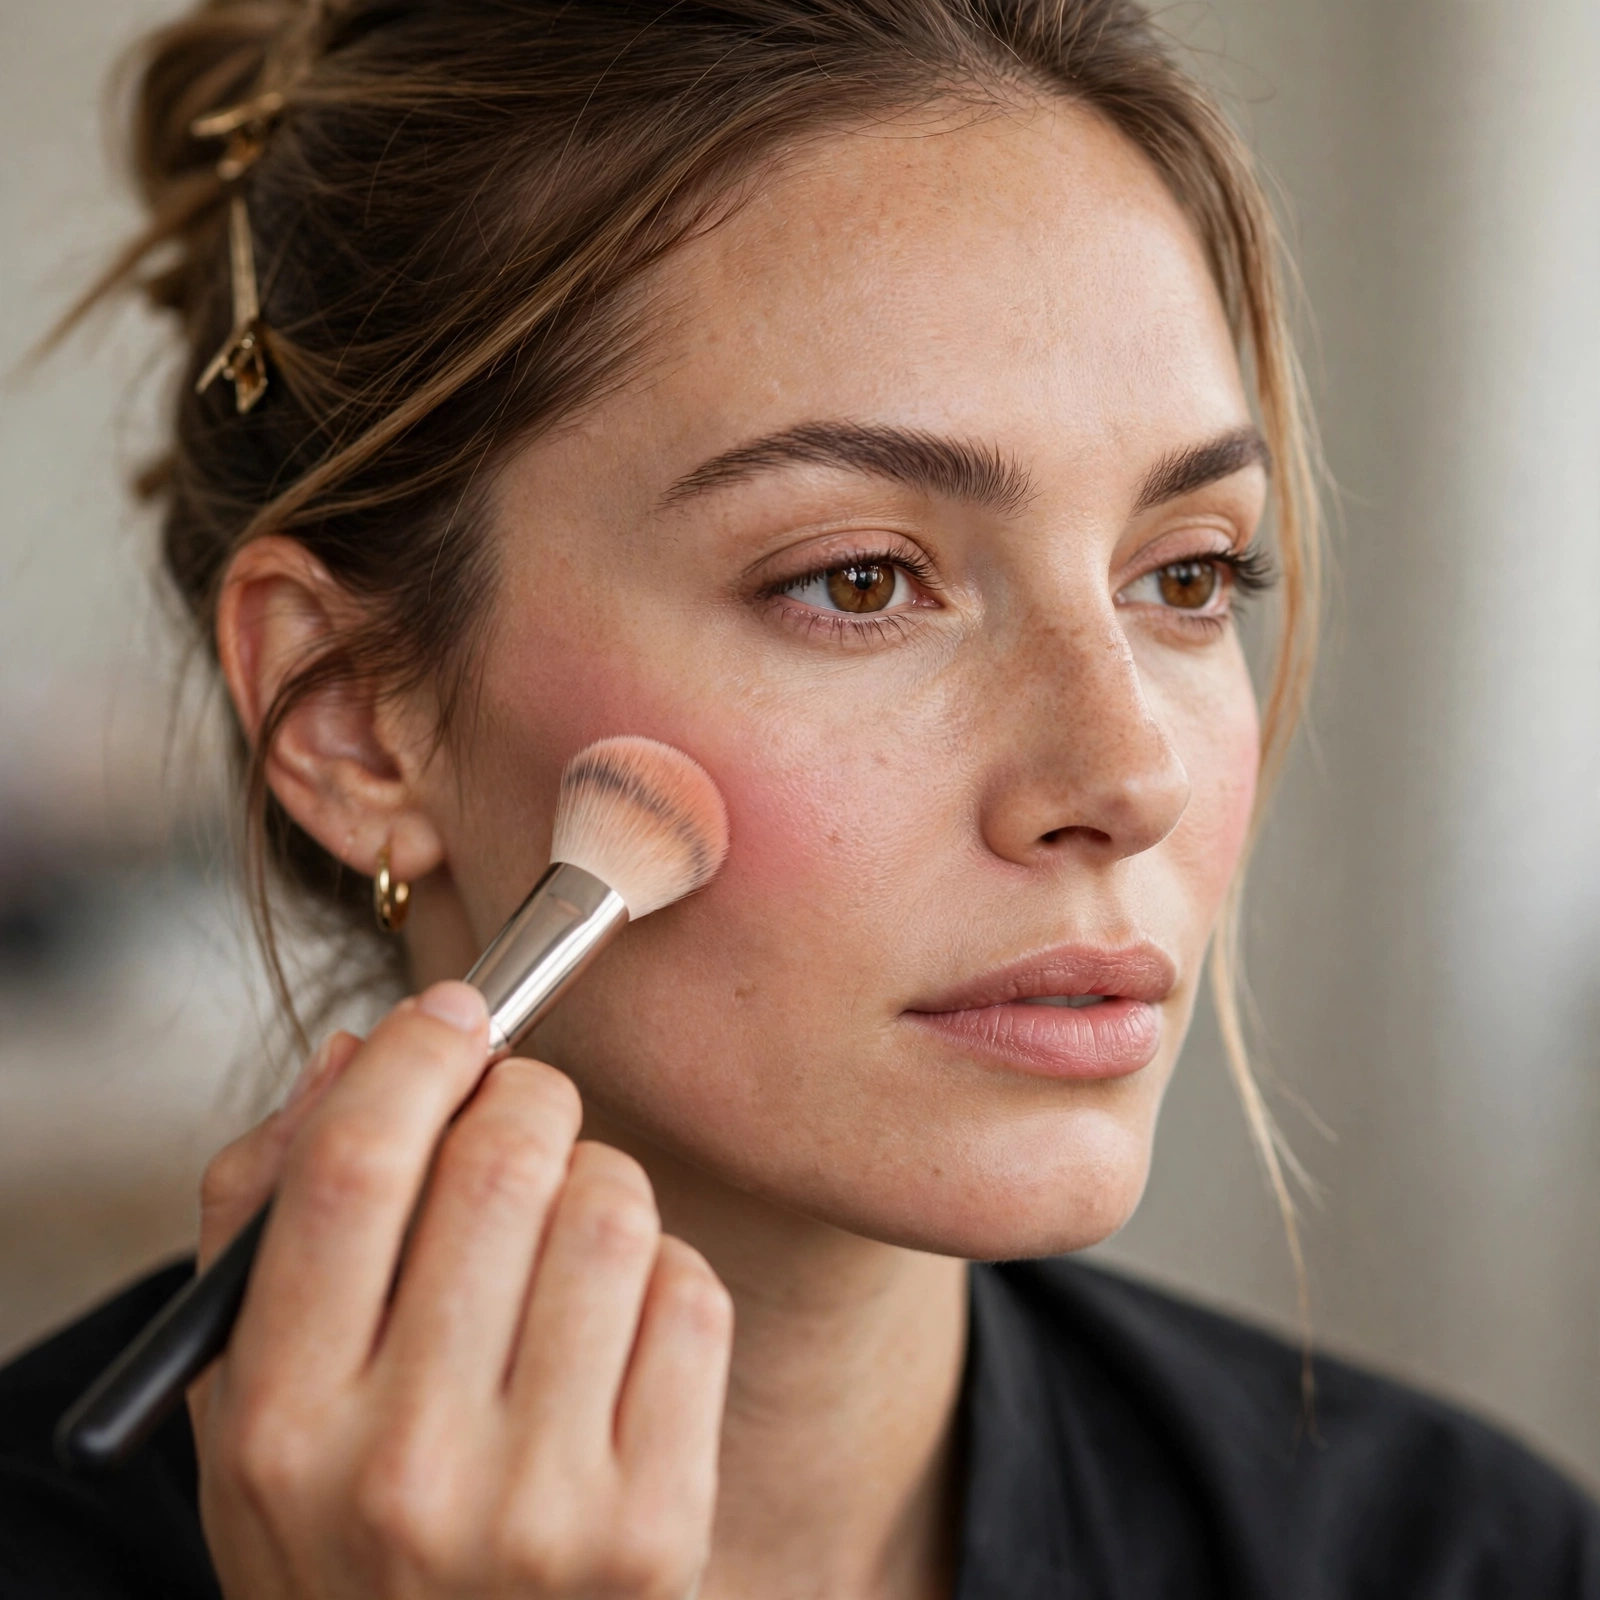
Try different placements on different days — find your face’s sweet spot.
Your face is unique. Experimentation beats any universal rule.
Placement is power — pin your map. For product picks, see cream blush looks, or sculpt further with contour tips.