Concealer covers. Corrector cancels. There’s a difference, and it matters.
Color correcting uses opposite colors to neutralize discoloration: peach cancels blue-purple dark circles, green cancels redness, lavender cancels sallowness. It’s physics, not magic.
The result: you need less concealer, and the finish looks more natural. Correcting first is the pro secret.
Here are 20 tips. Let’s get into it.
Peach for Dark Circles
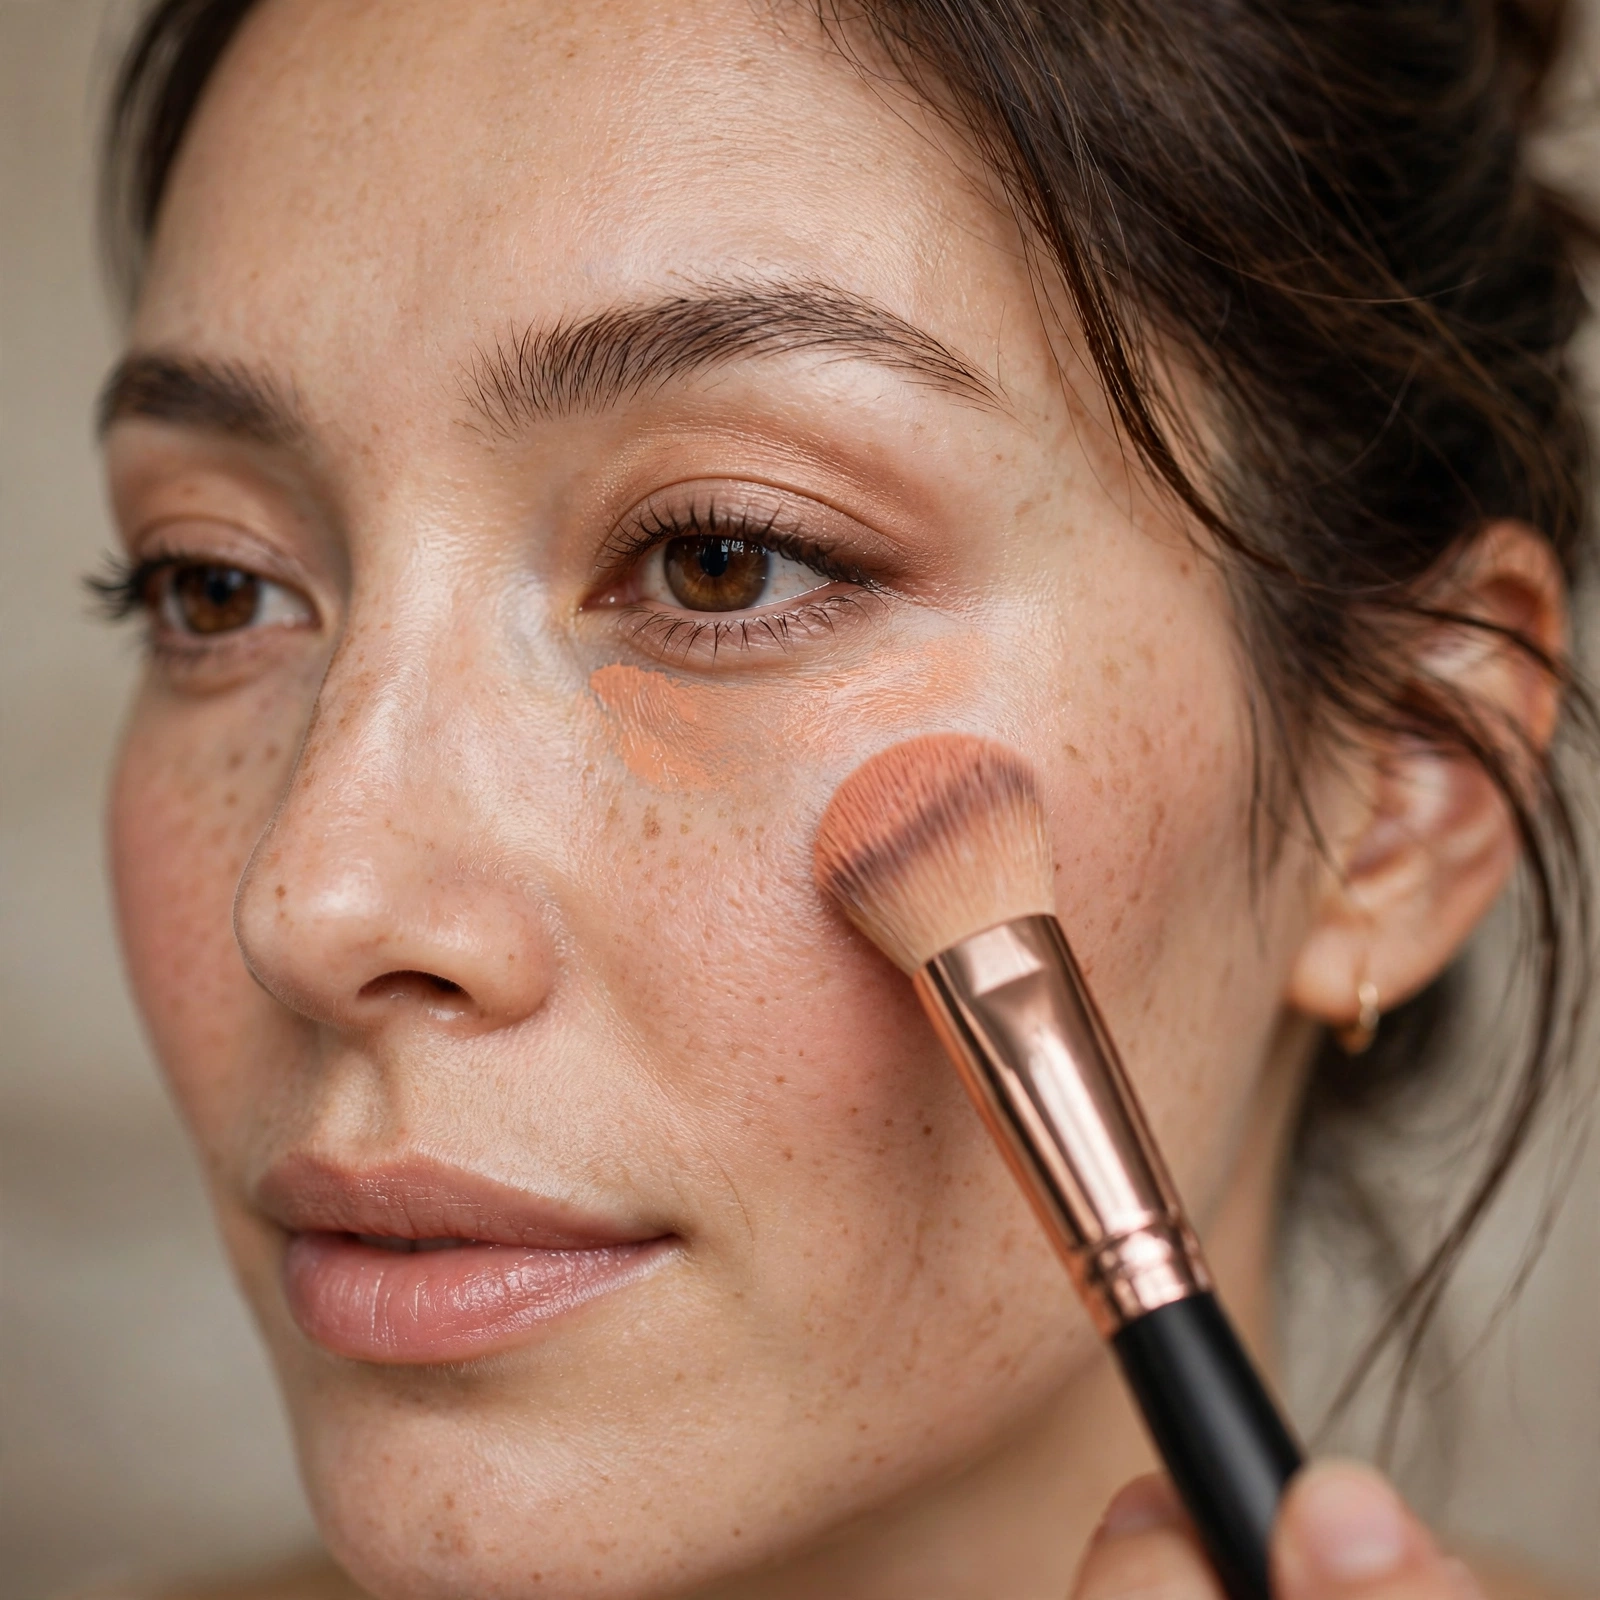
Peach/salmon cancels the blue-purple of under-eye darkness.
The corrector color should match your darkness depth — deeper circles need deeper peach.
Green for Redness
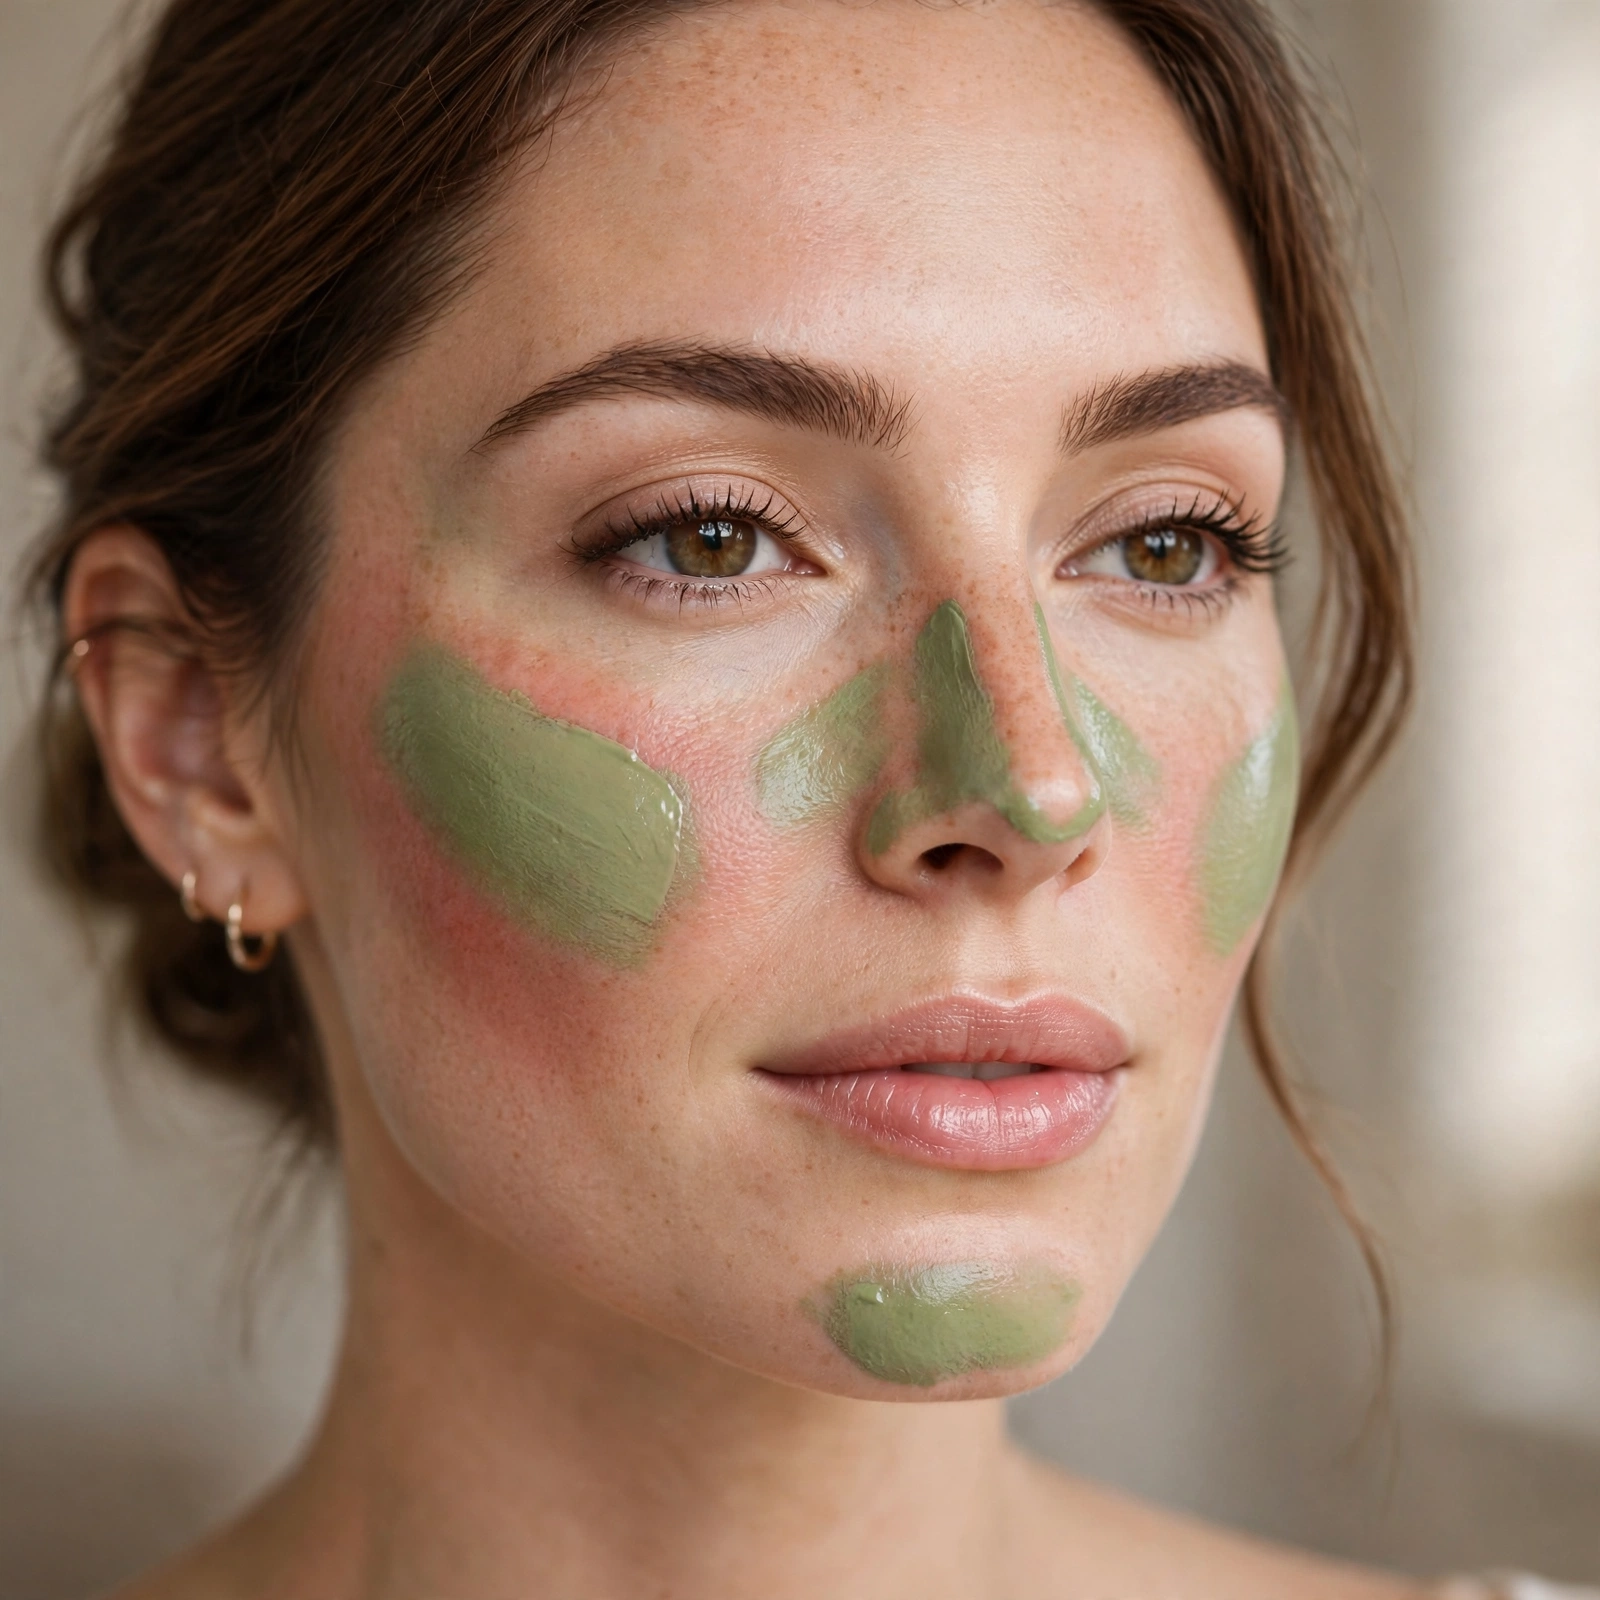
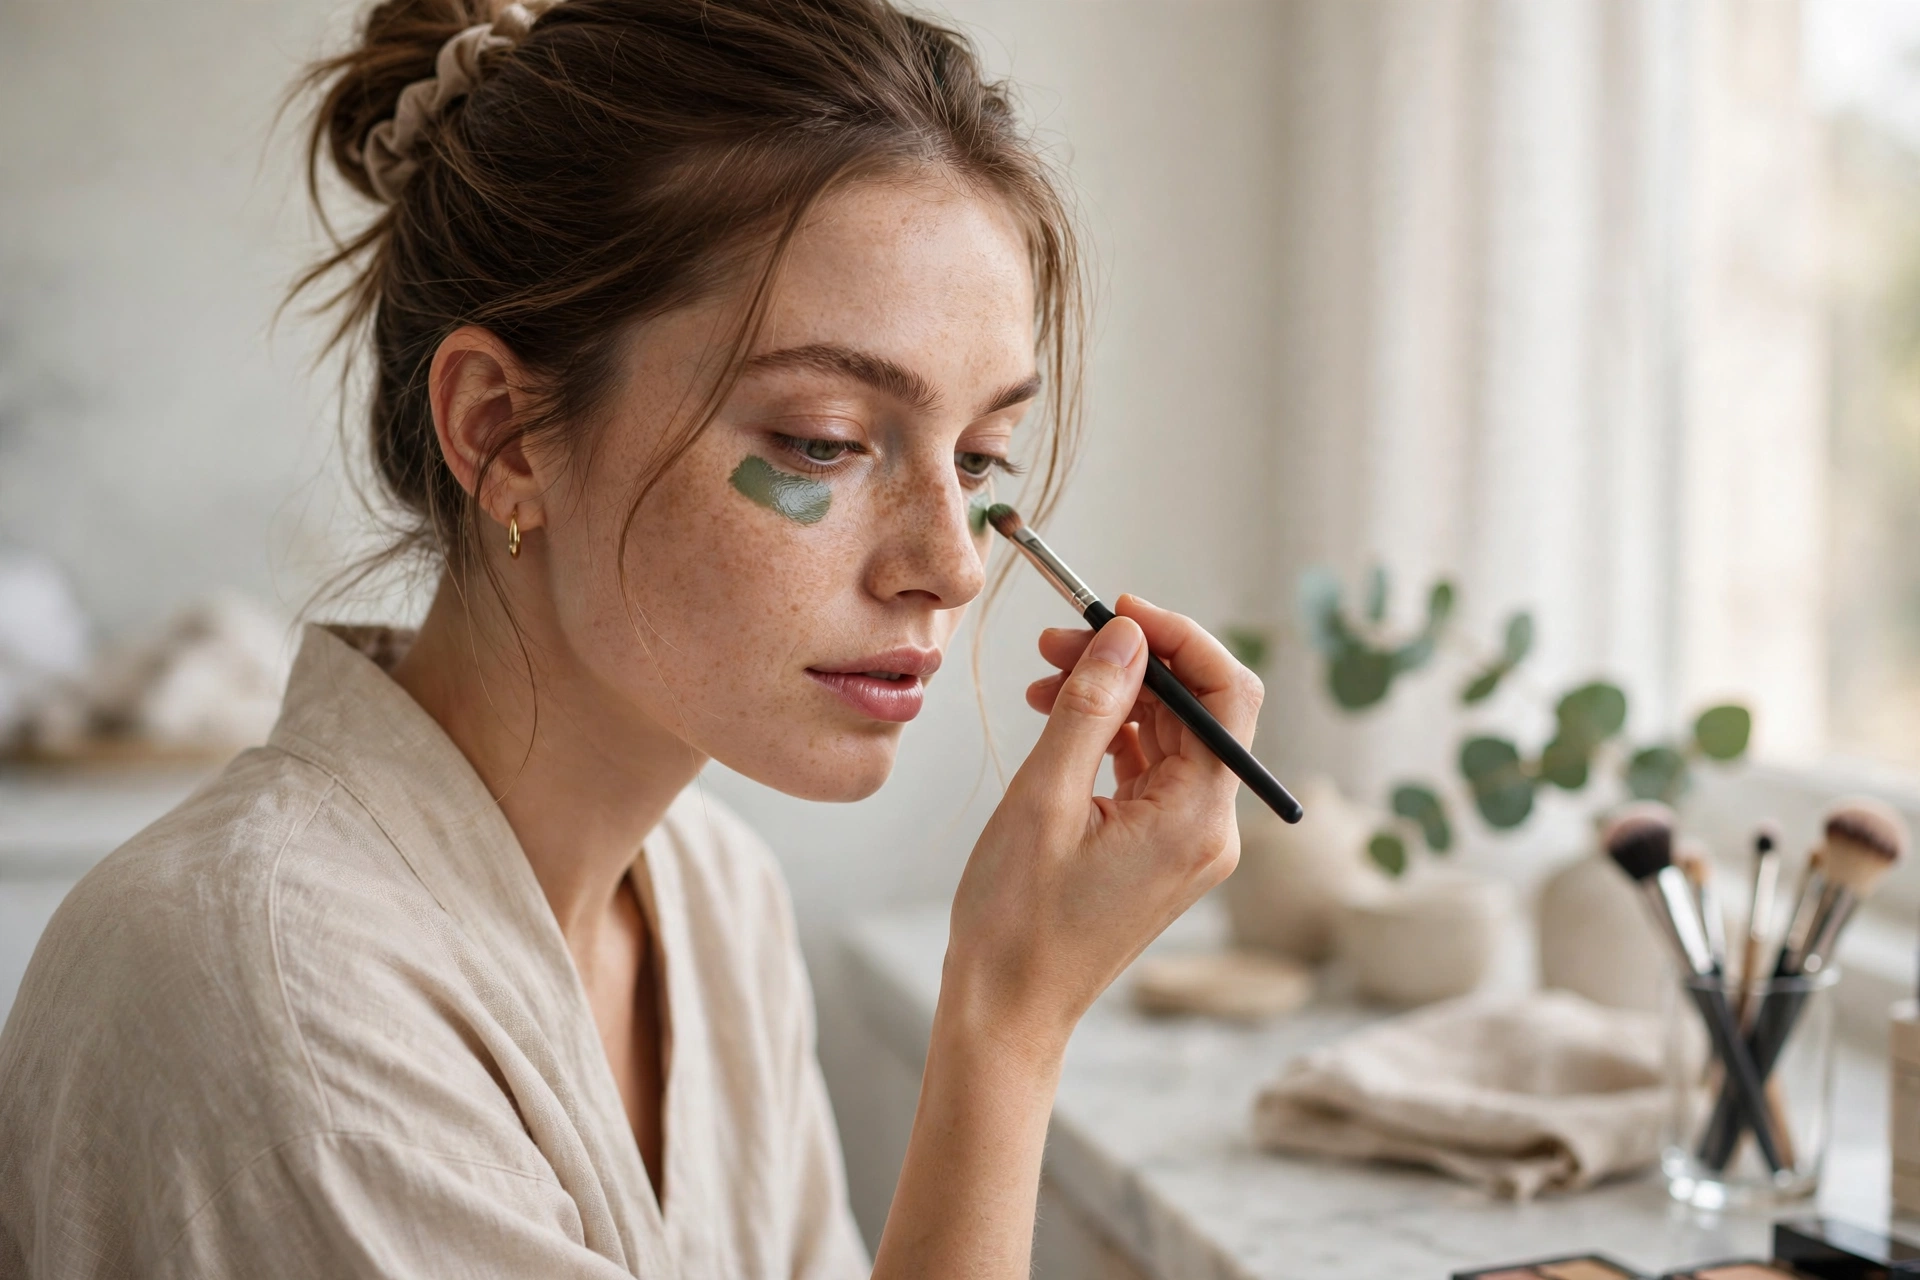
Green neutralizes redness from blemishes, rosacea, or irritation.
Apply only on the red areas — green elsewhere looks ashy. Precision matters.
Lavender for Sallowness
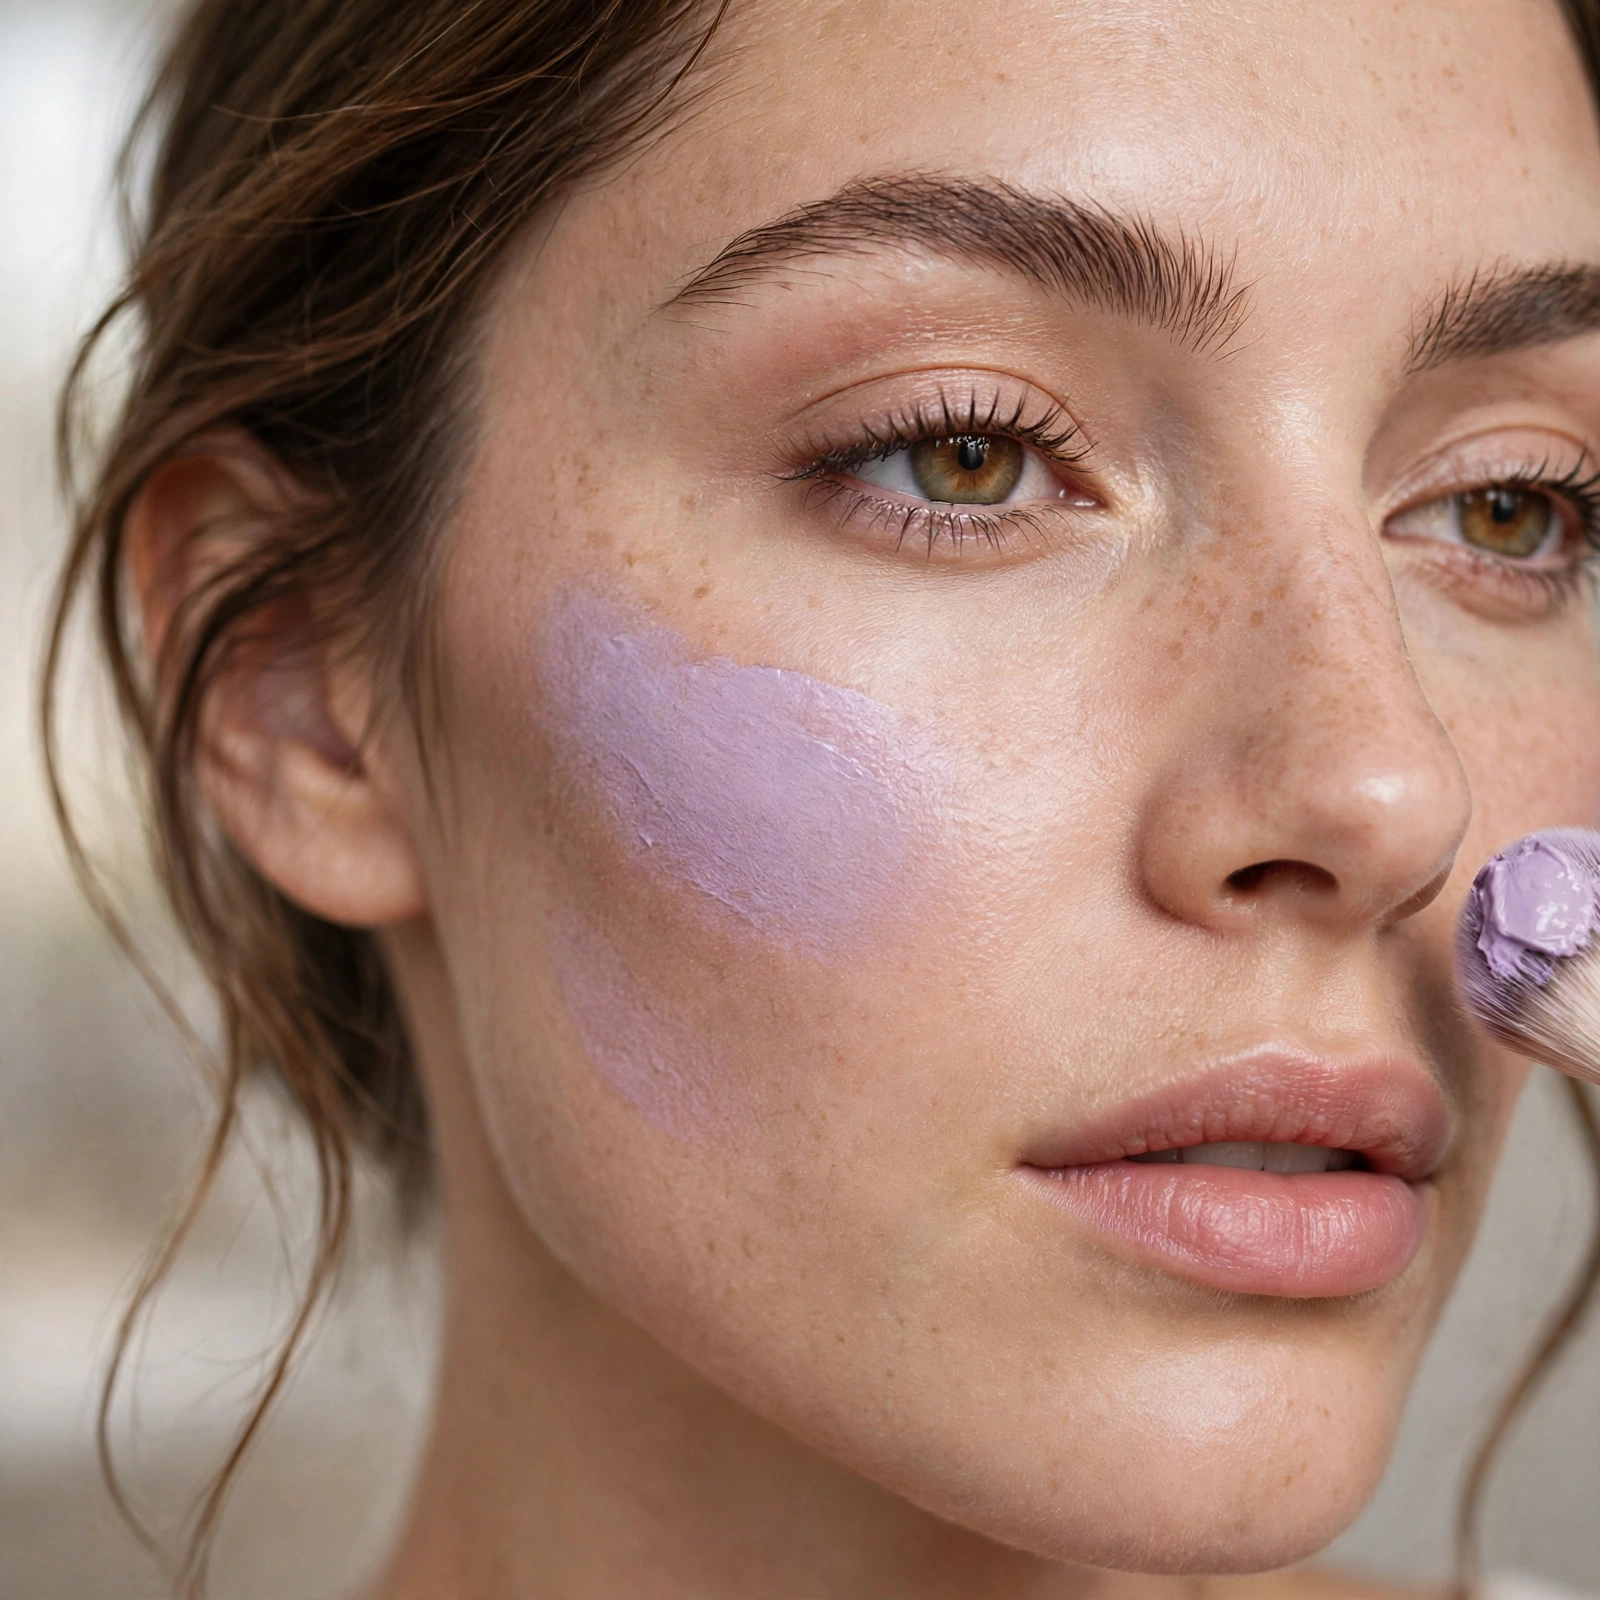
Lavender brightens yellow, sallow tones.
A lavender primer gives all-over brightness. Targeted lavender fixes spots.
Yellow for Purple Veins
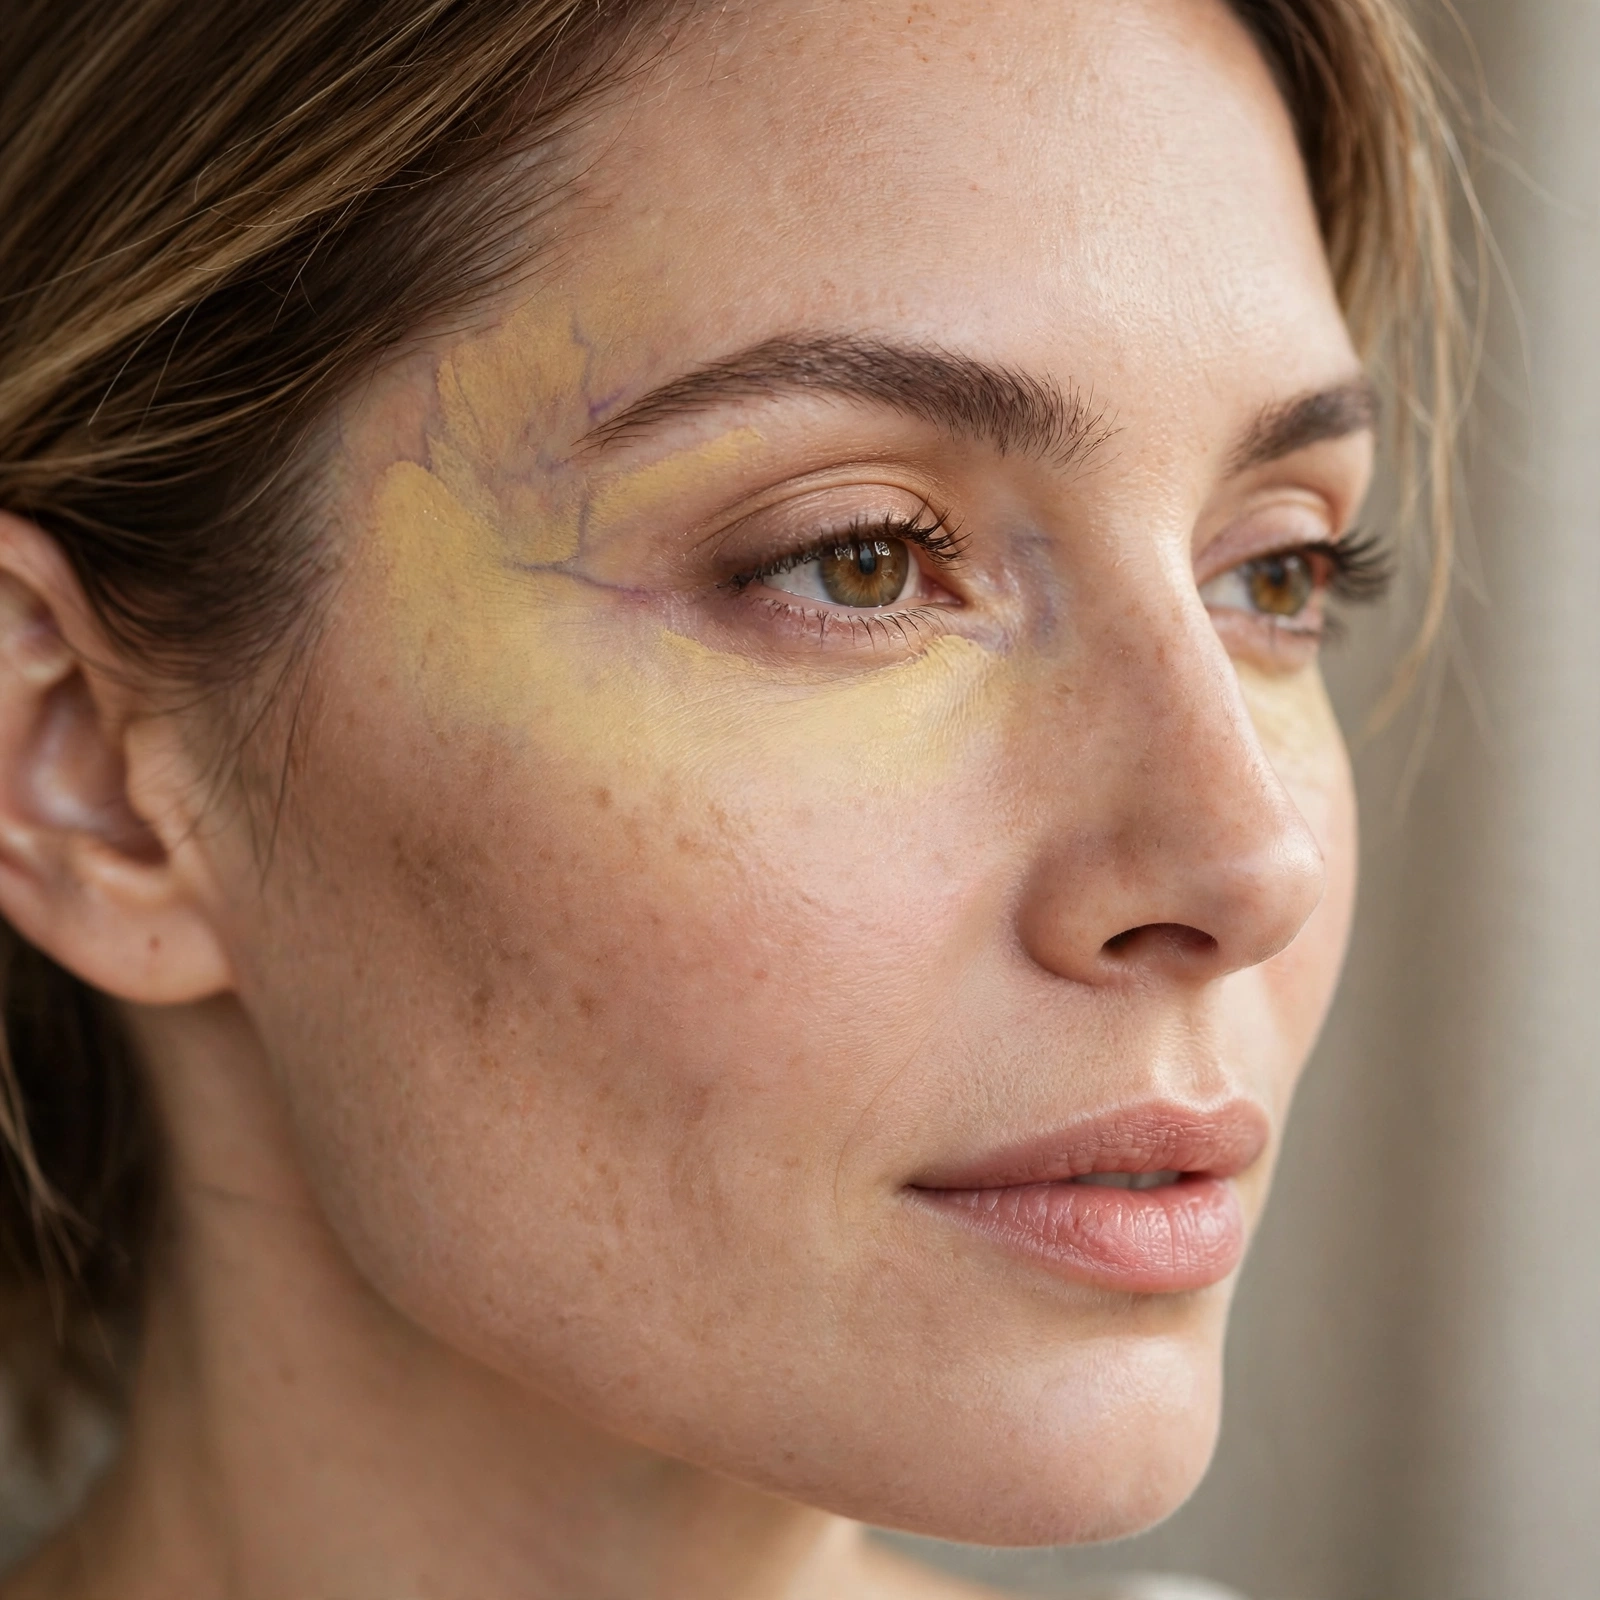
Yellow cancels purple tones in fair skin especially.
The subtle corrector. Yellow is the gentle neutralizer.
Orange for Deep Skin
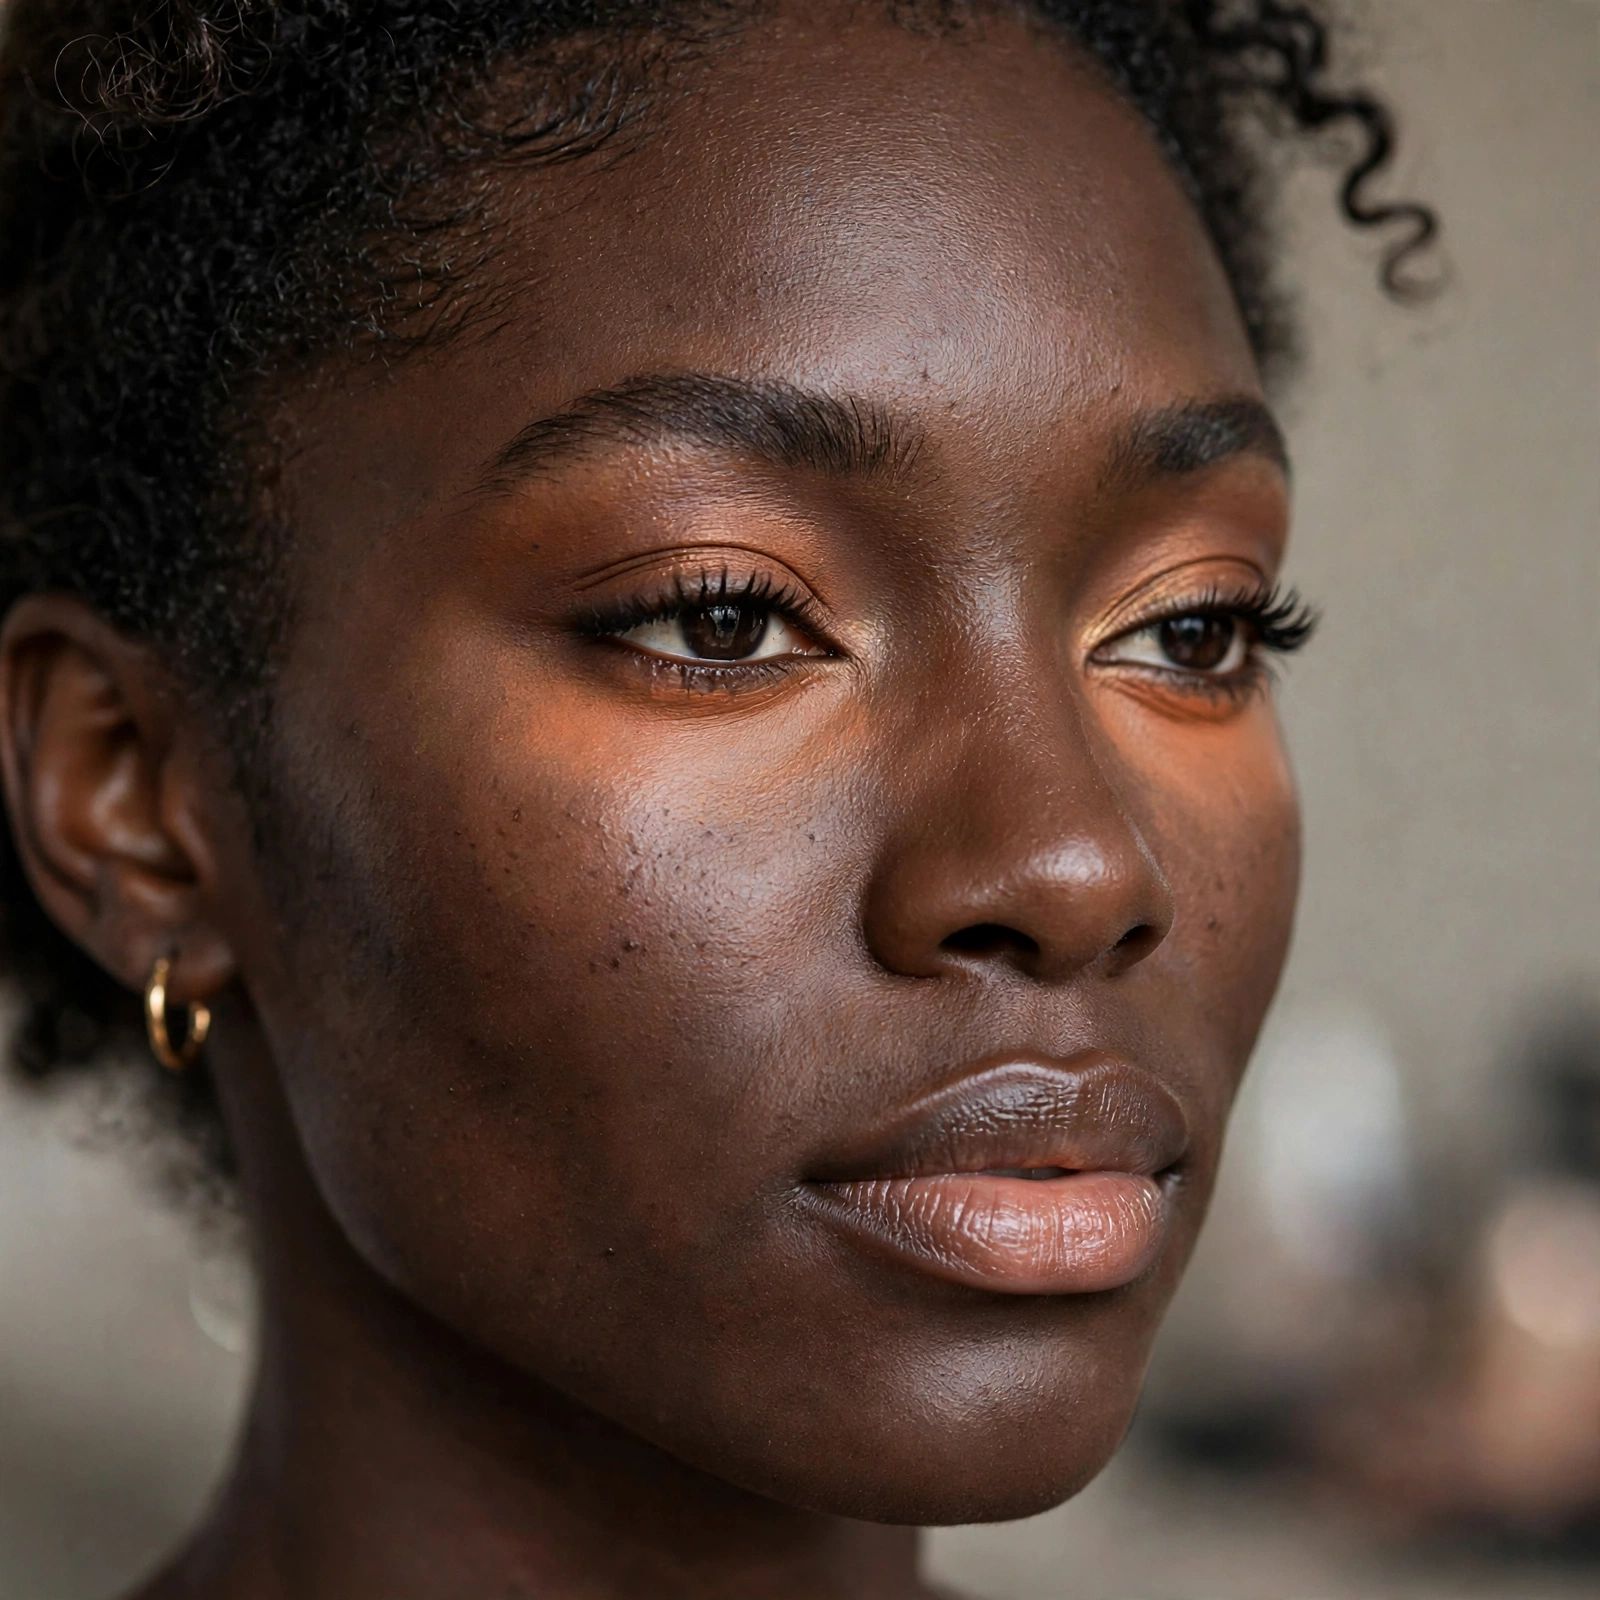
Deeper skin needs orange-red correctors for hyperpigmentation.
Match corrector depth to skin depth — deep skin needs rich correctors.
Corrector Before Concealer
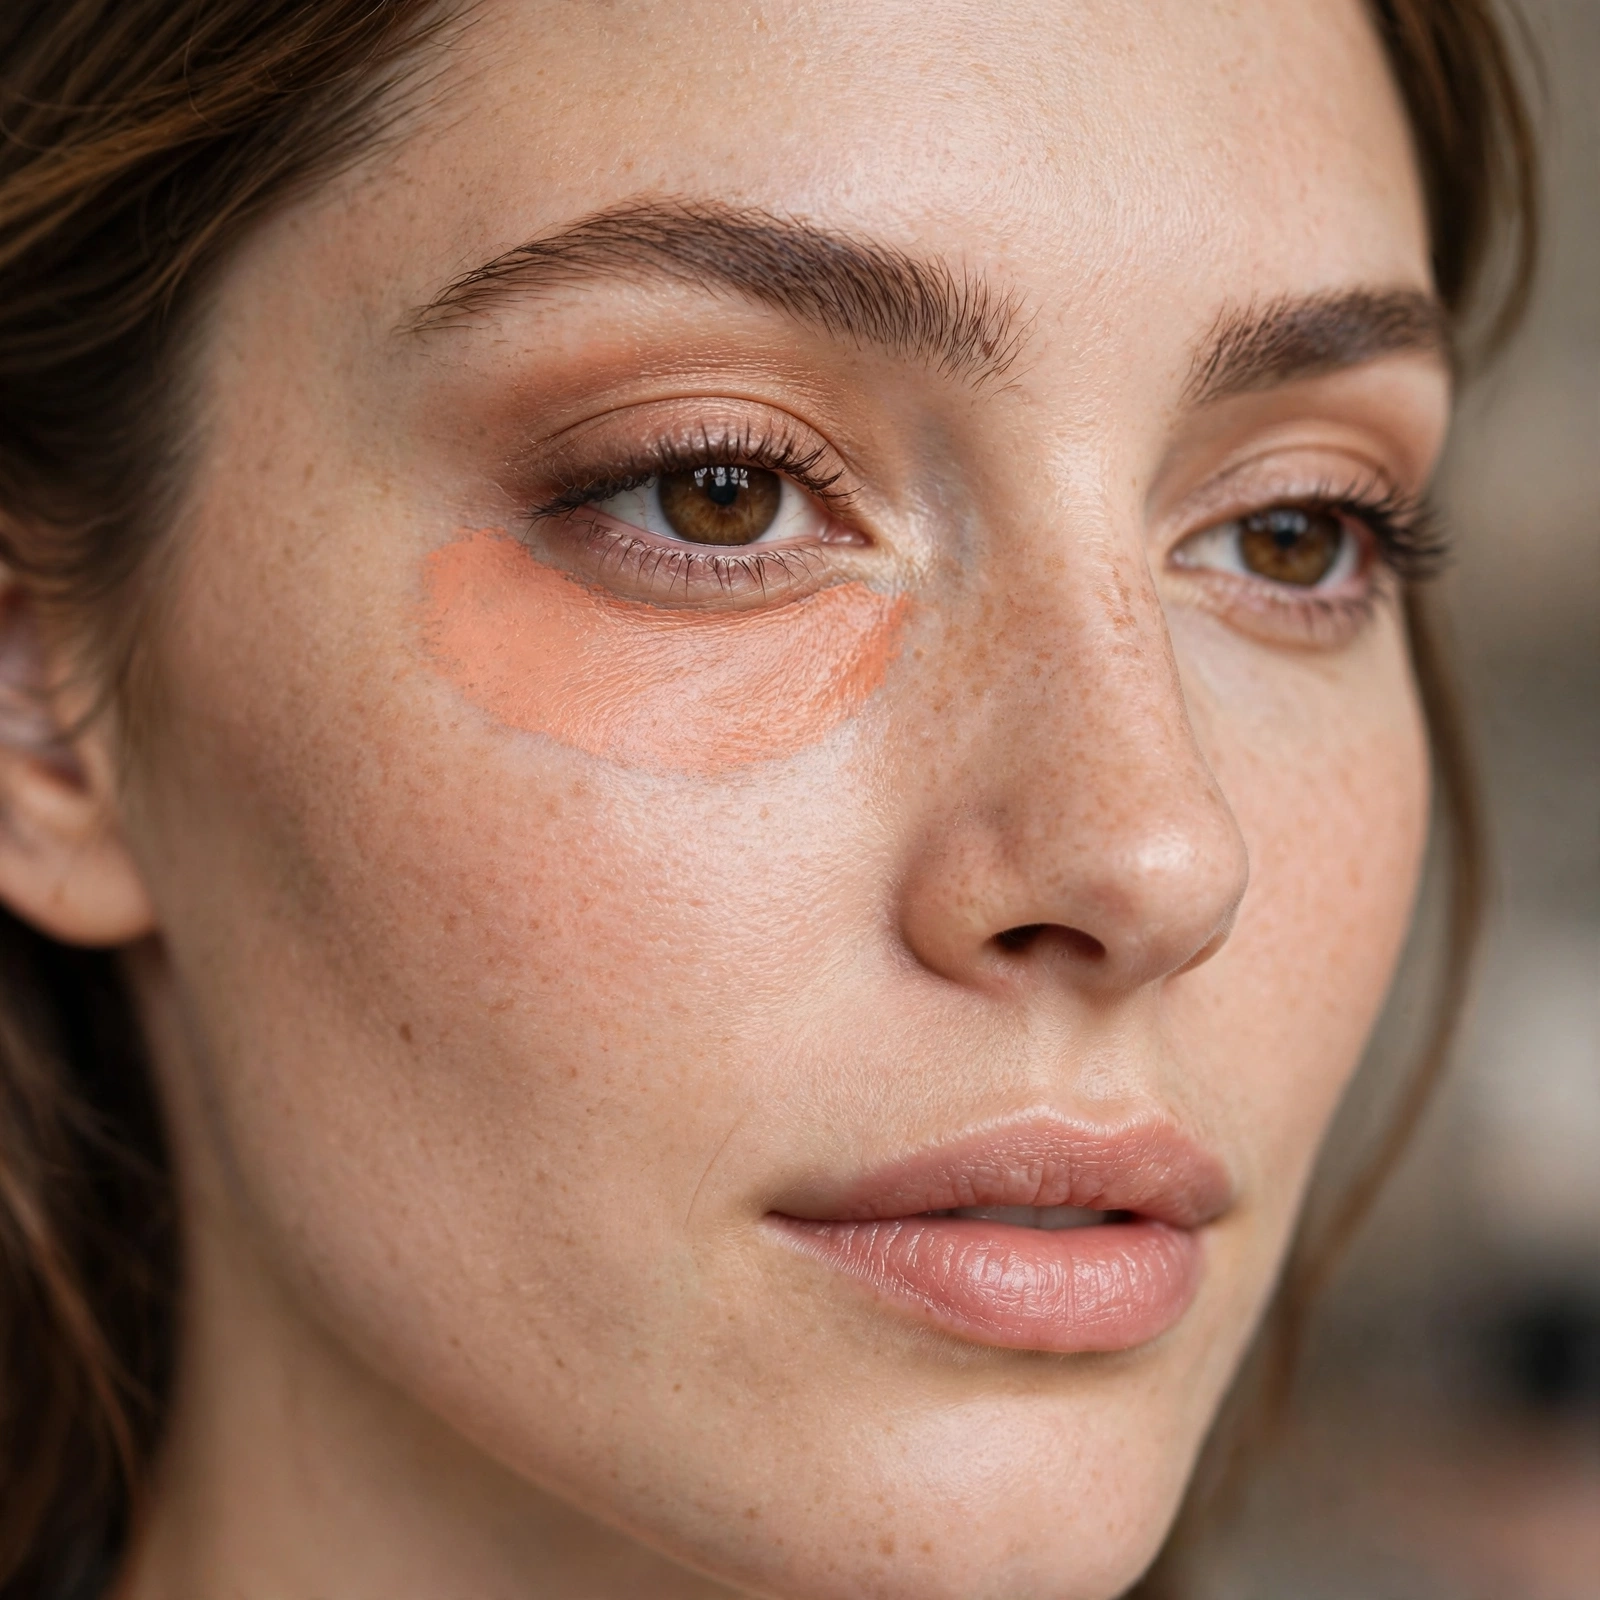
Always correct first, then conceal with skin-tone product.
The order is non-negotiable. Corrector cancels; concealer covers. Sequence matters.
Thin Layers Only
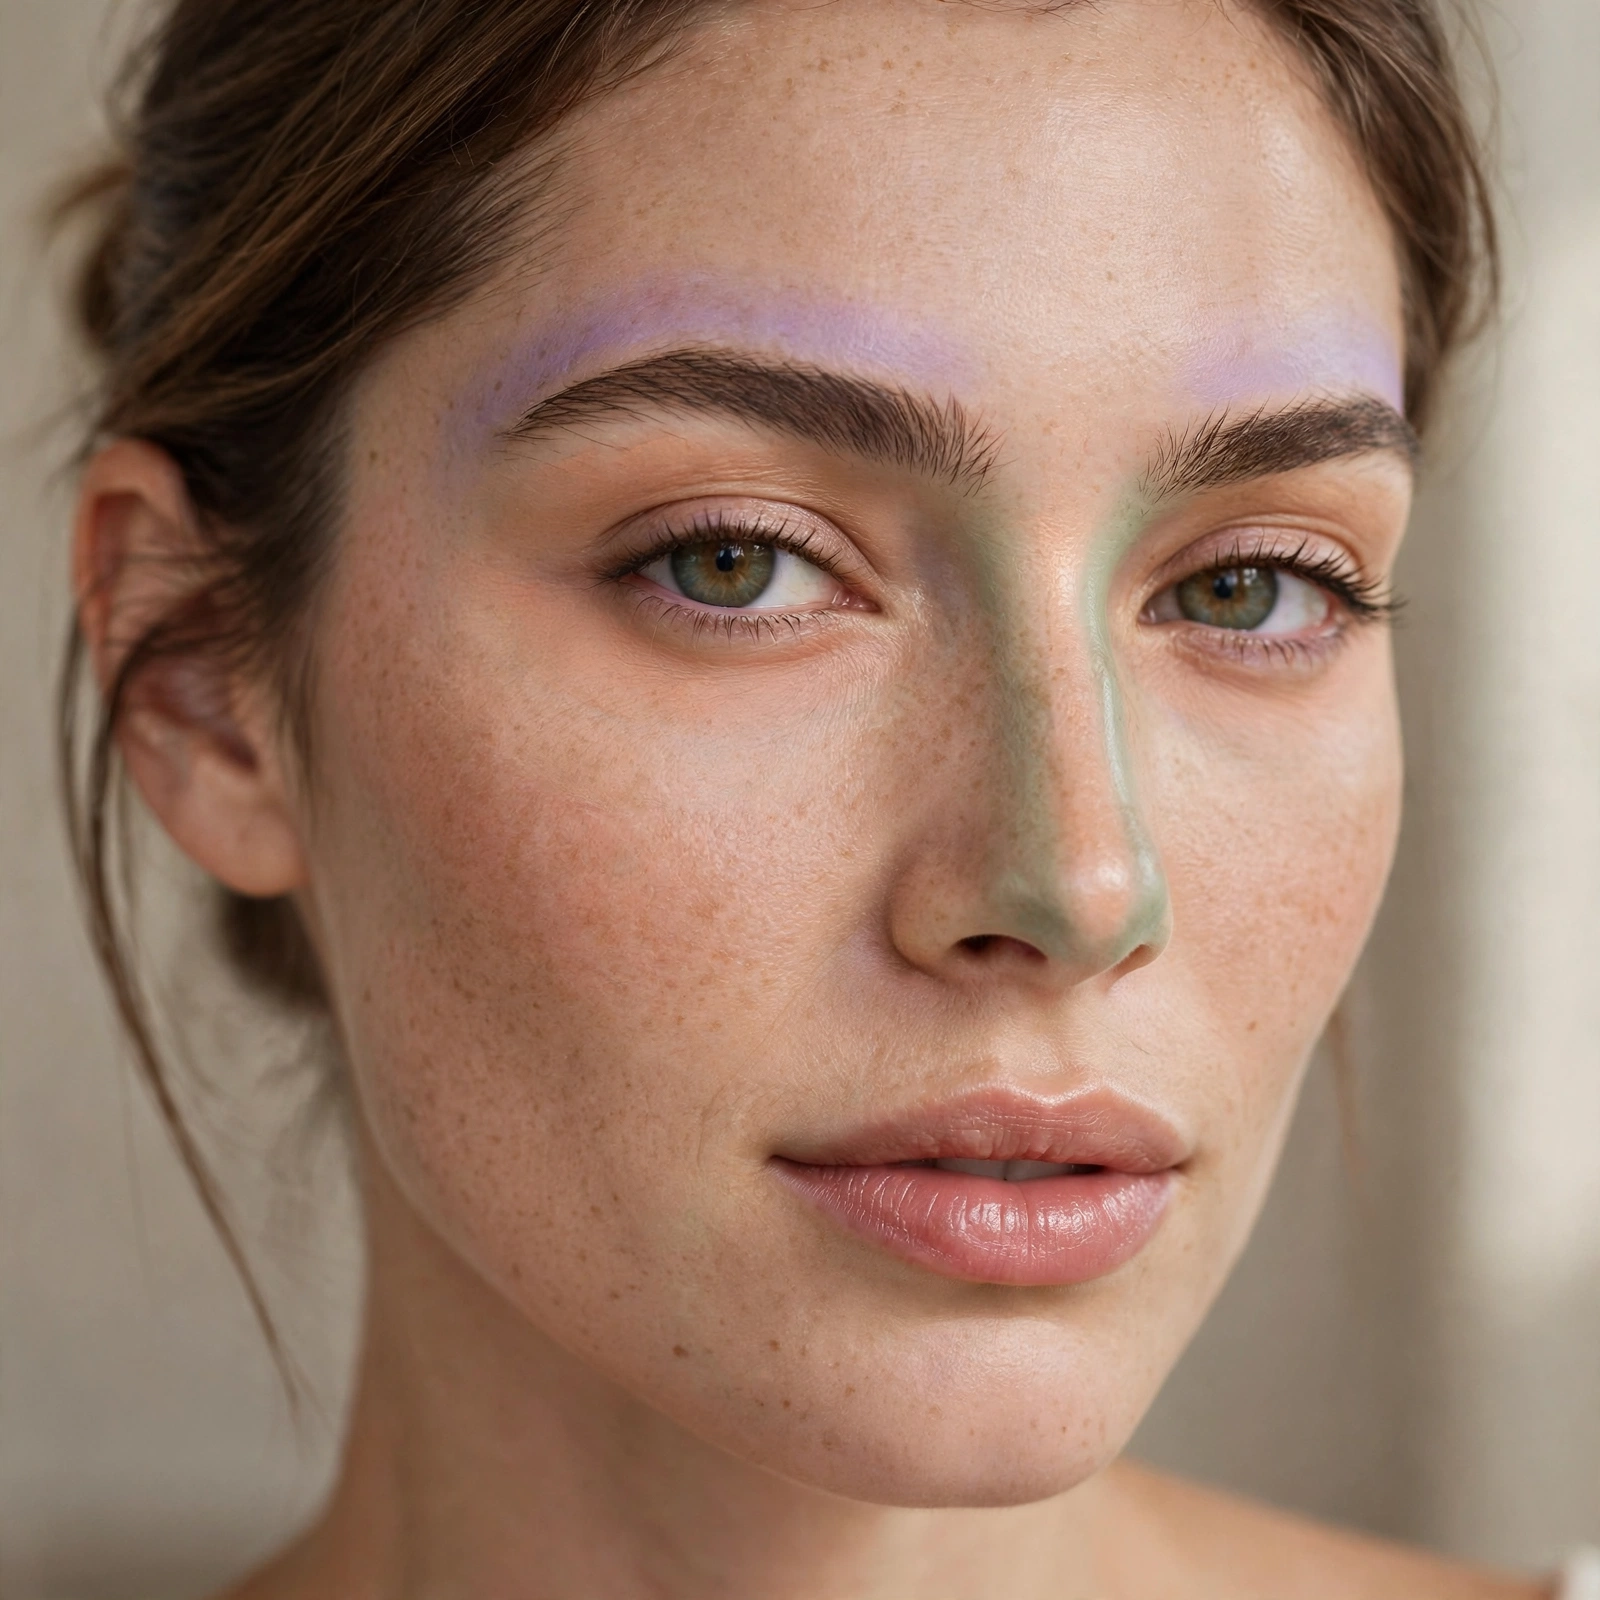
Corrector should be sheer — thick corrector shows through.
Sheer correction plus sheer concealment beats thick anything. Thin wins.
The Triangle Method
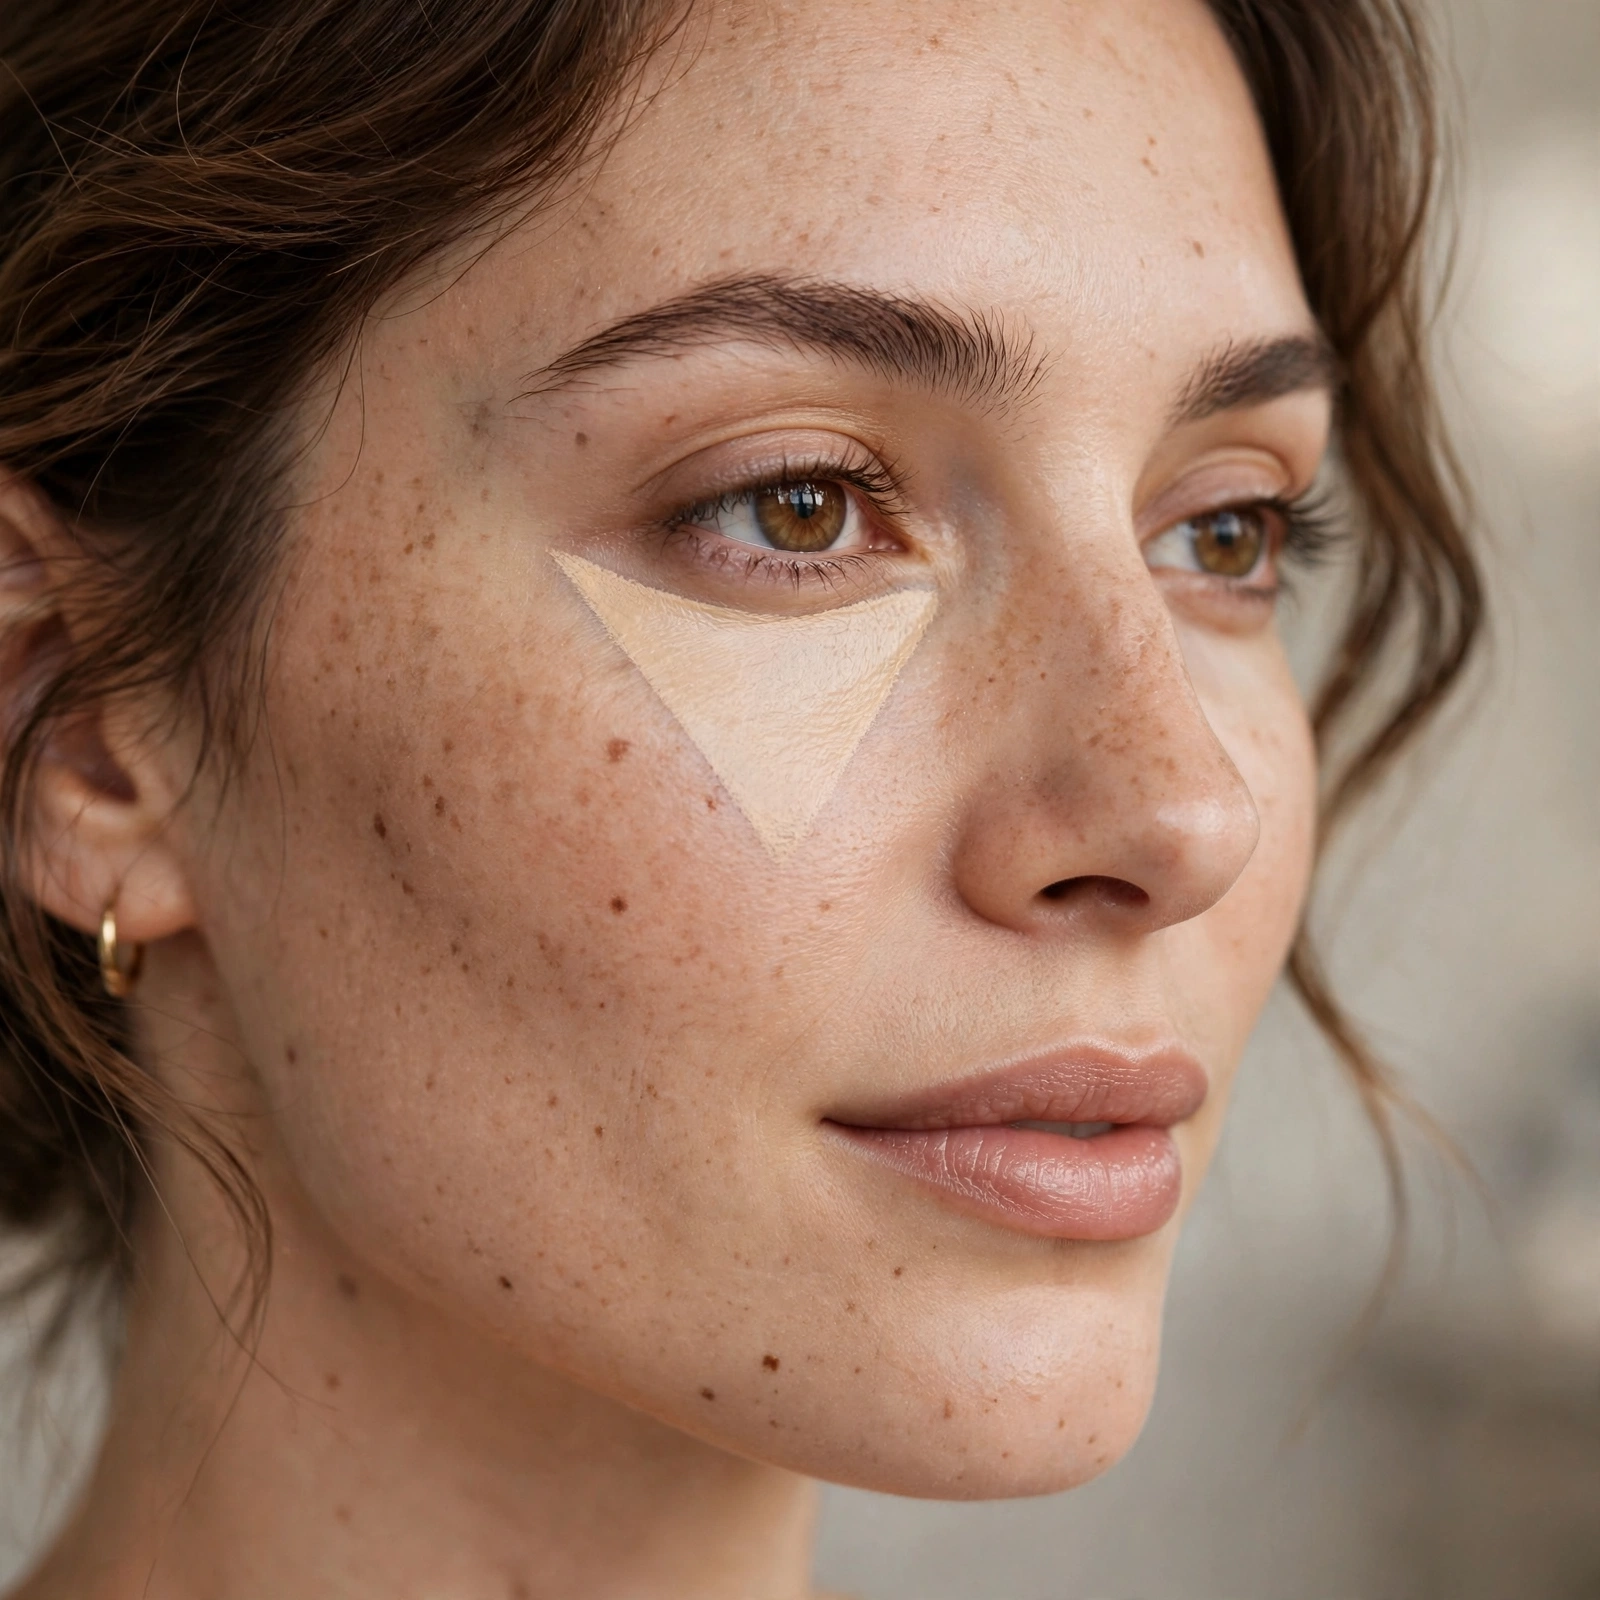
Apply corrector in an inverted triangle under the eye, not just on the darkness.
The triangle brightens the whole area, not just the circle. It’s more natural.
Set Corrector Lightly
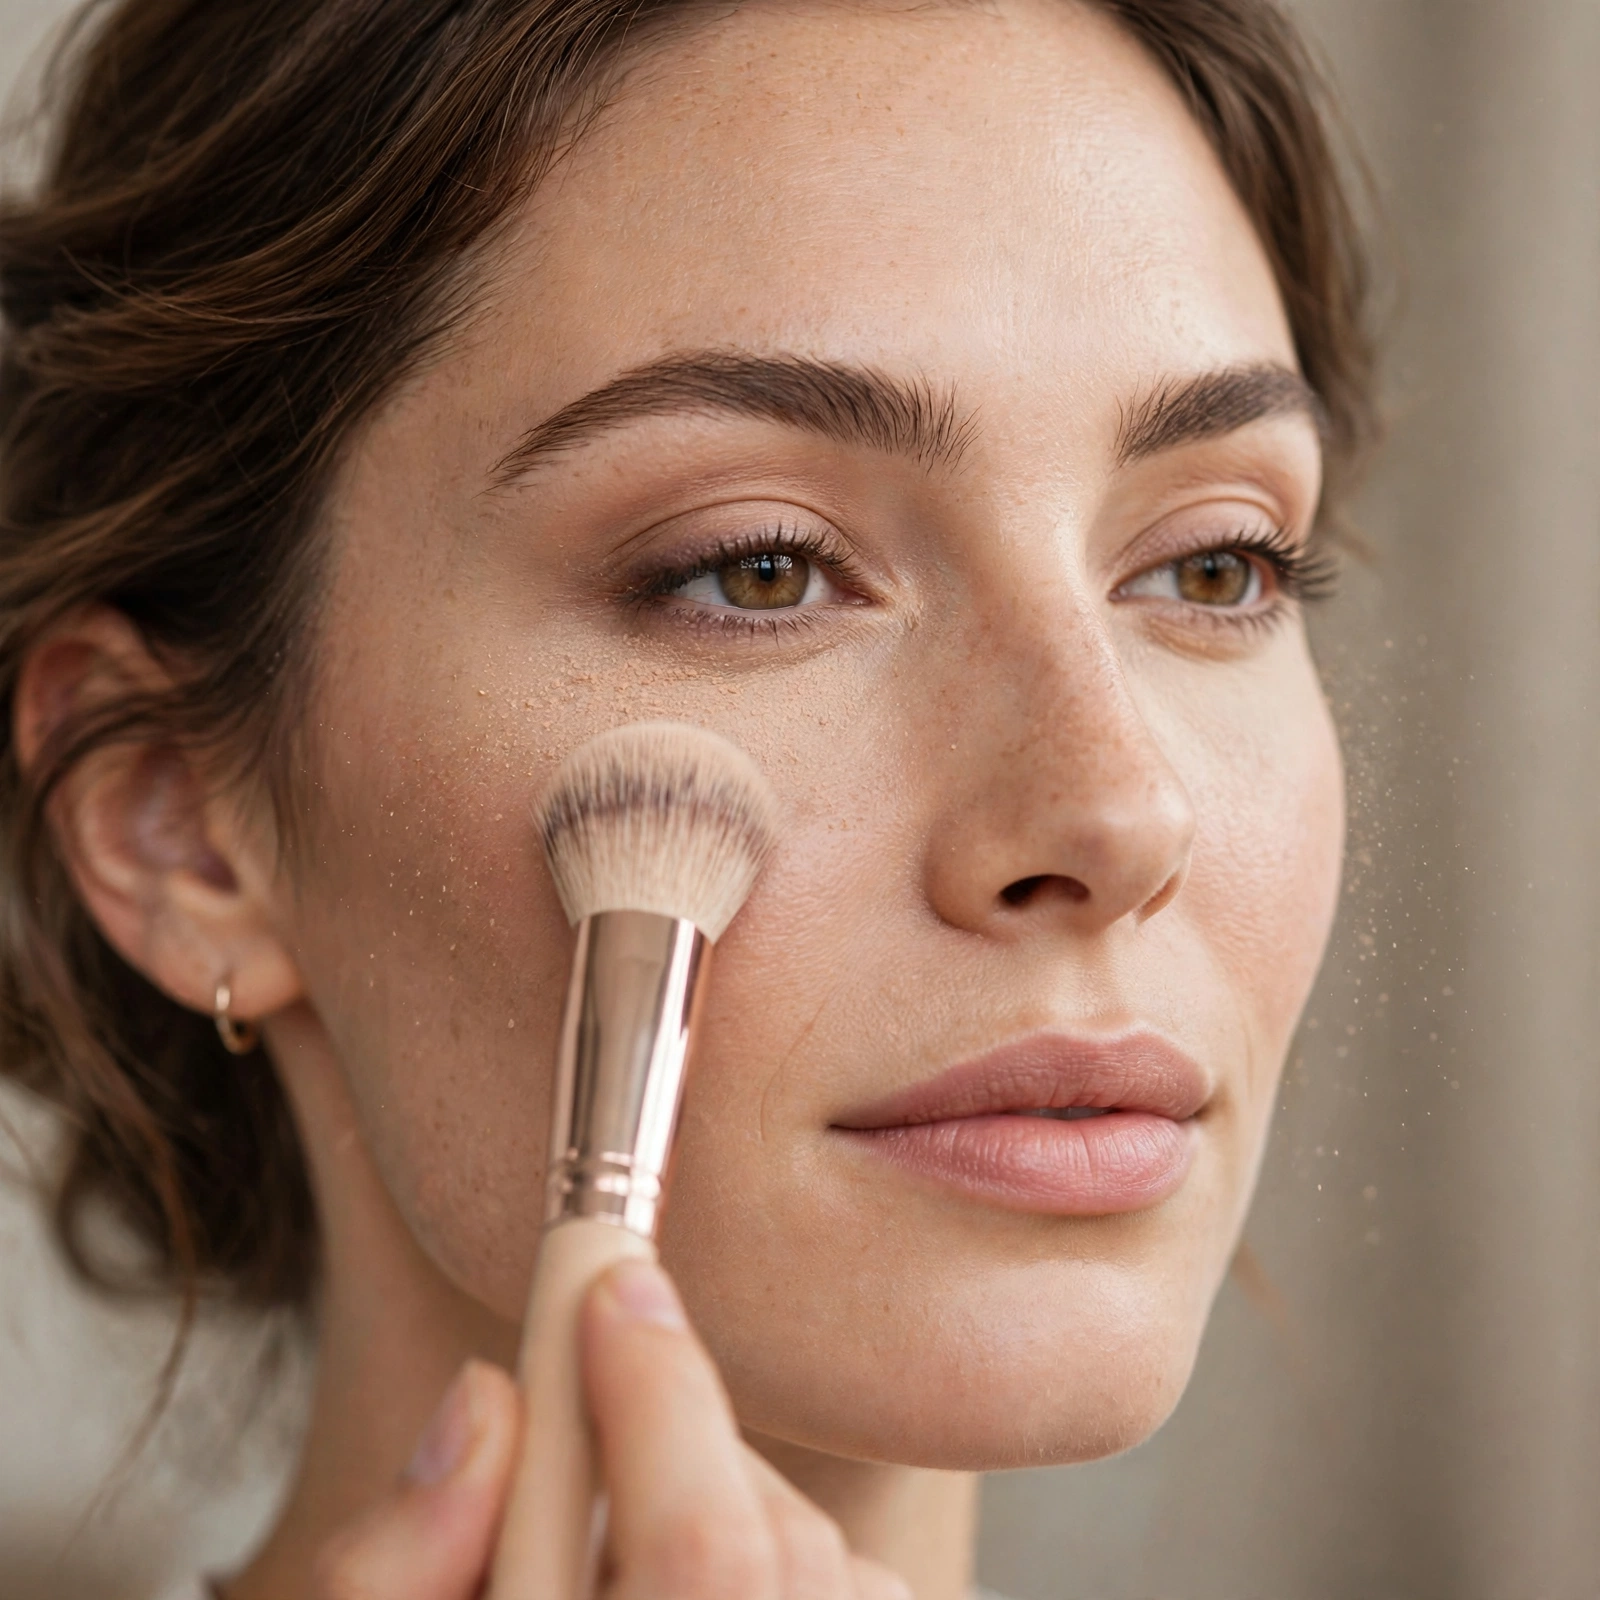
Set corrector with a touch of powder before concealer.
Unset corrector migrates. The powder lock keeps it in place.
Color-Correcting Primers
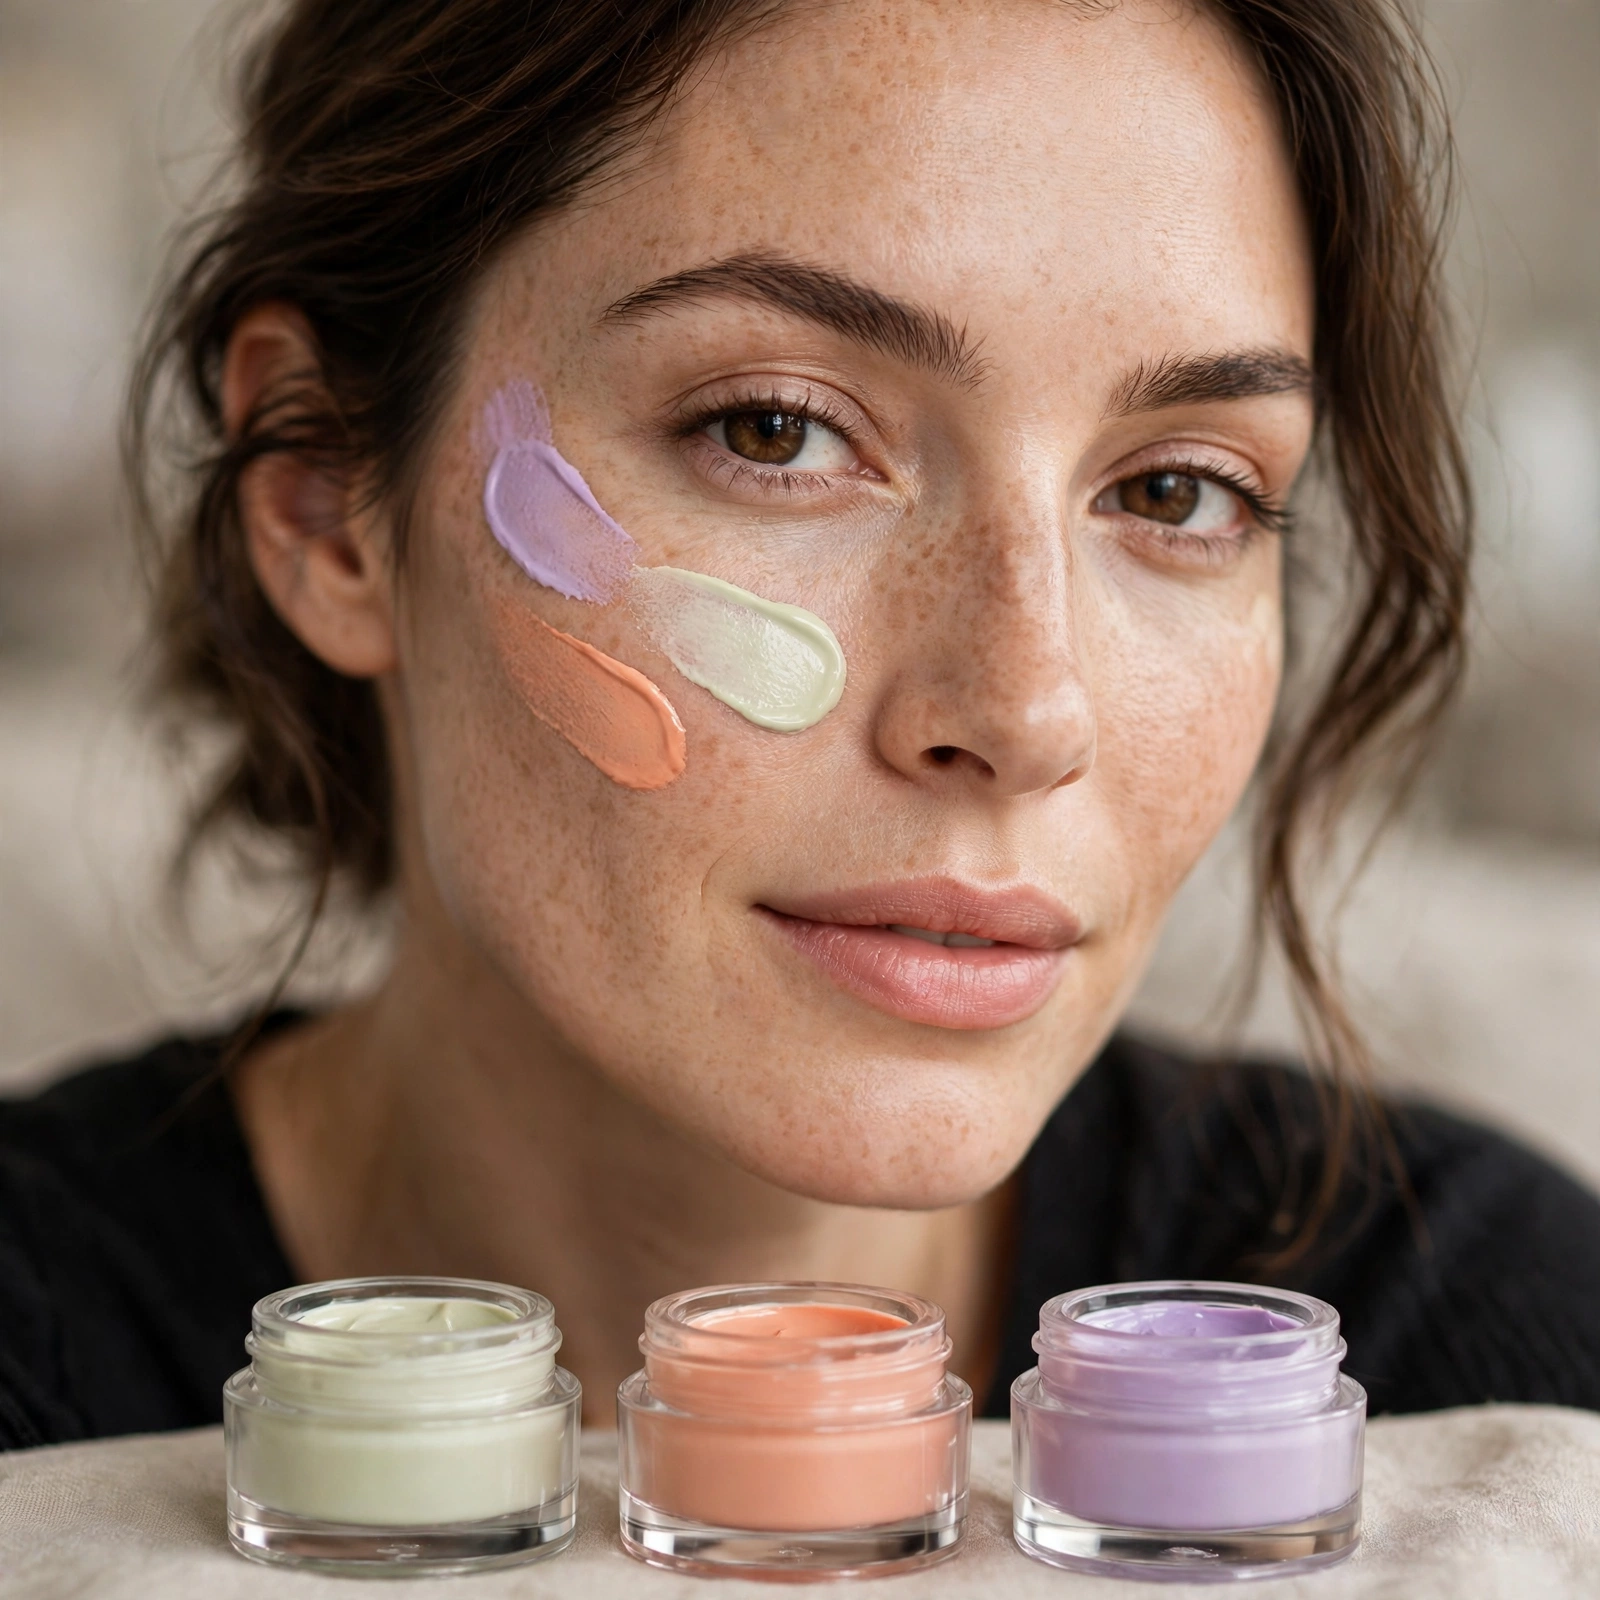
Tinted primers correct all-over tone issues efficiently.
Green primer for redness, lavender for dullness — the all-over fix.
Blemish Spot Correcting
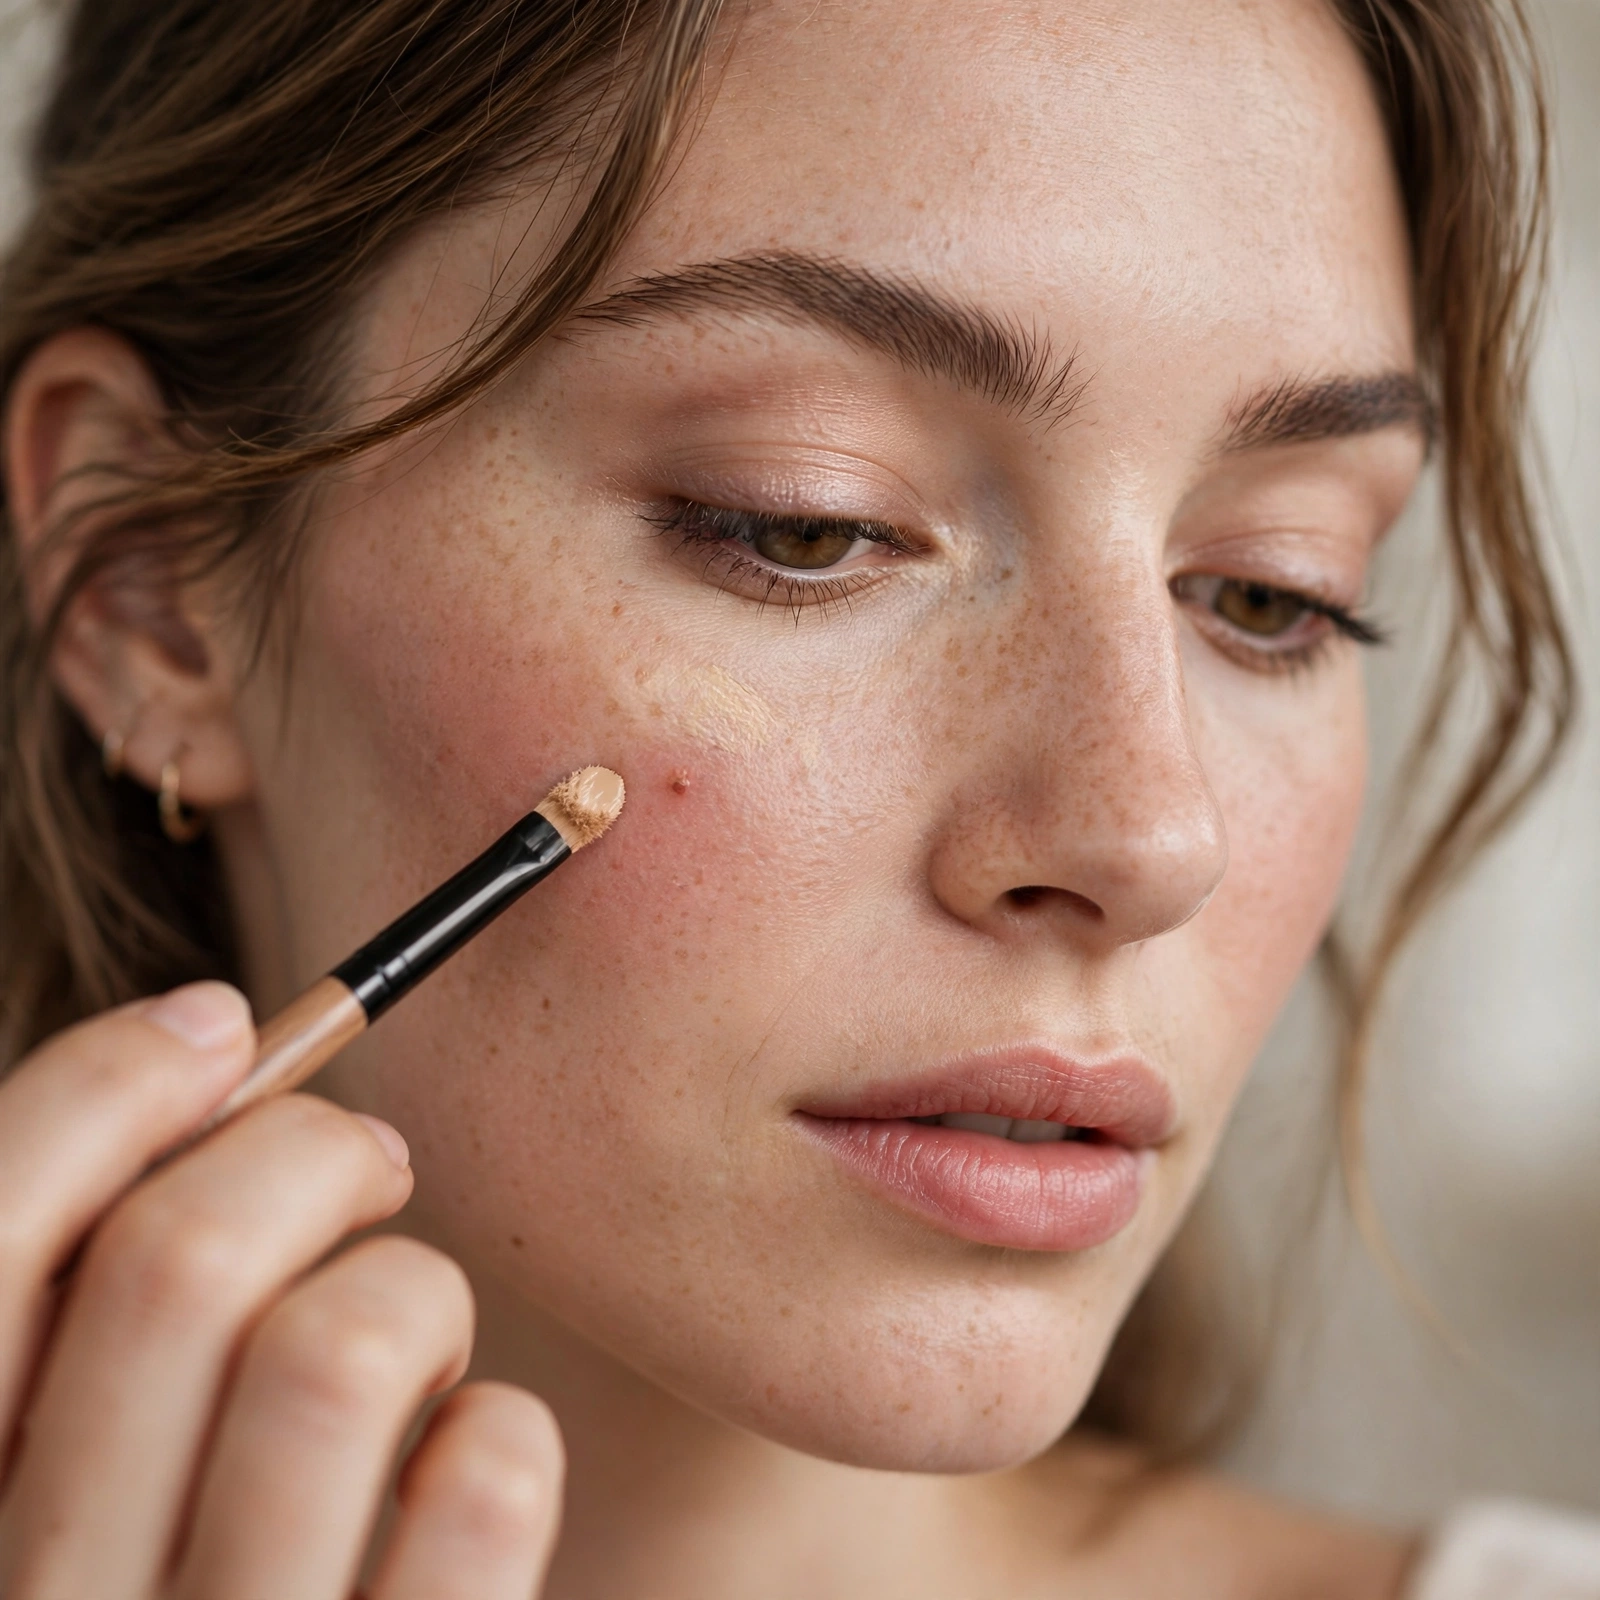
Dot green on blemishes, blend edges, then conceal.
For blemish coverage, precision beats coverage area. Dot, don’t smear.
Dark Spot Correcting
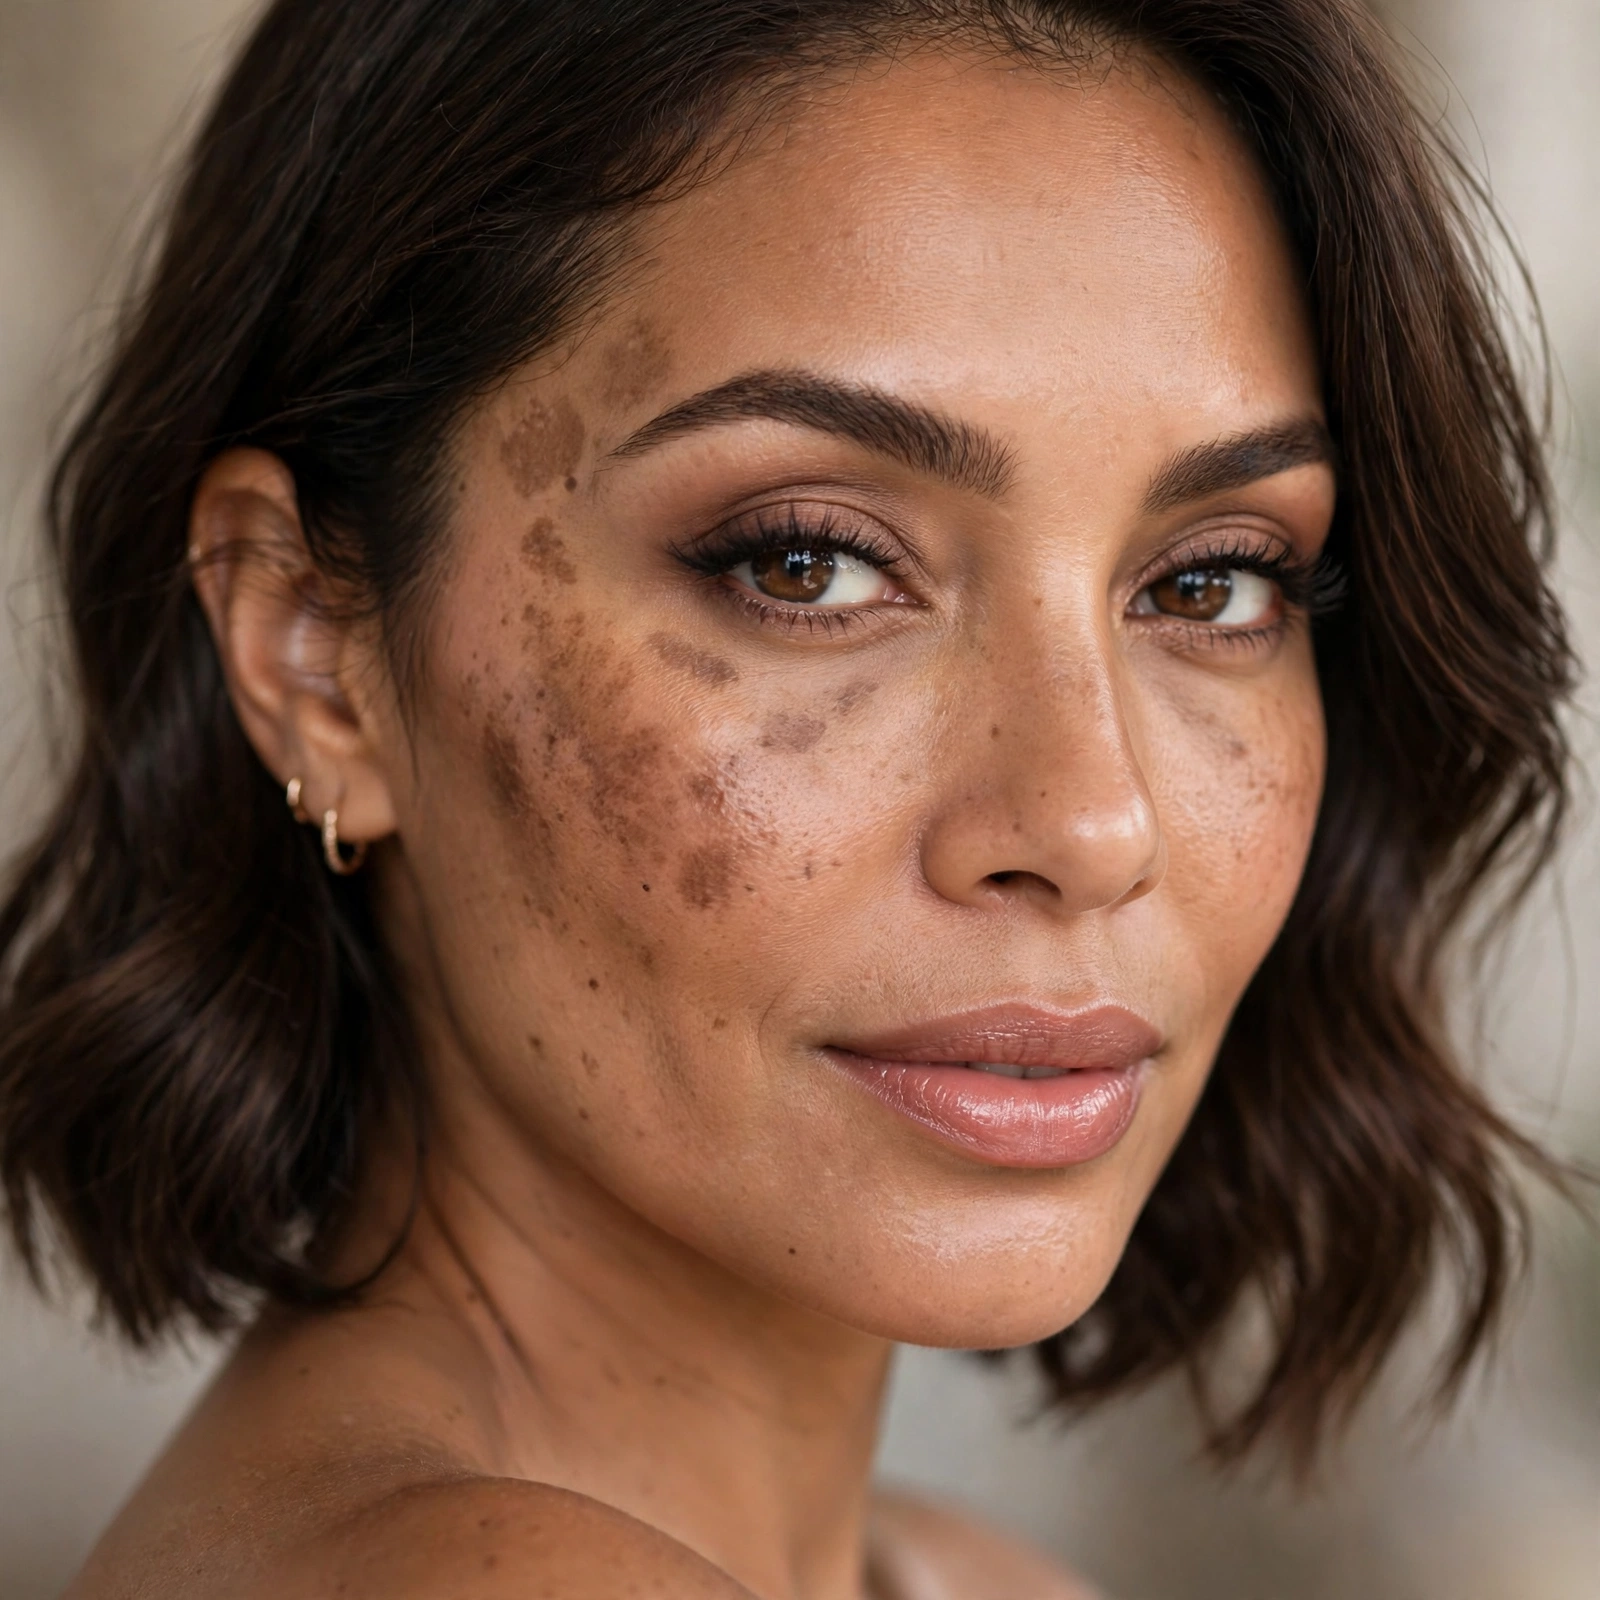
Peach-orange on dark spots before foundation evens tone.
Correcting spots before base means less foundation overall. Work smart.
Under-Eye Brightening Combo
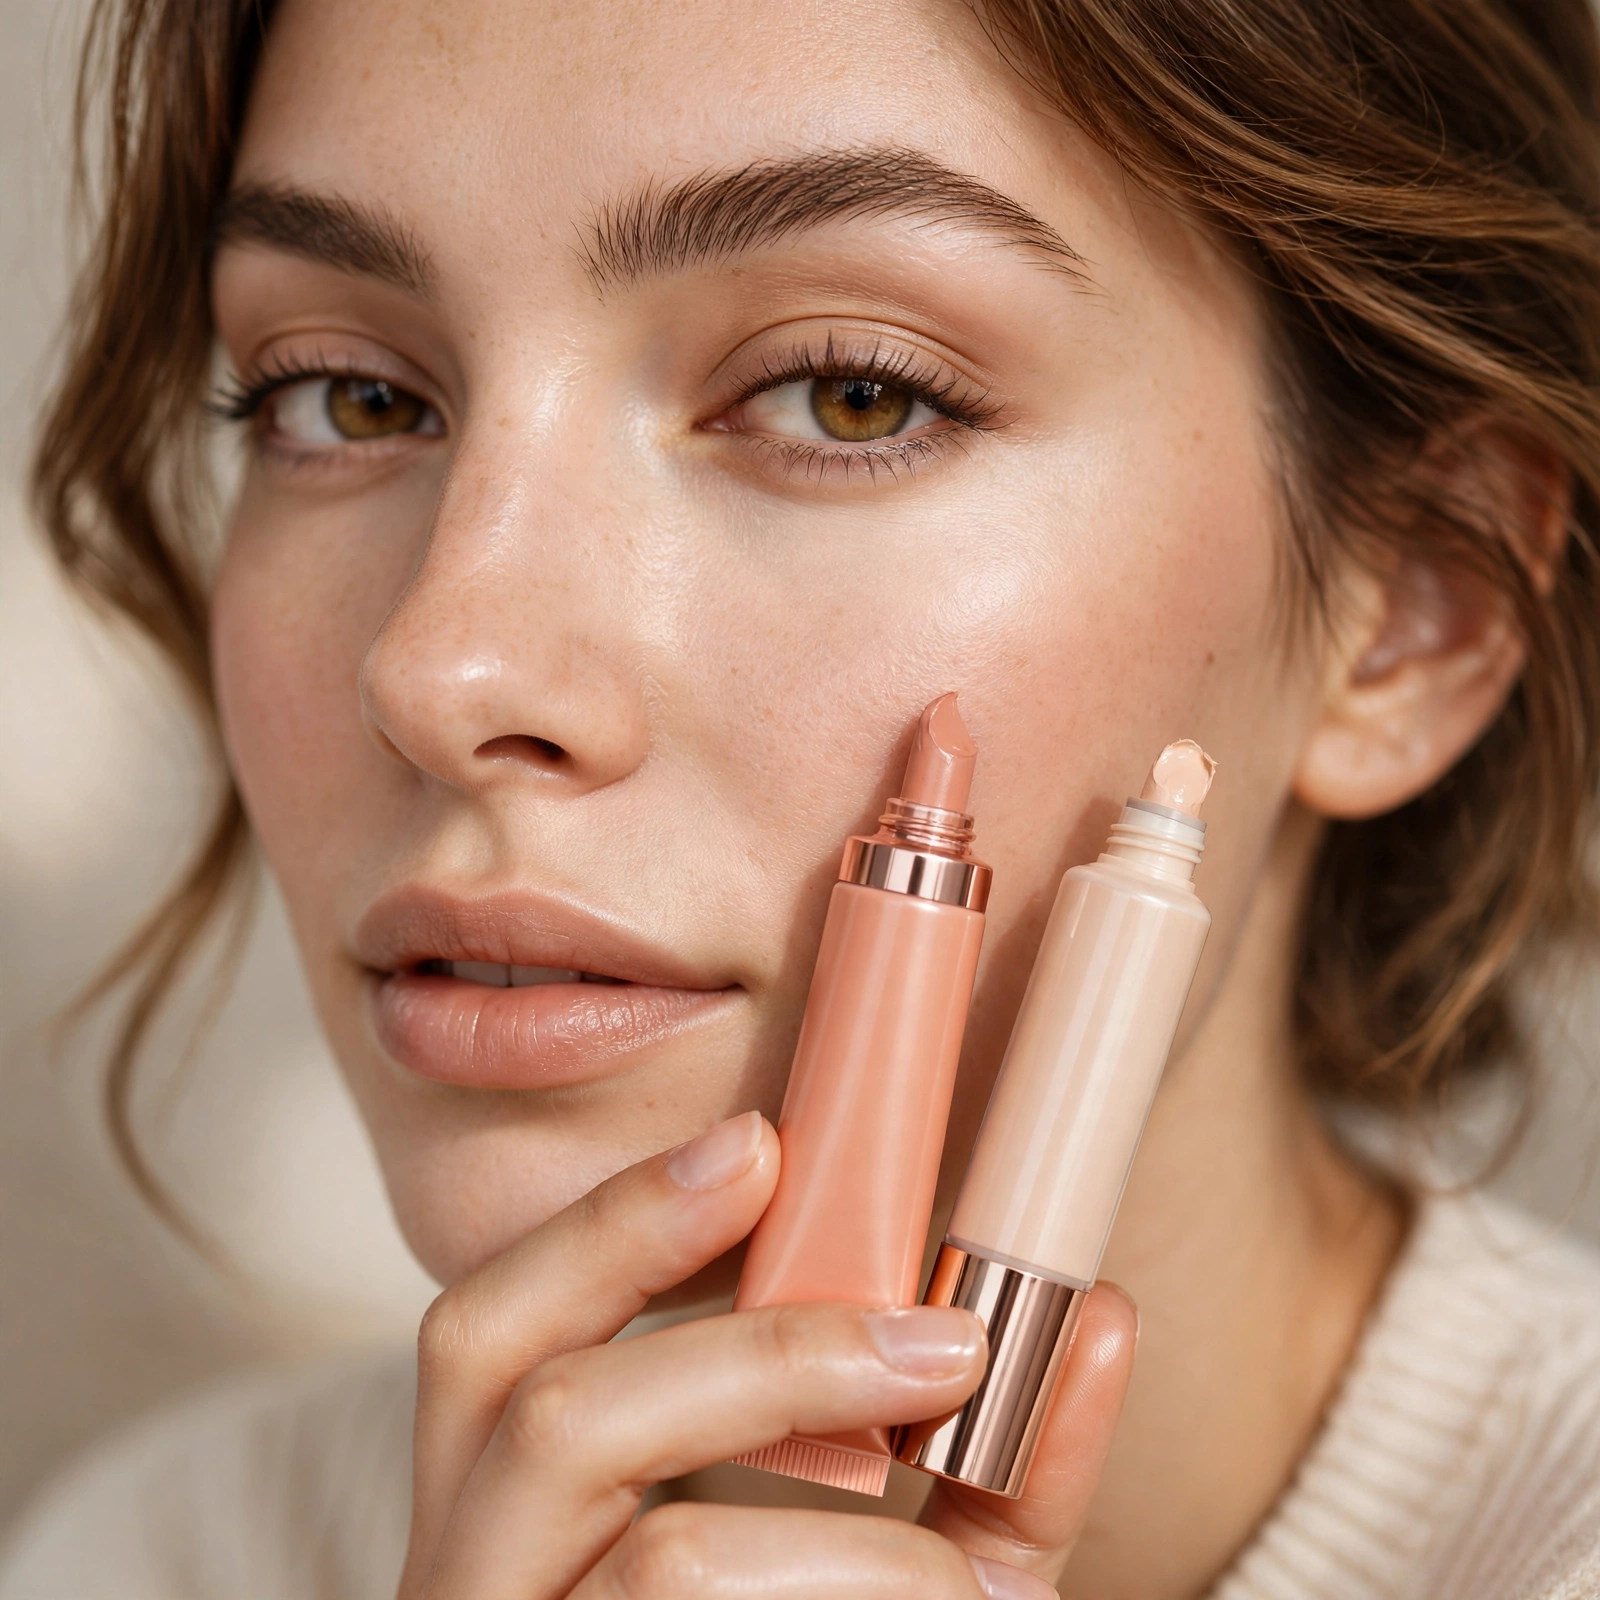
Peach corrector plus brightening concealer — the complete under-eye.
The combo addresses both color and light. Darkness needs both canceled and brightened.
Avoid Over-Correcting
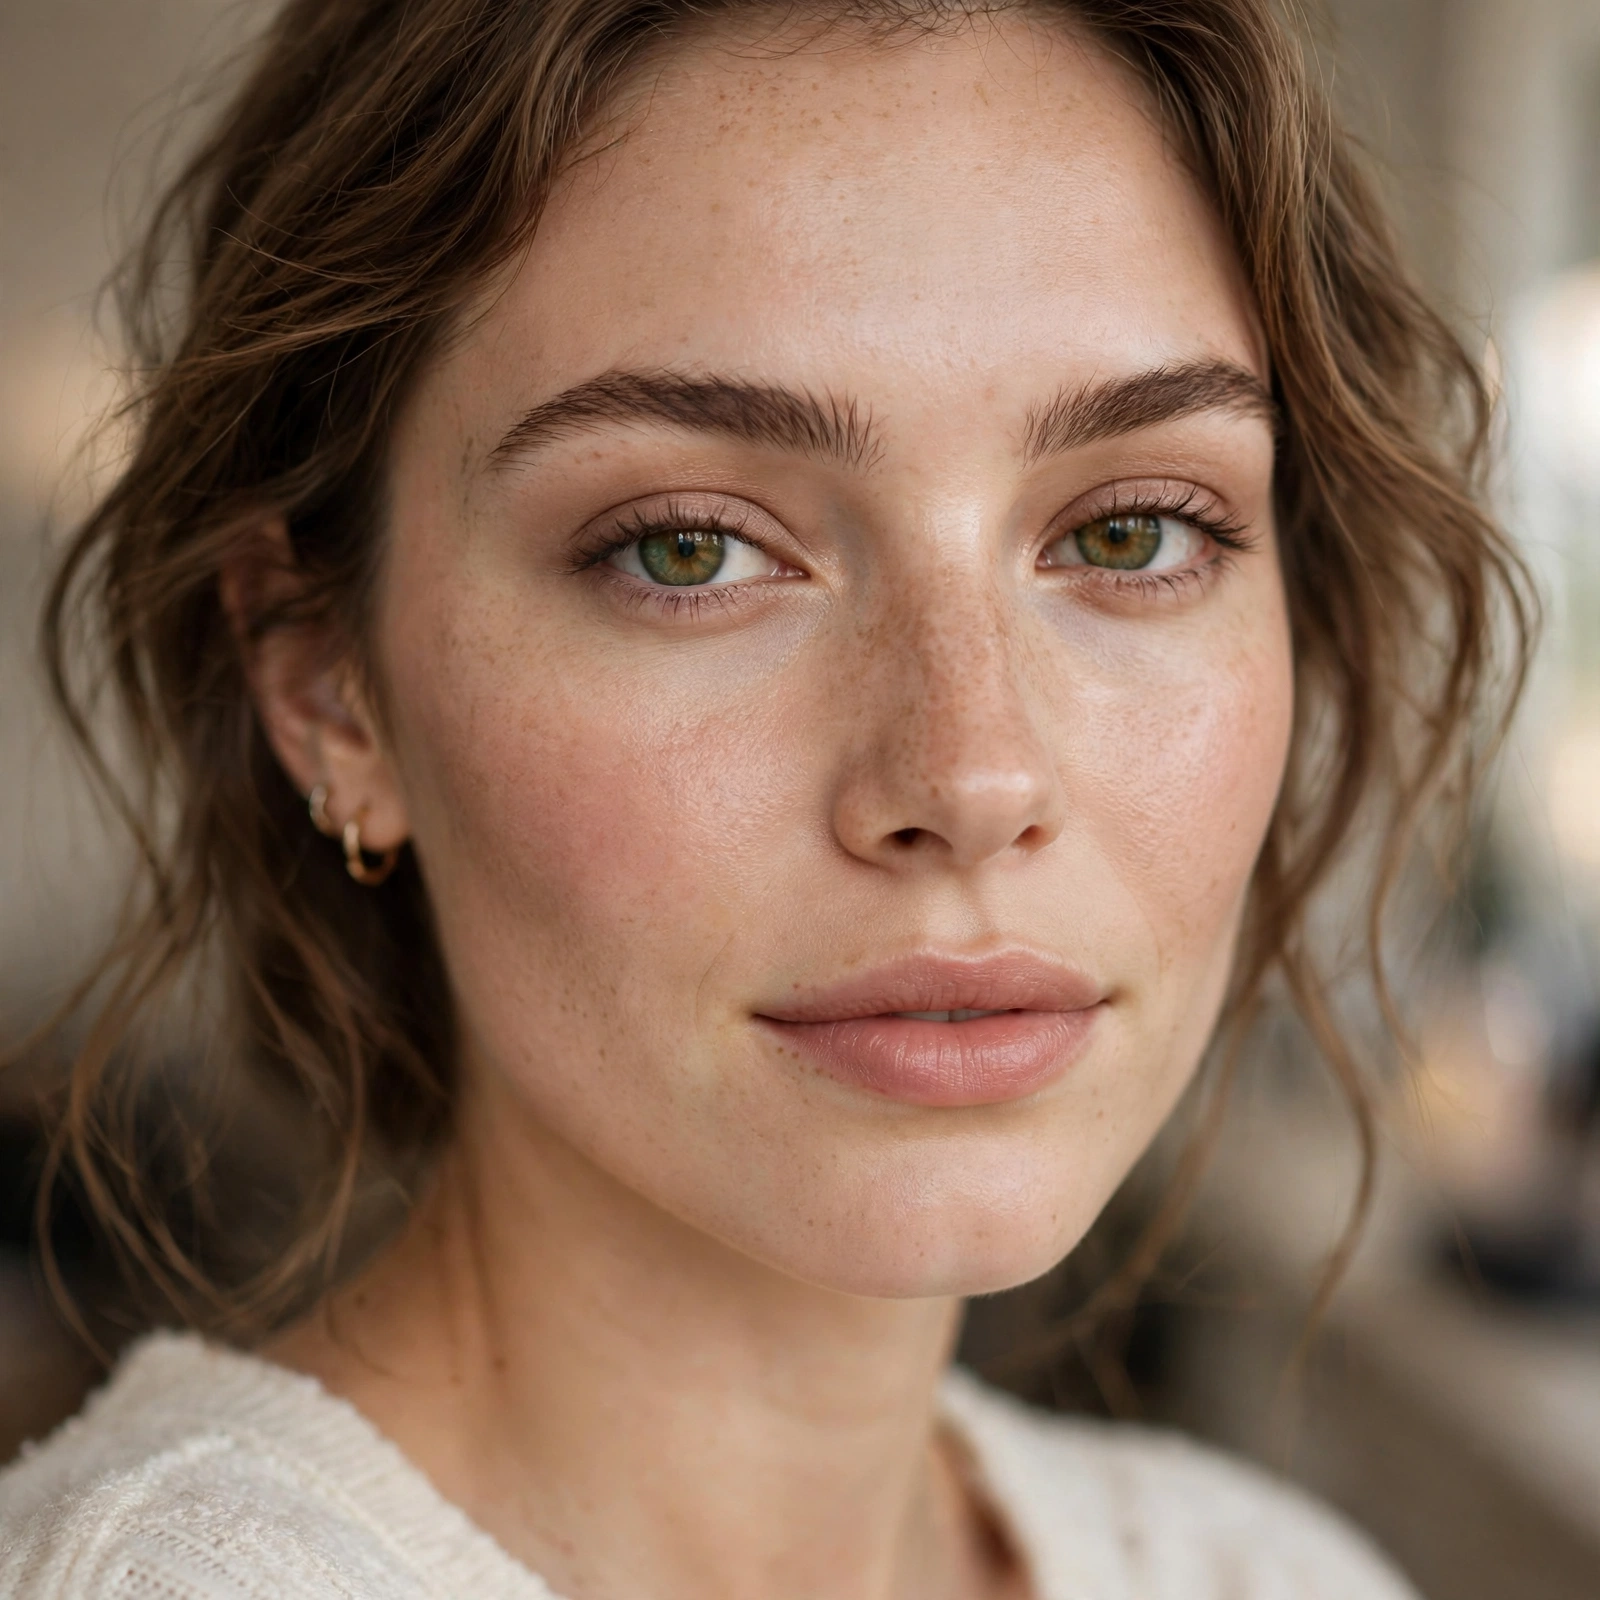
Too much corrector creates new color problems.
If you see the corrector color, you’ve used too much. Sheer is the rule.
Correcting for Photography
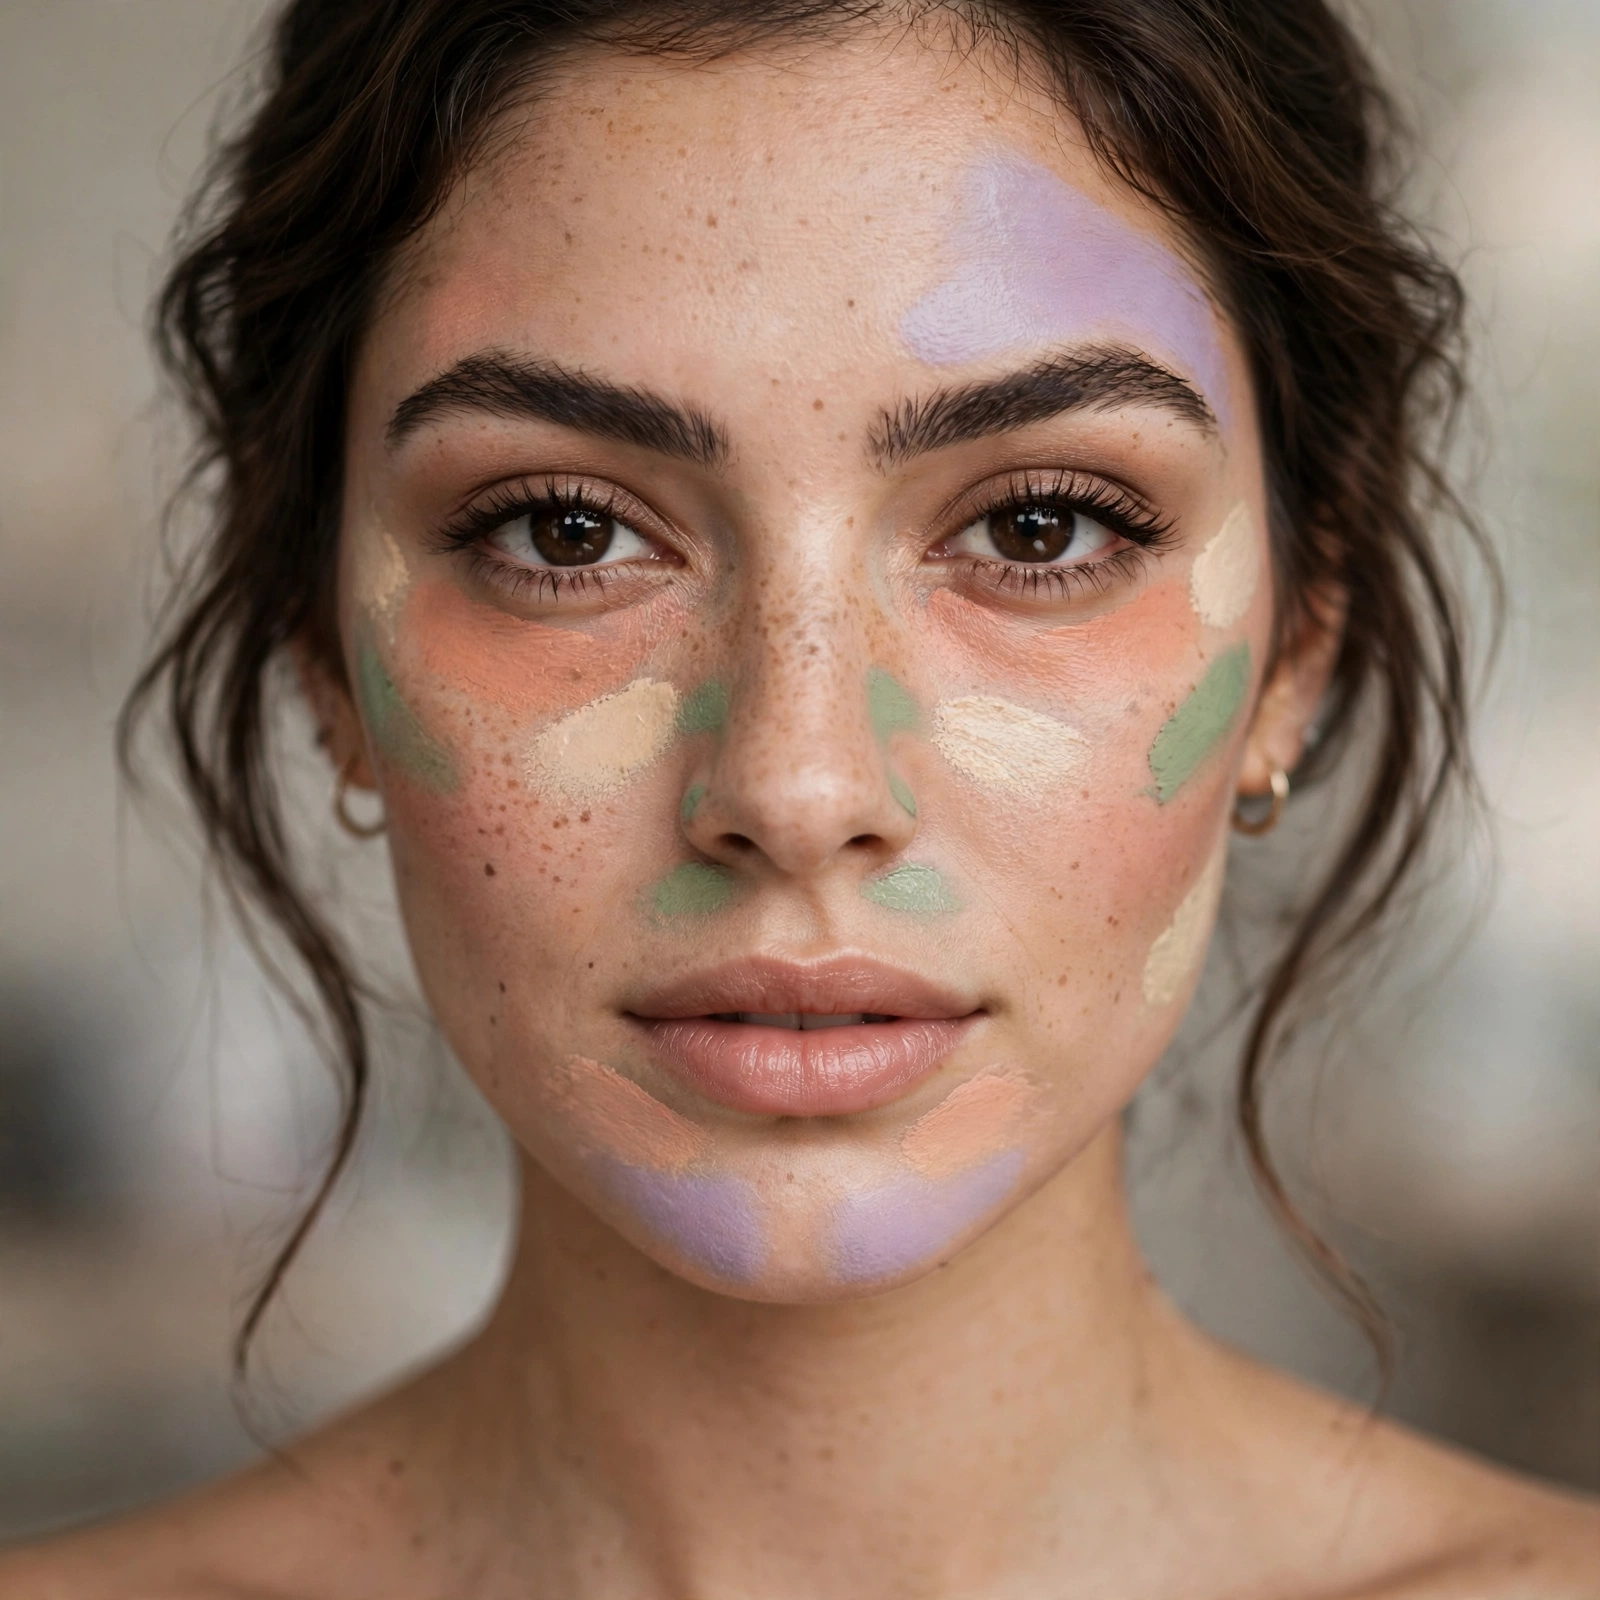
Cameras amplify discoloration — correct more for photos.
What looks fine in person can photograph poorly. Compensate for the camera.
The Minimalist Correct
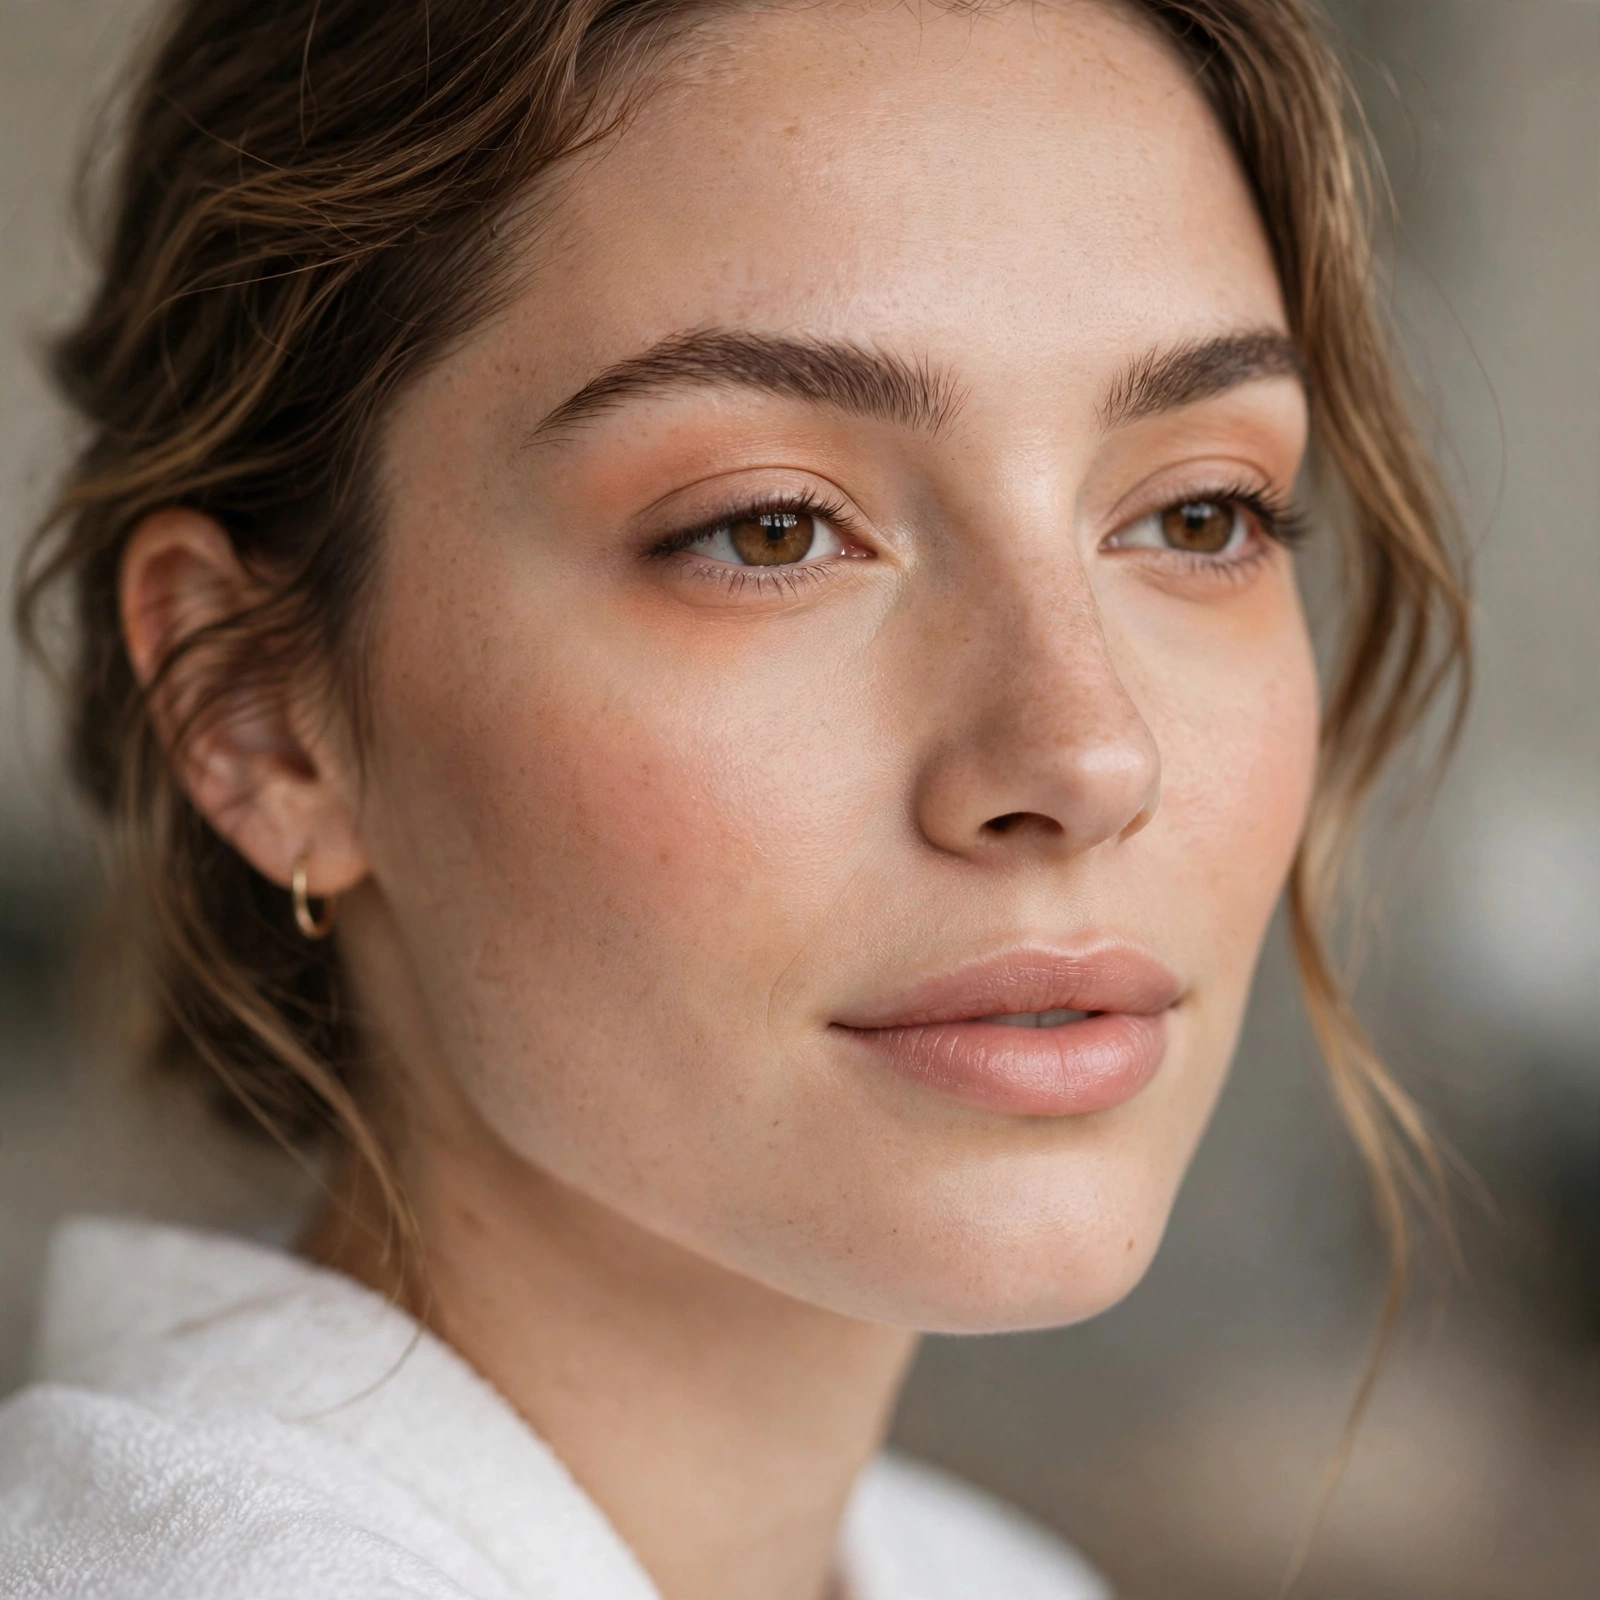
Correct only the worst area — often that’s enough.
You don’t need to correct everything. Target the main concern and stop.
Corrector and Foundation Order
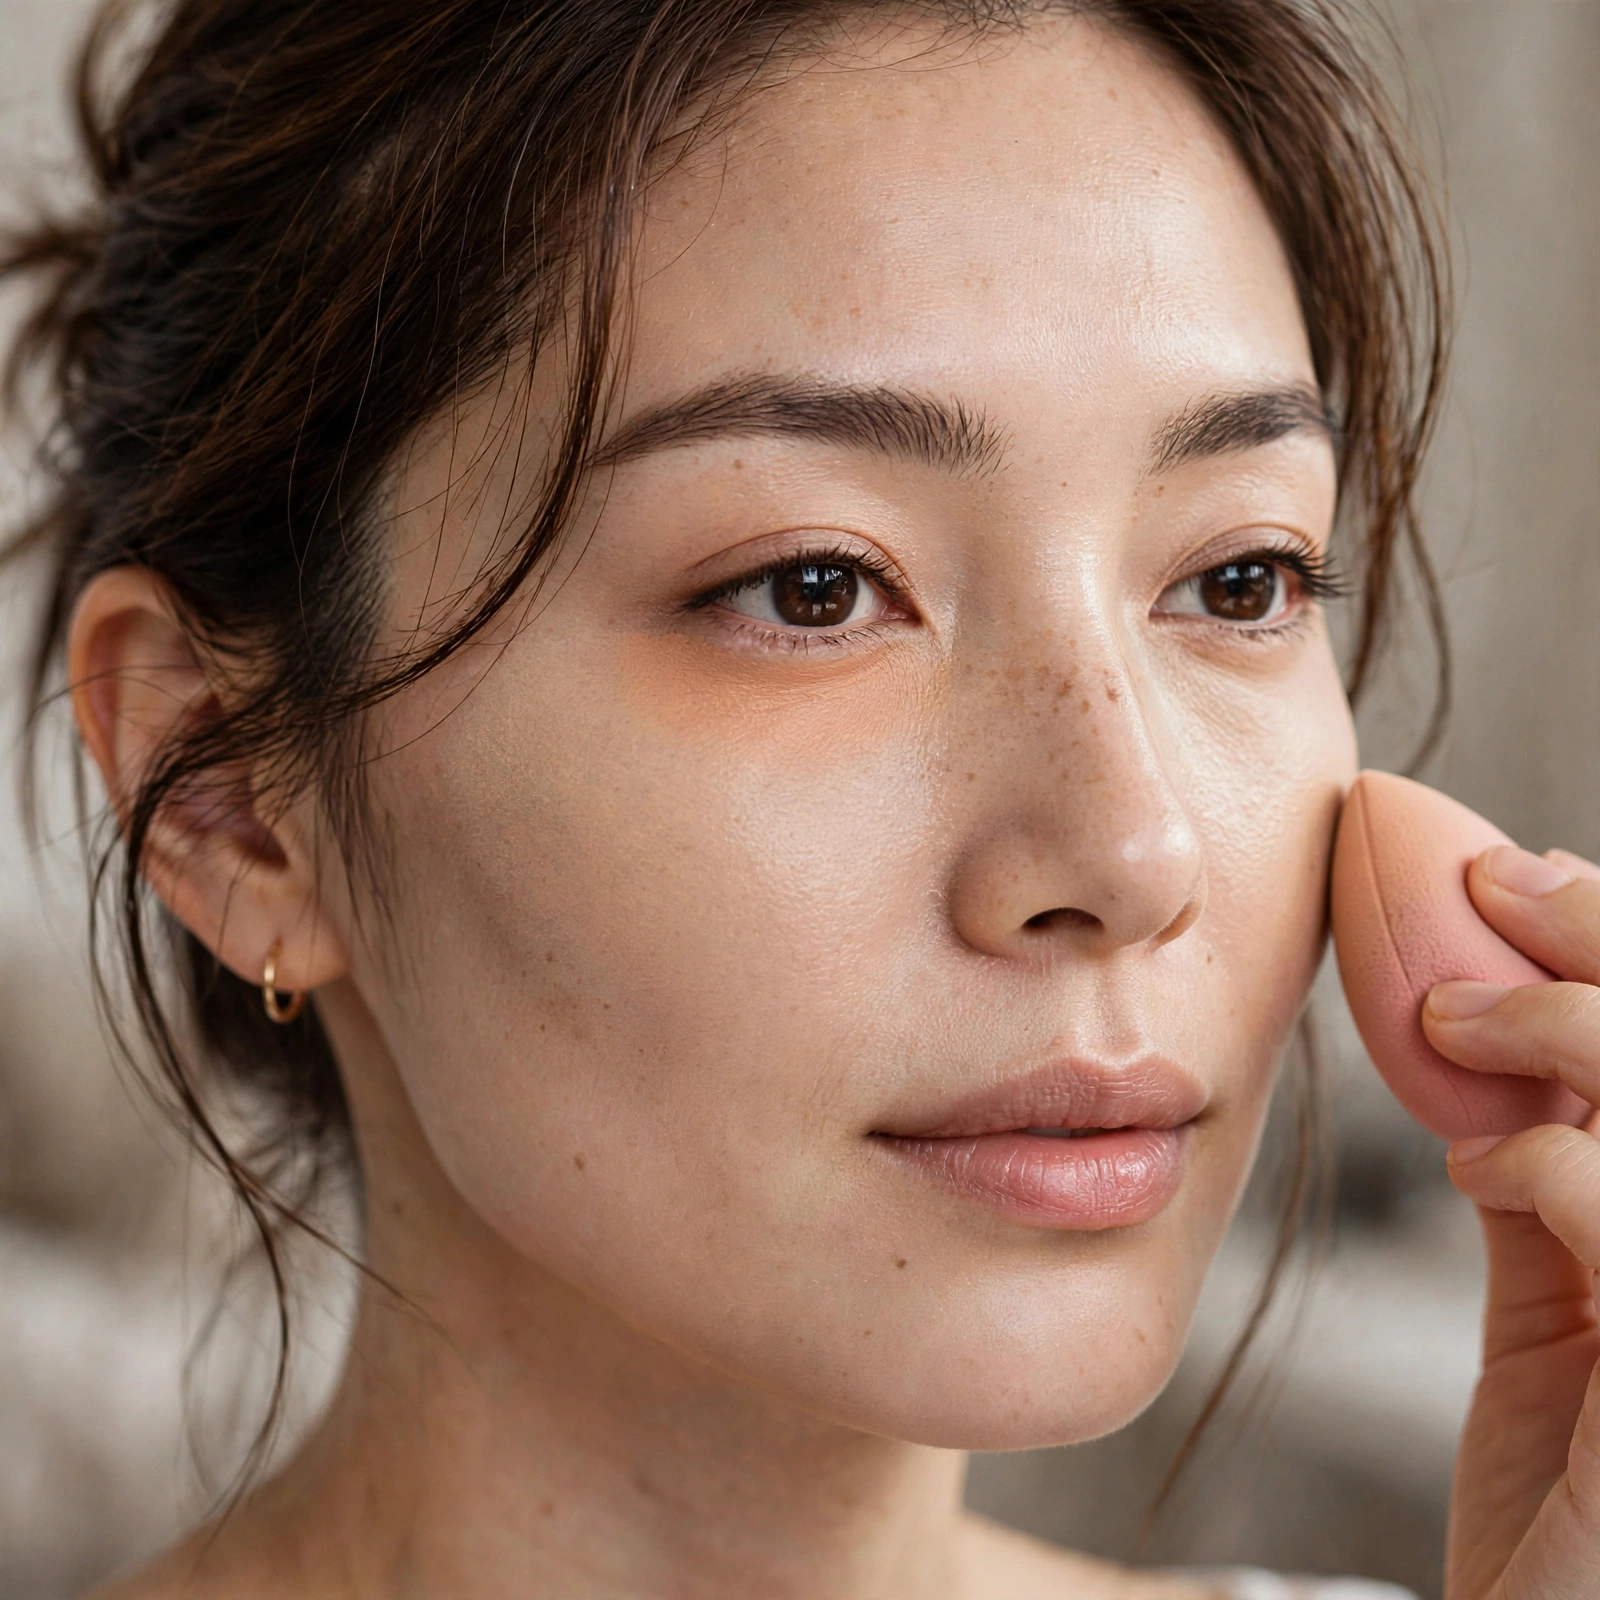
Spot-correct before foundation; the base then needs less coverage.
For base strategy, our natural foundation guide builds on this. Correct first, cover less.
Mature Skin Correcting
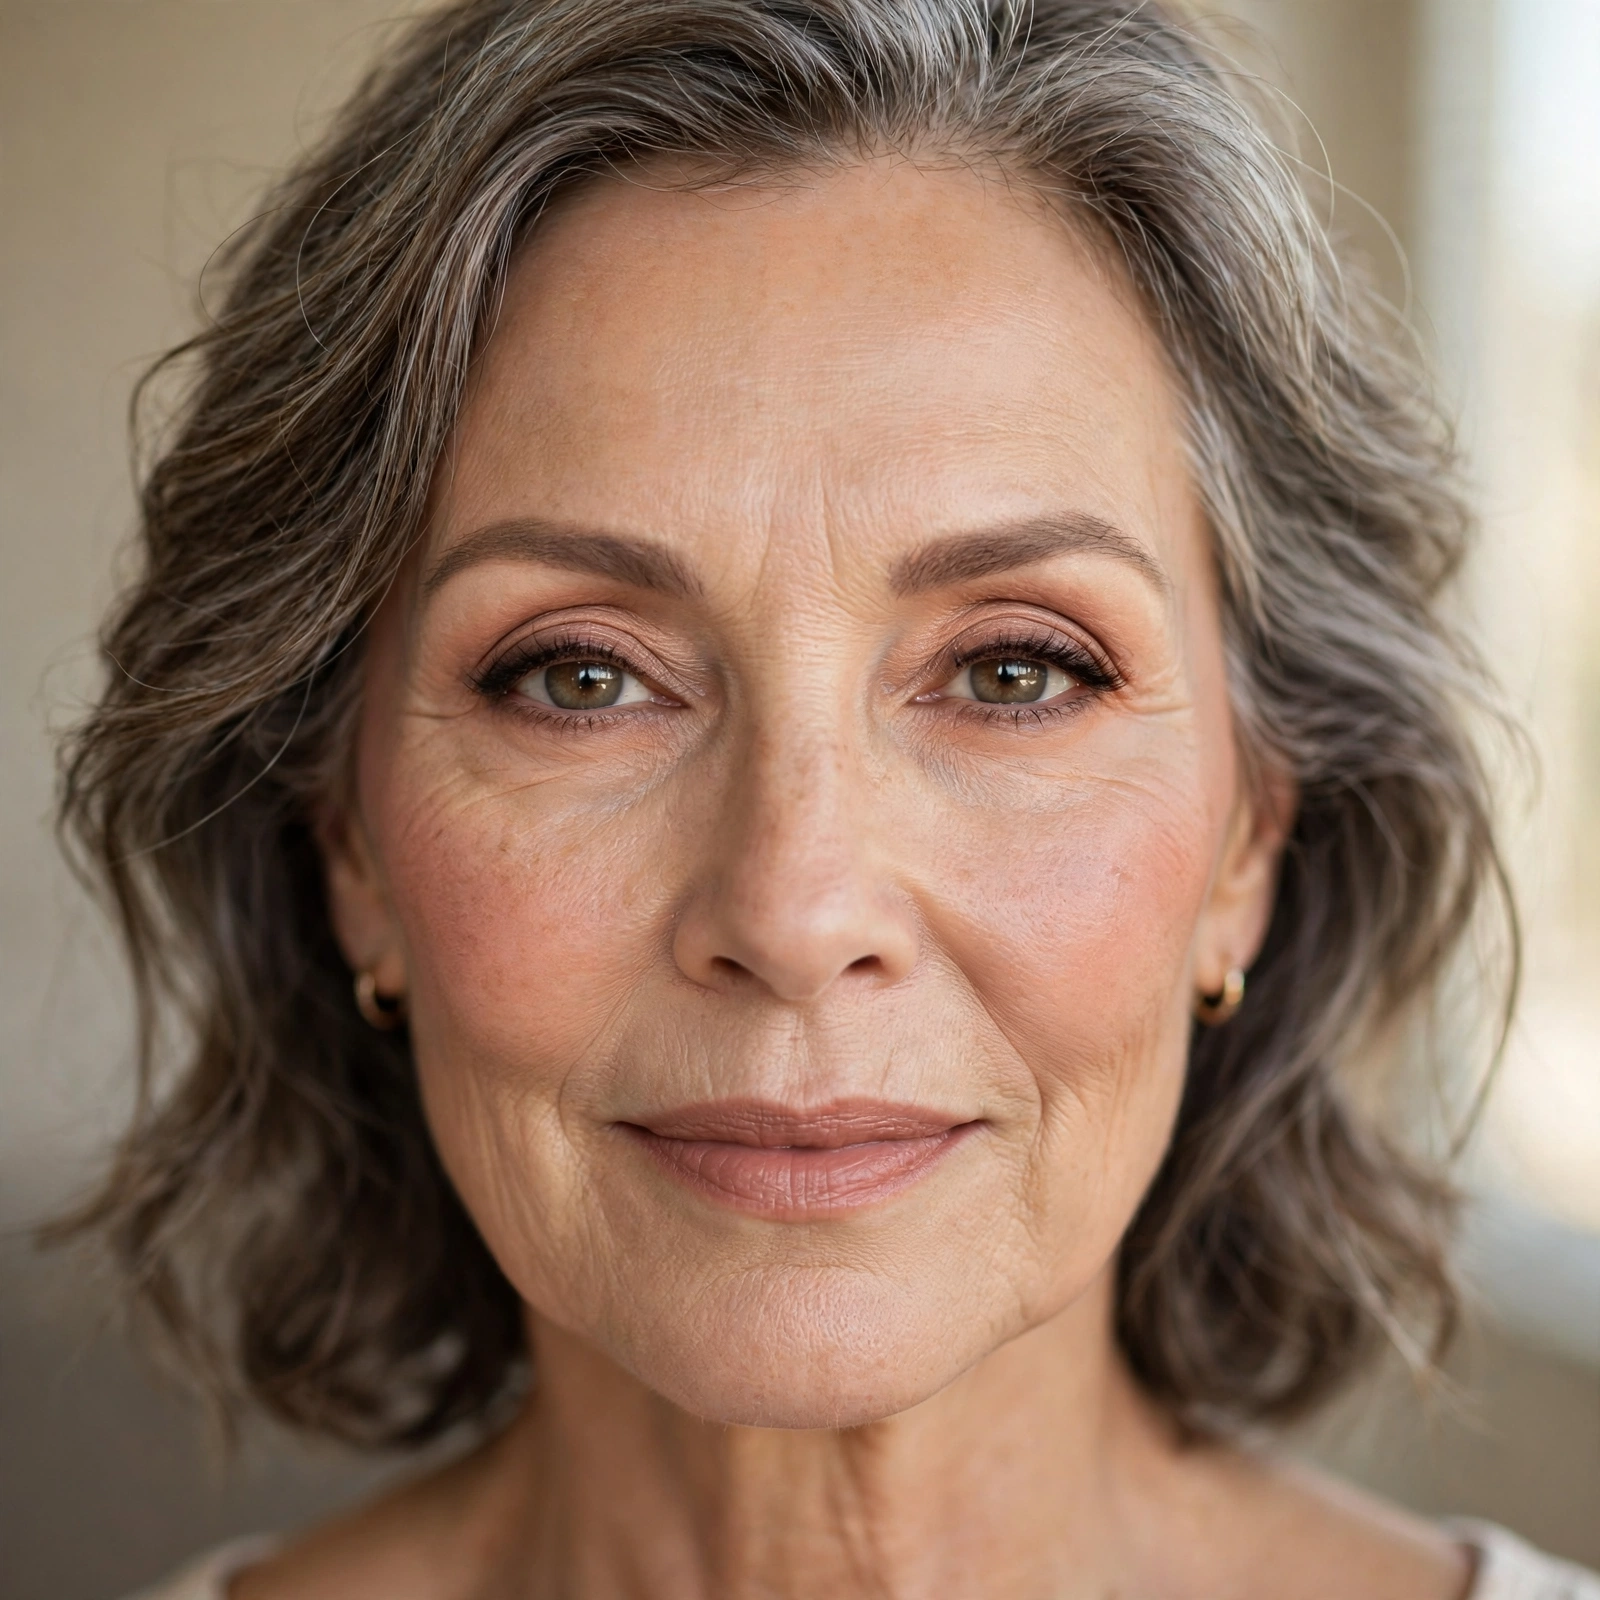
Cream correctors only on mature skin — dry formulas emphasize texture.
Our mature skin guide details why. Hydrating correctors are essential with age.
The Natural Finish Check
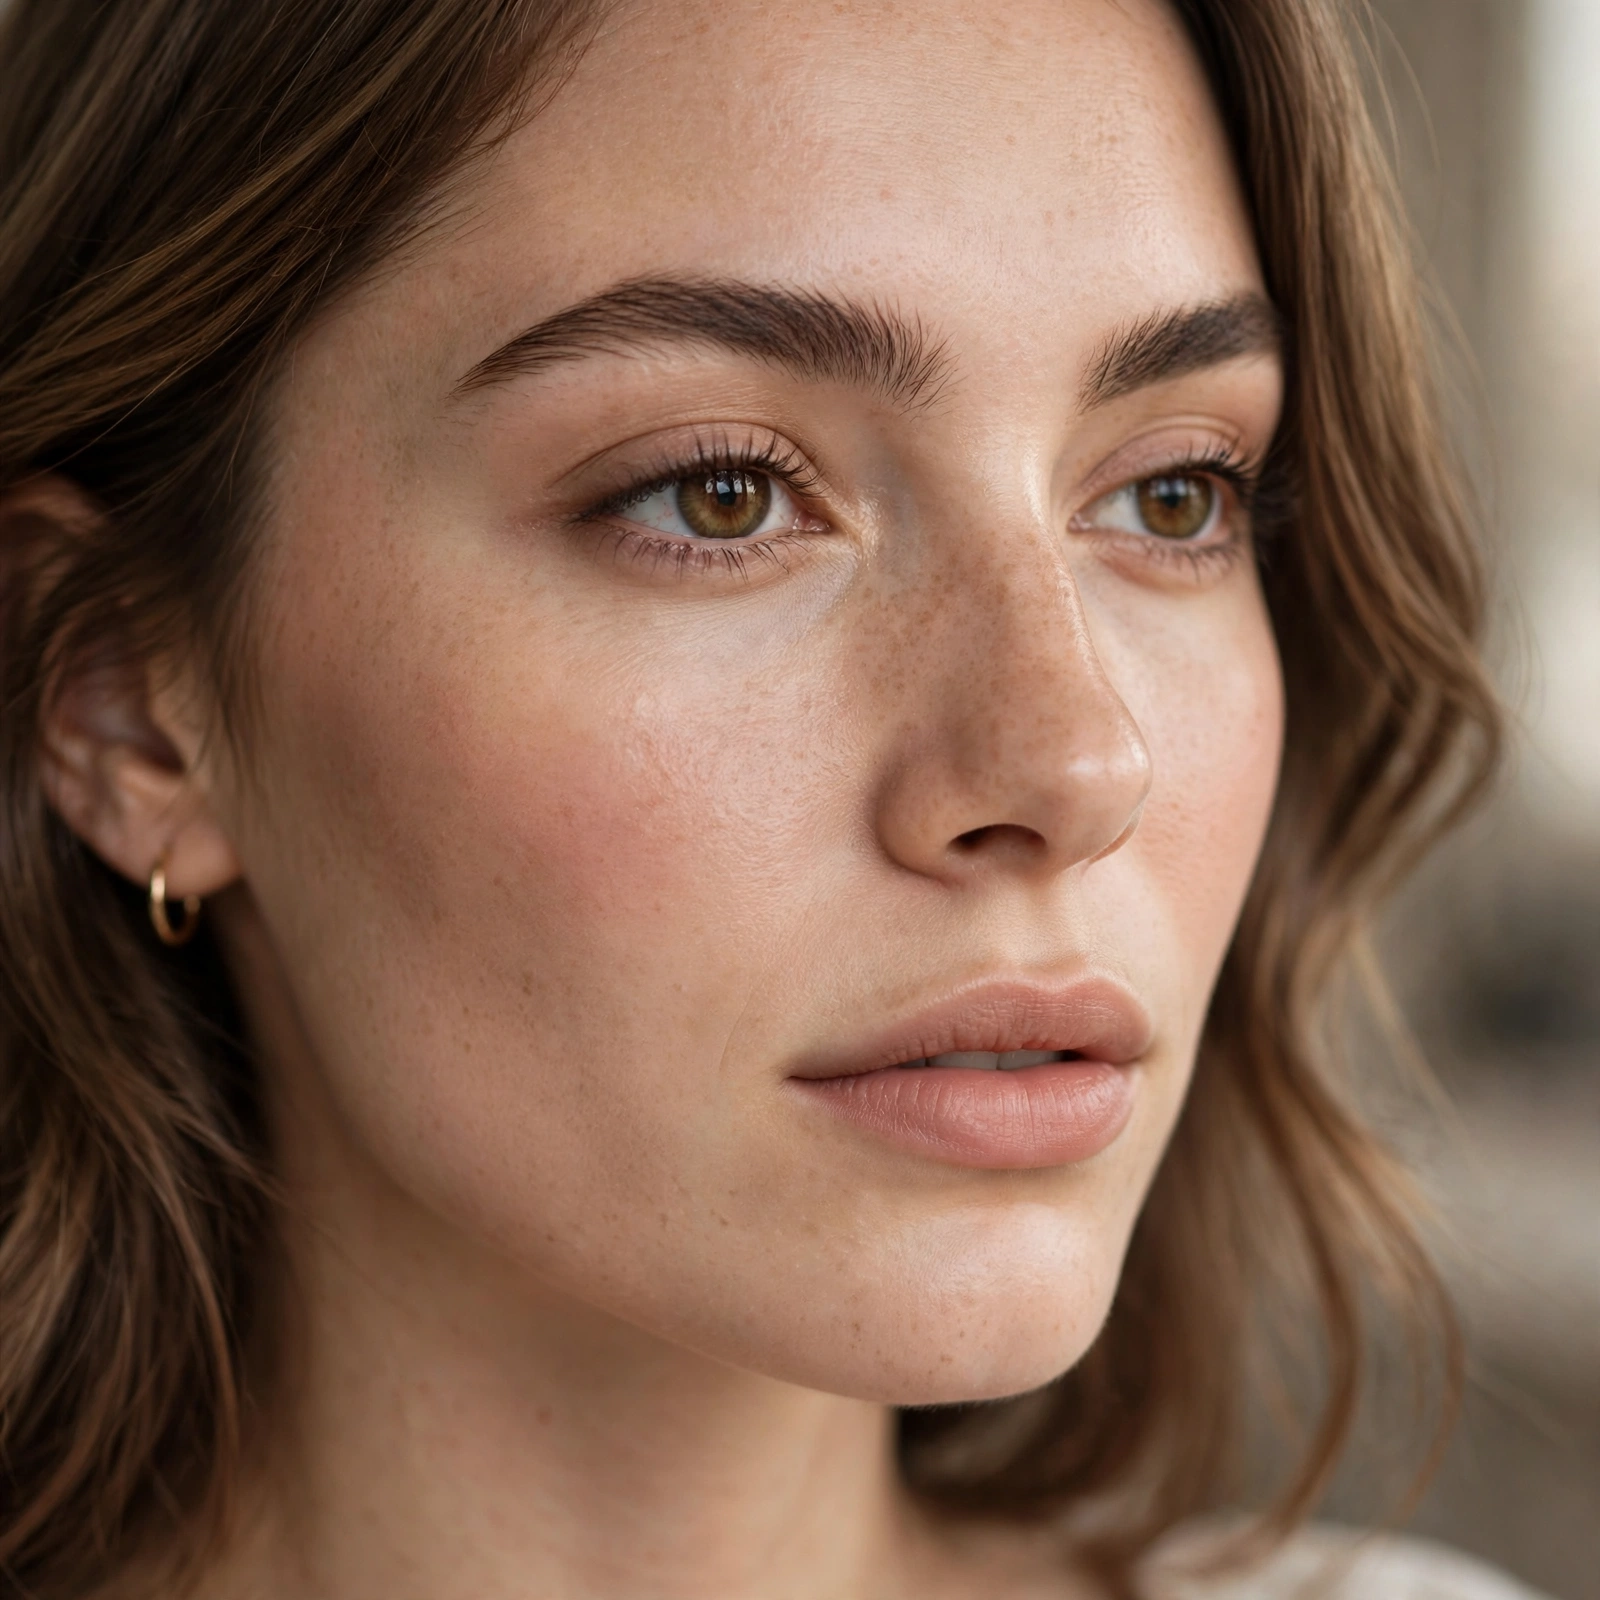
The goal: no visible discoloration, no visible corrector.
If you can’t tell corrector was used, you did it right. Invisibility is success.
Correcting Confidence
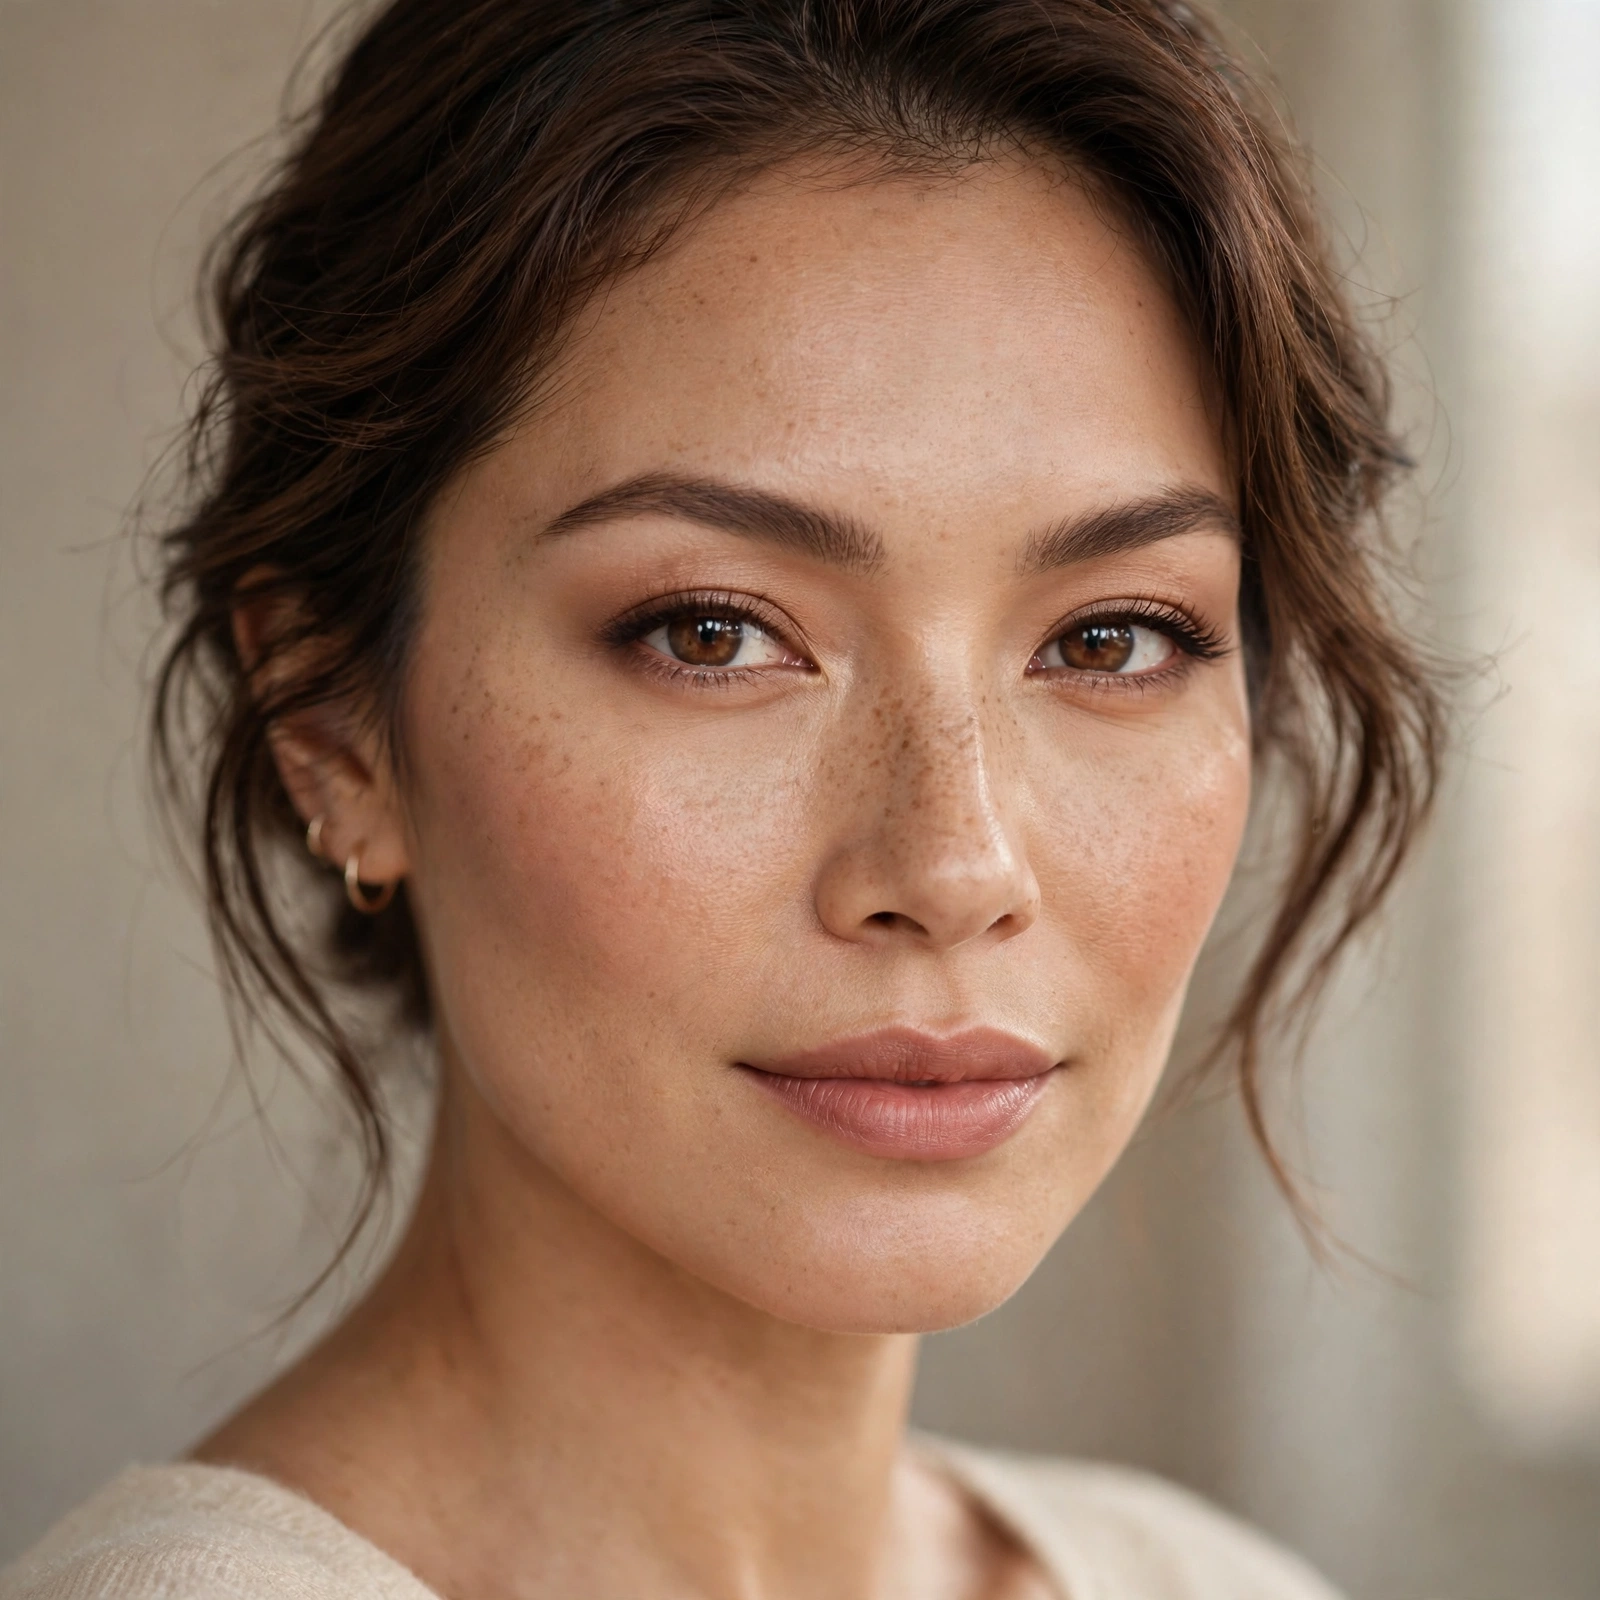
Master one corrector before collecting them all.
Start with your main concern — peach for most people. Master it, then expand.
Cancel, don’t cover — pin these tips. For under-eye mastery, see foundation for dry skin, or perfect your base with natural foundation looks.